Photography Basics #2: Which Mode Do I Pick?

I have three DSLRs.  All three are Nikon - the D3100 that was my first camera, the D610 I bought when I started my business, and the D750 I use in low light situations.  All three have a variety of settings which the user can switch to depending on the situation.

When I teach photography tutorials, we almost always start in Aperture Priority (AP, or on a Canon, AV) Mode.


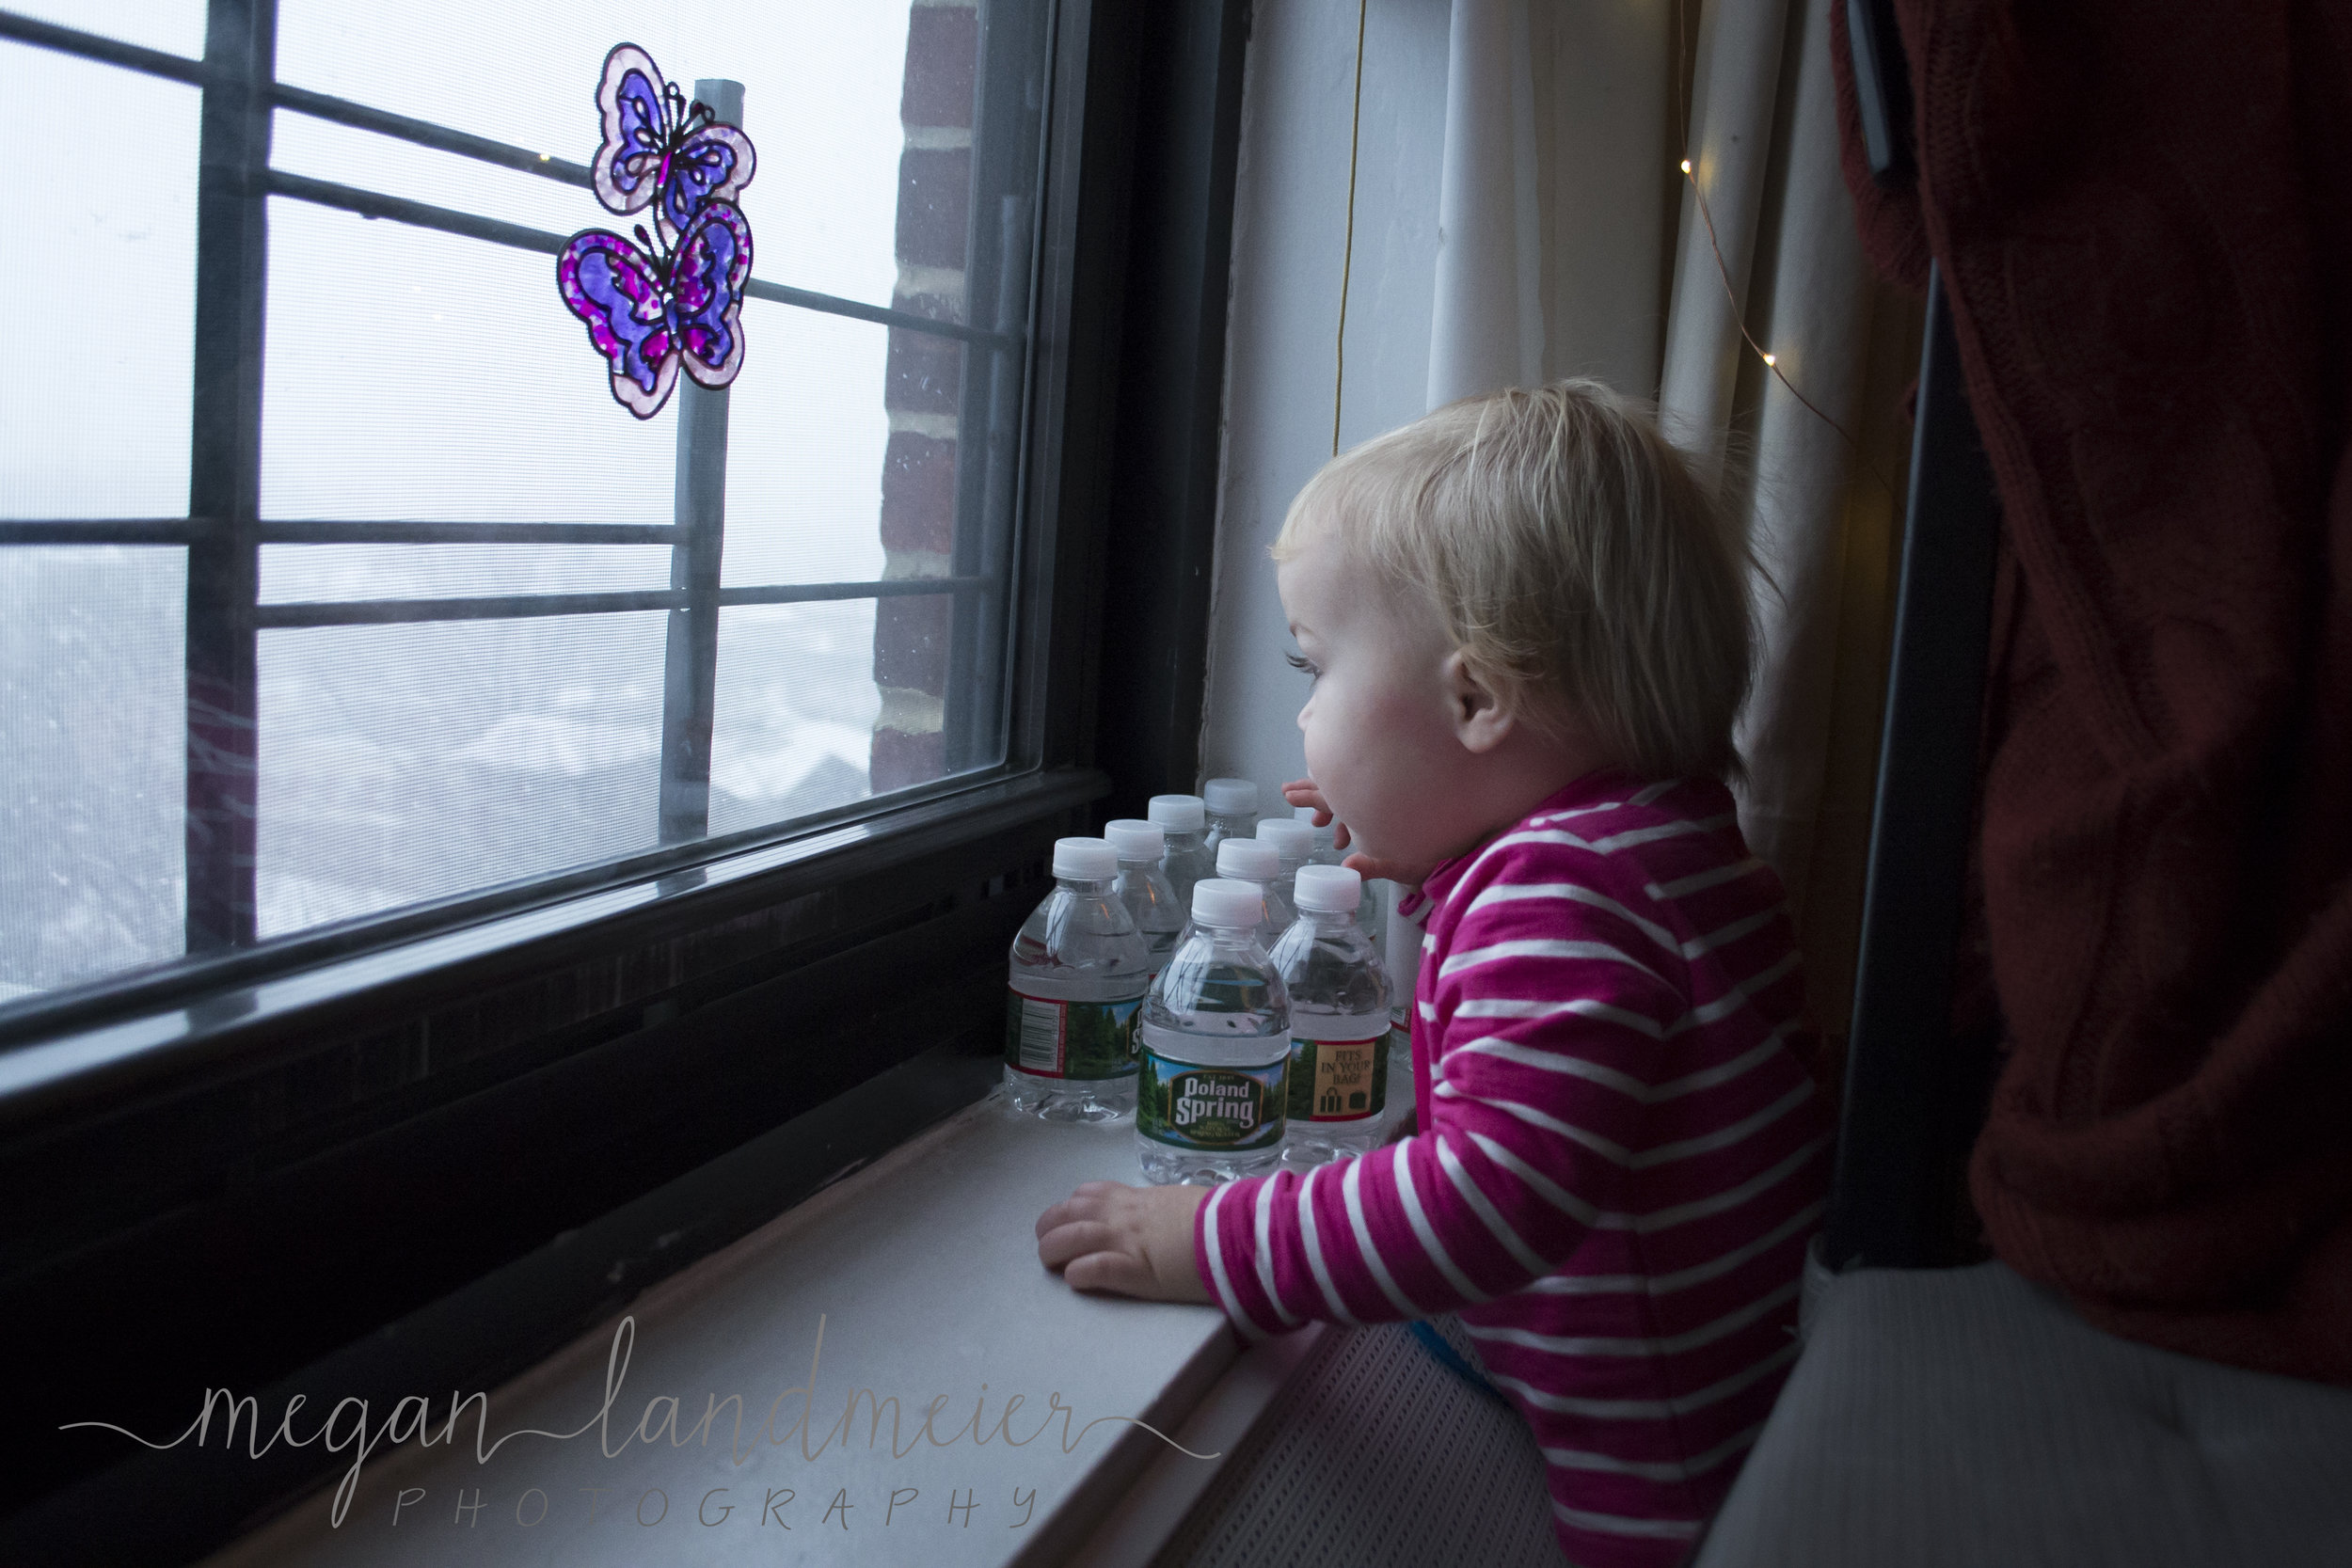
Aperture is a measure of how much light gets into the camera, essentially, the size of the hole that lets the light in.  It's measured in f-stops.

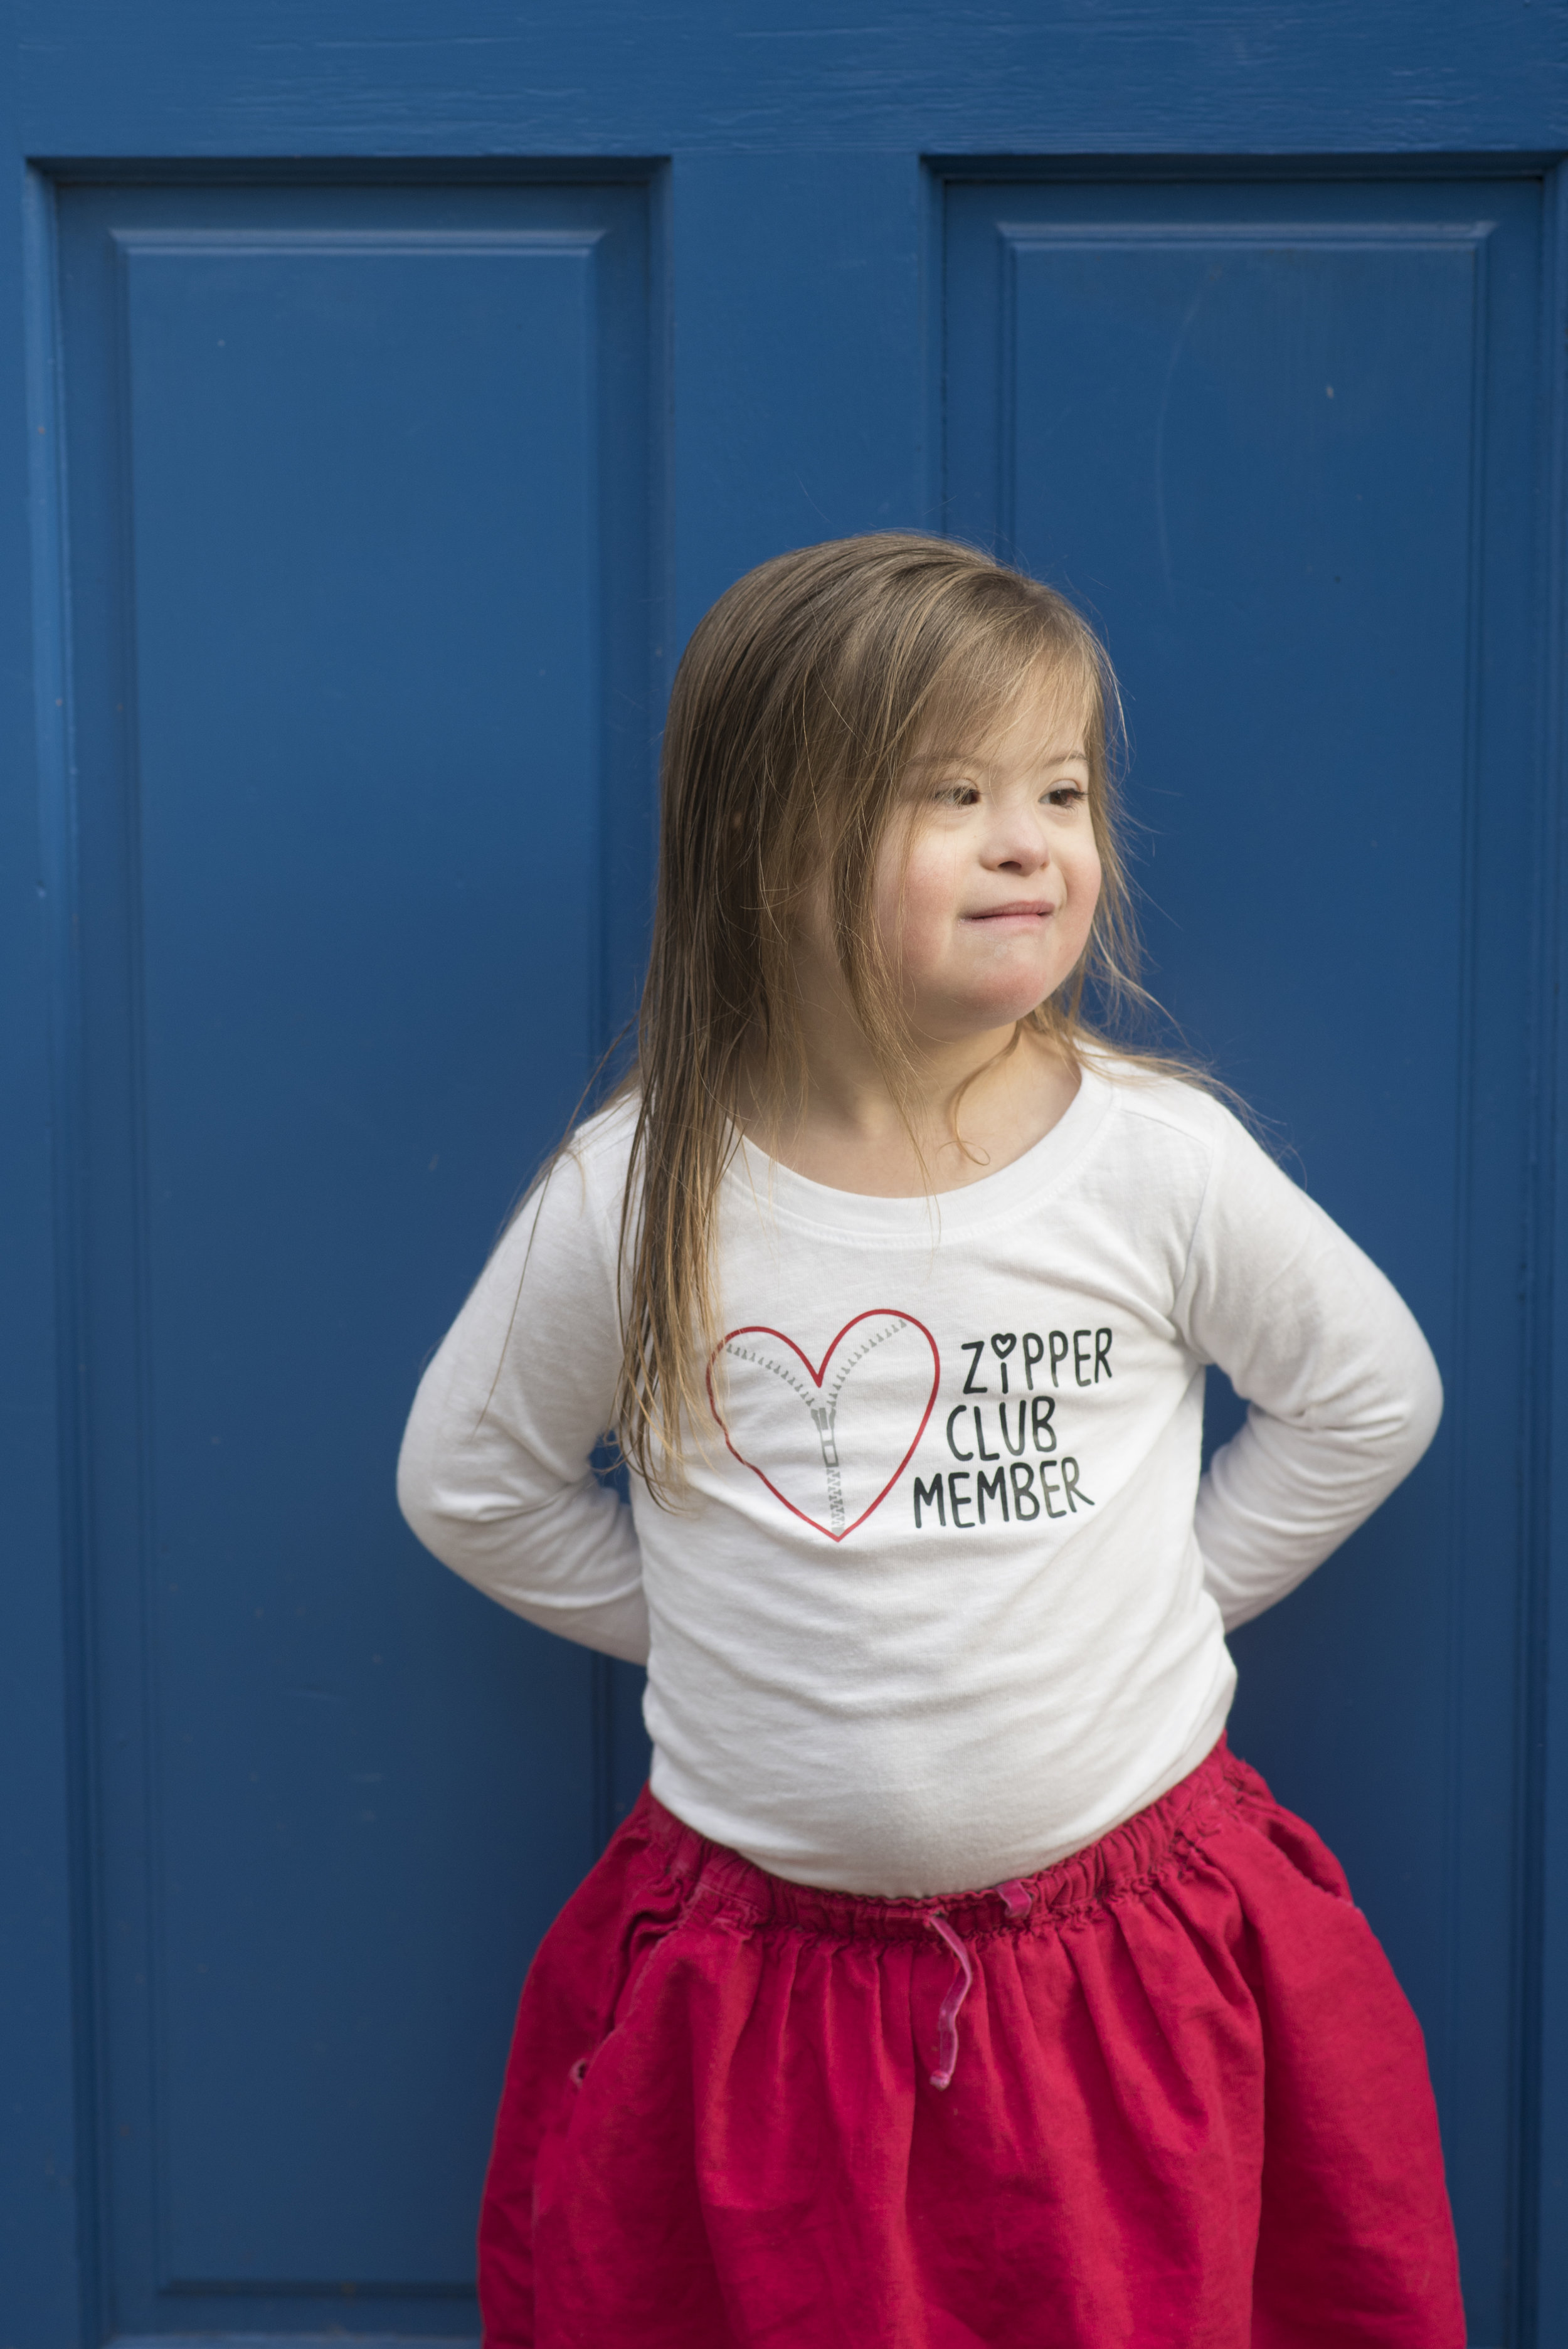
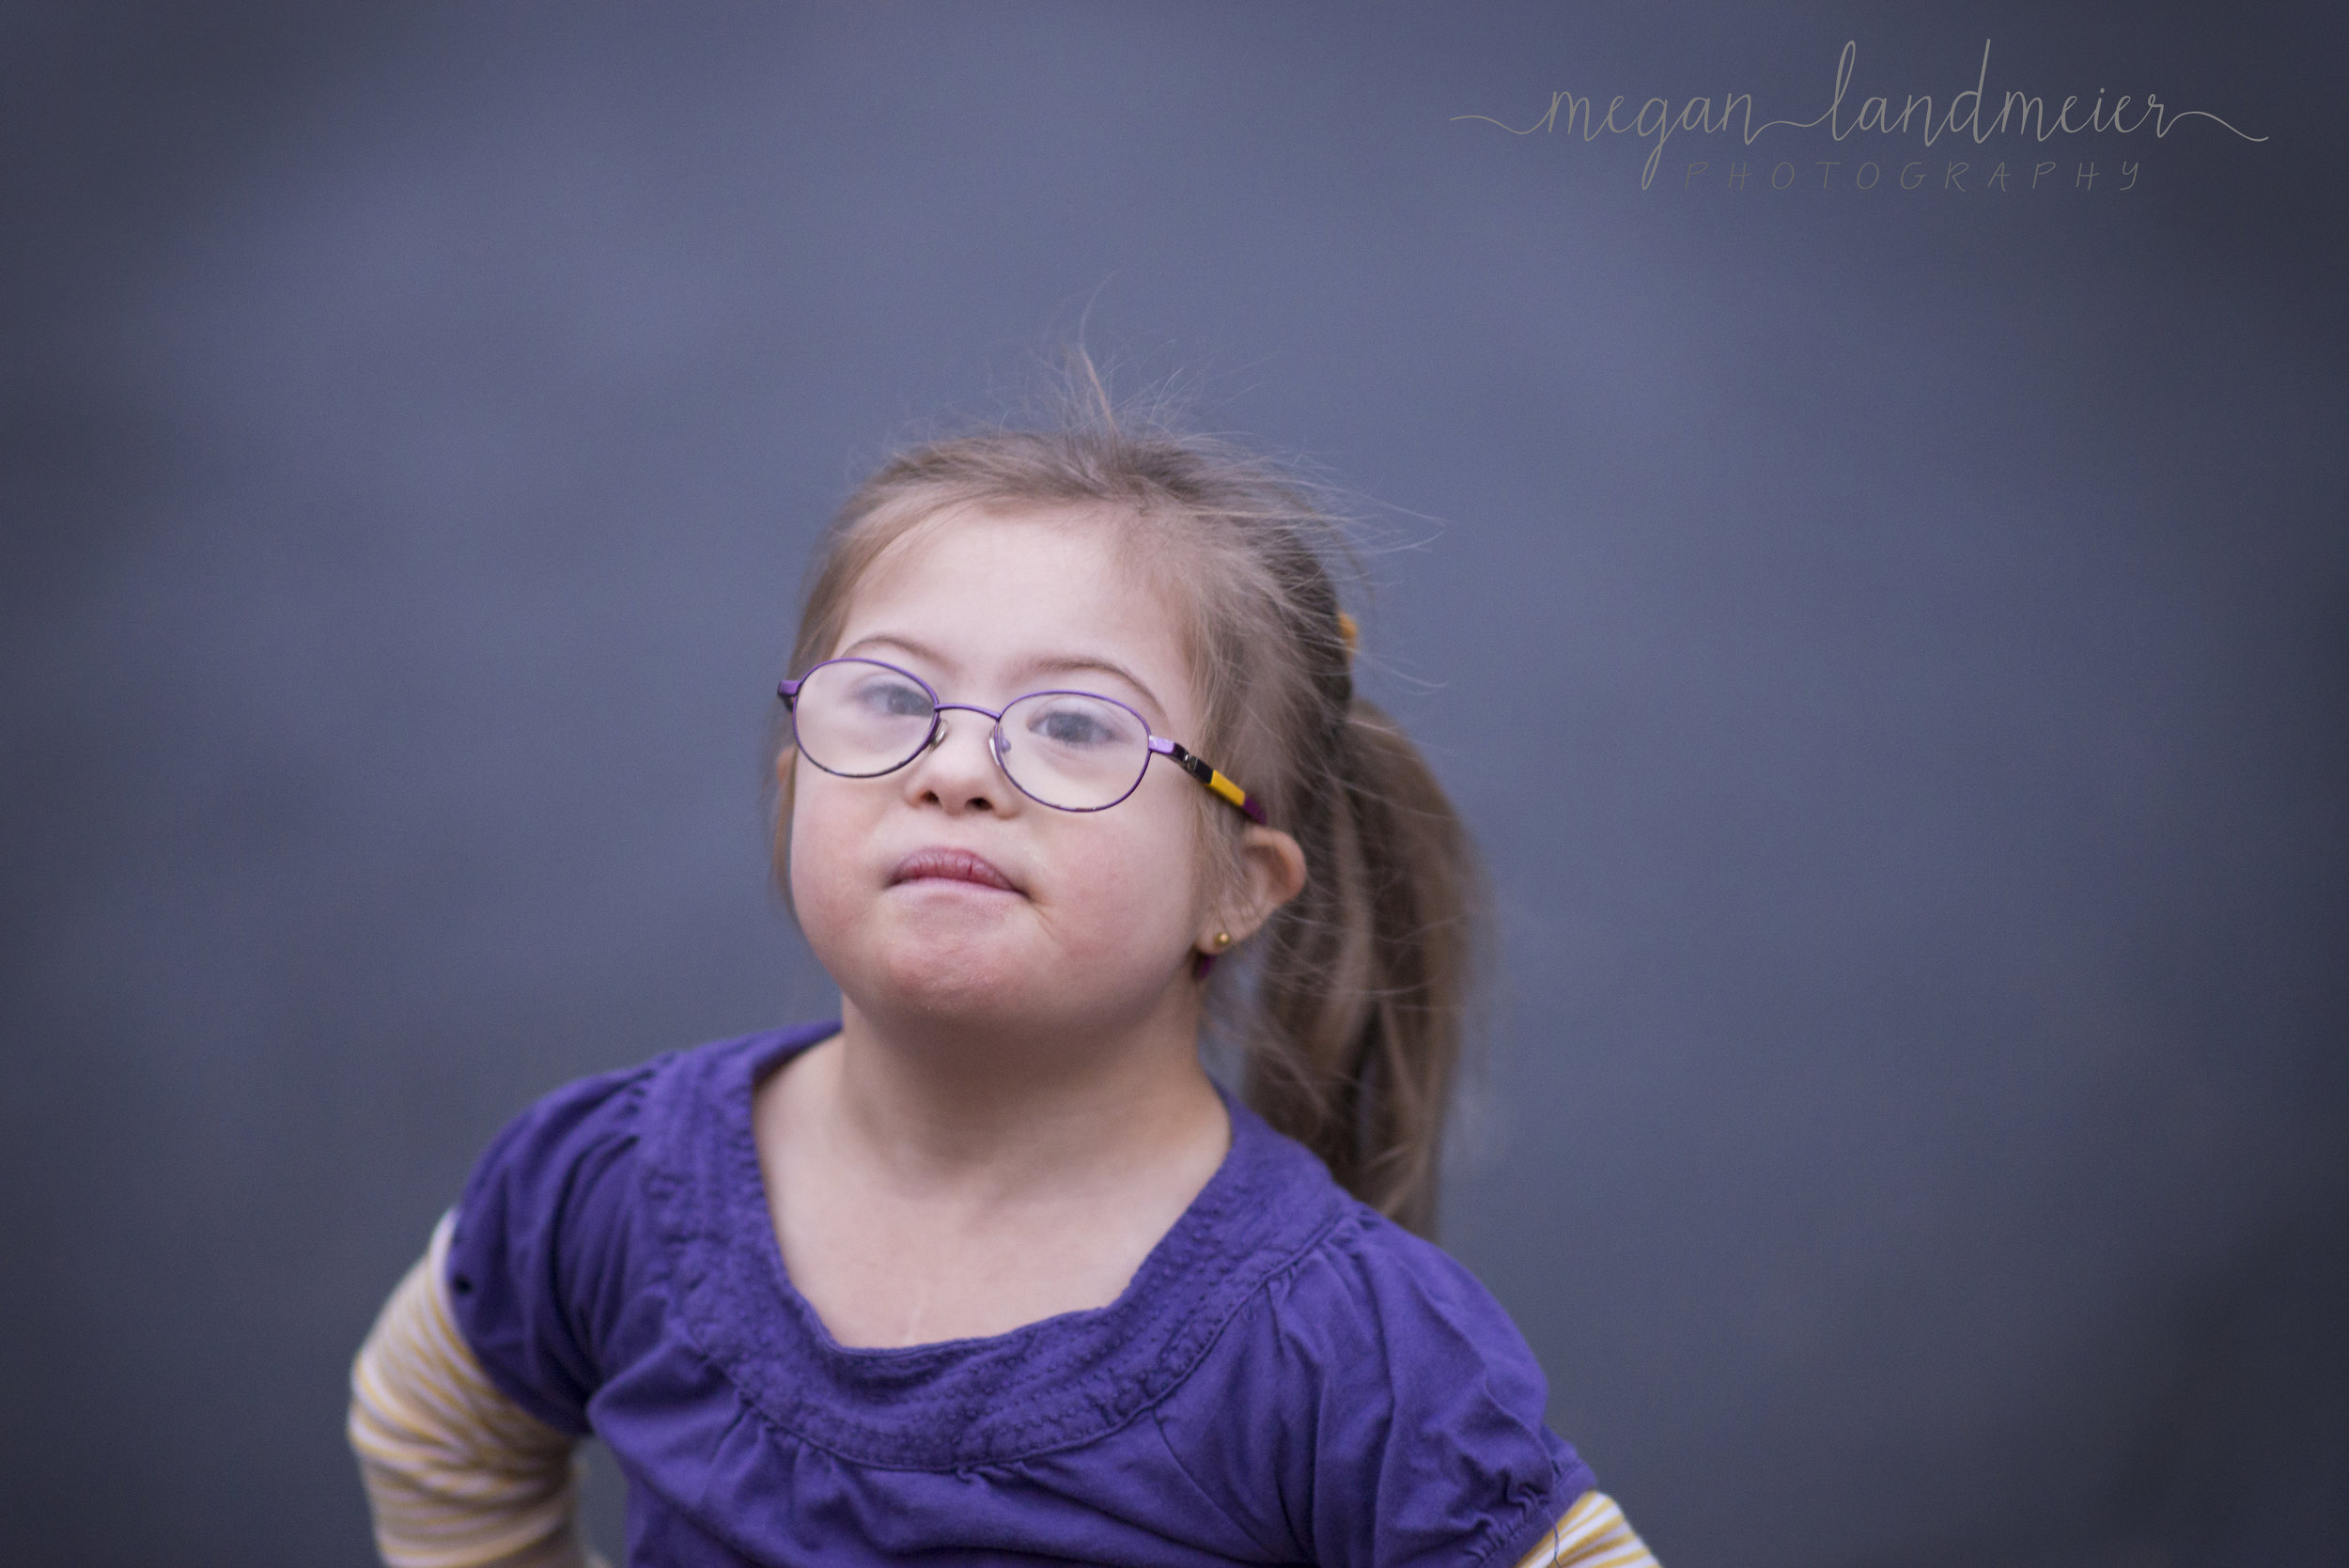
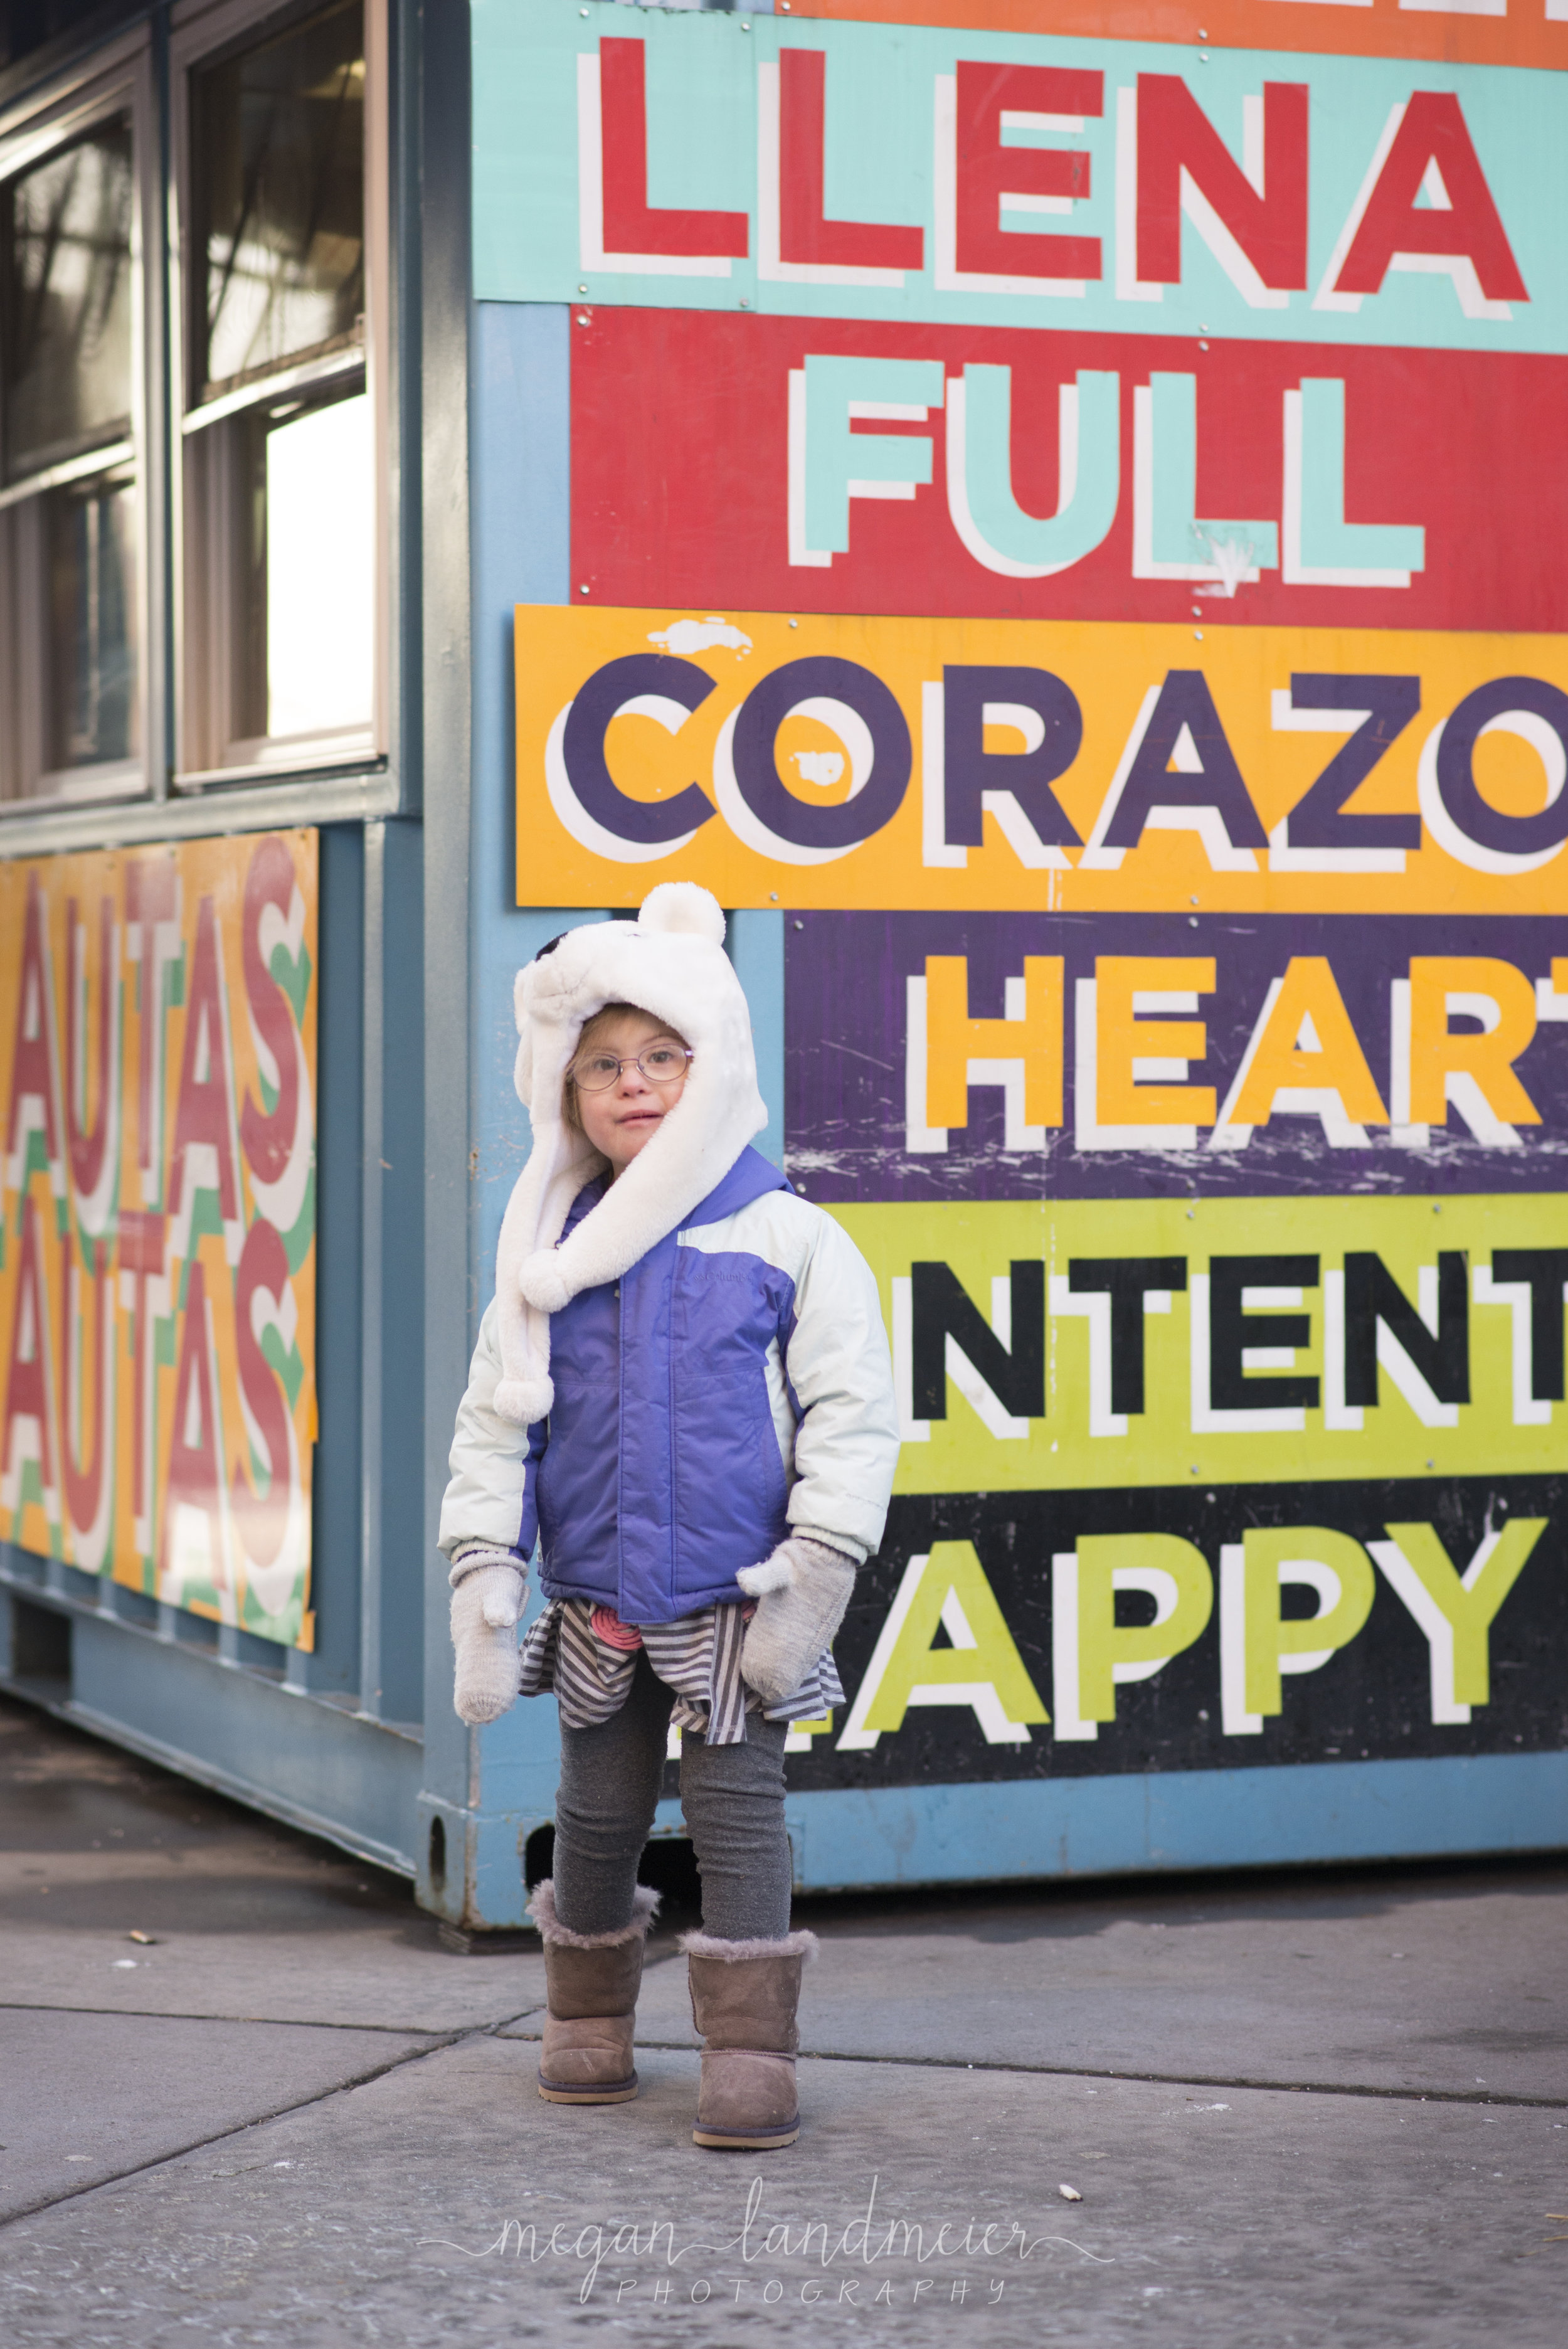
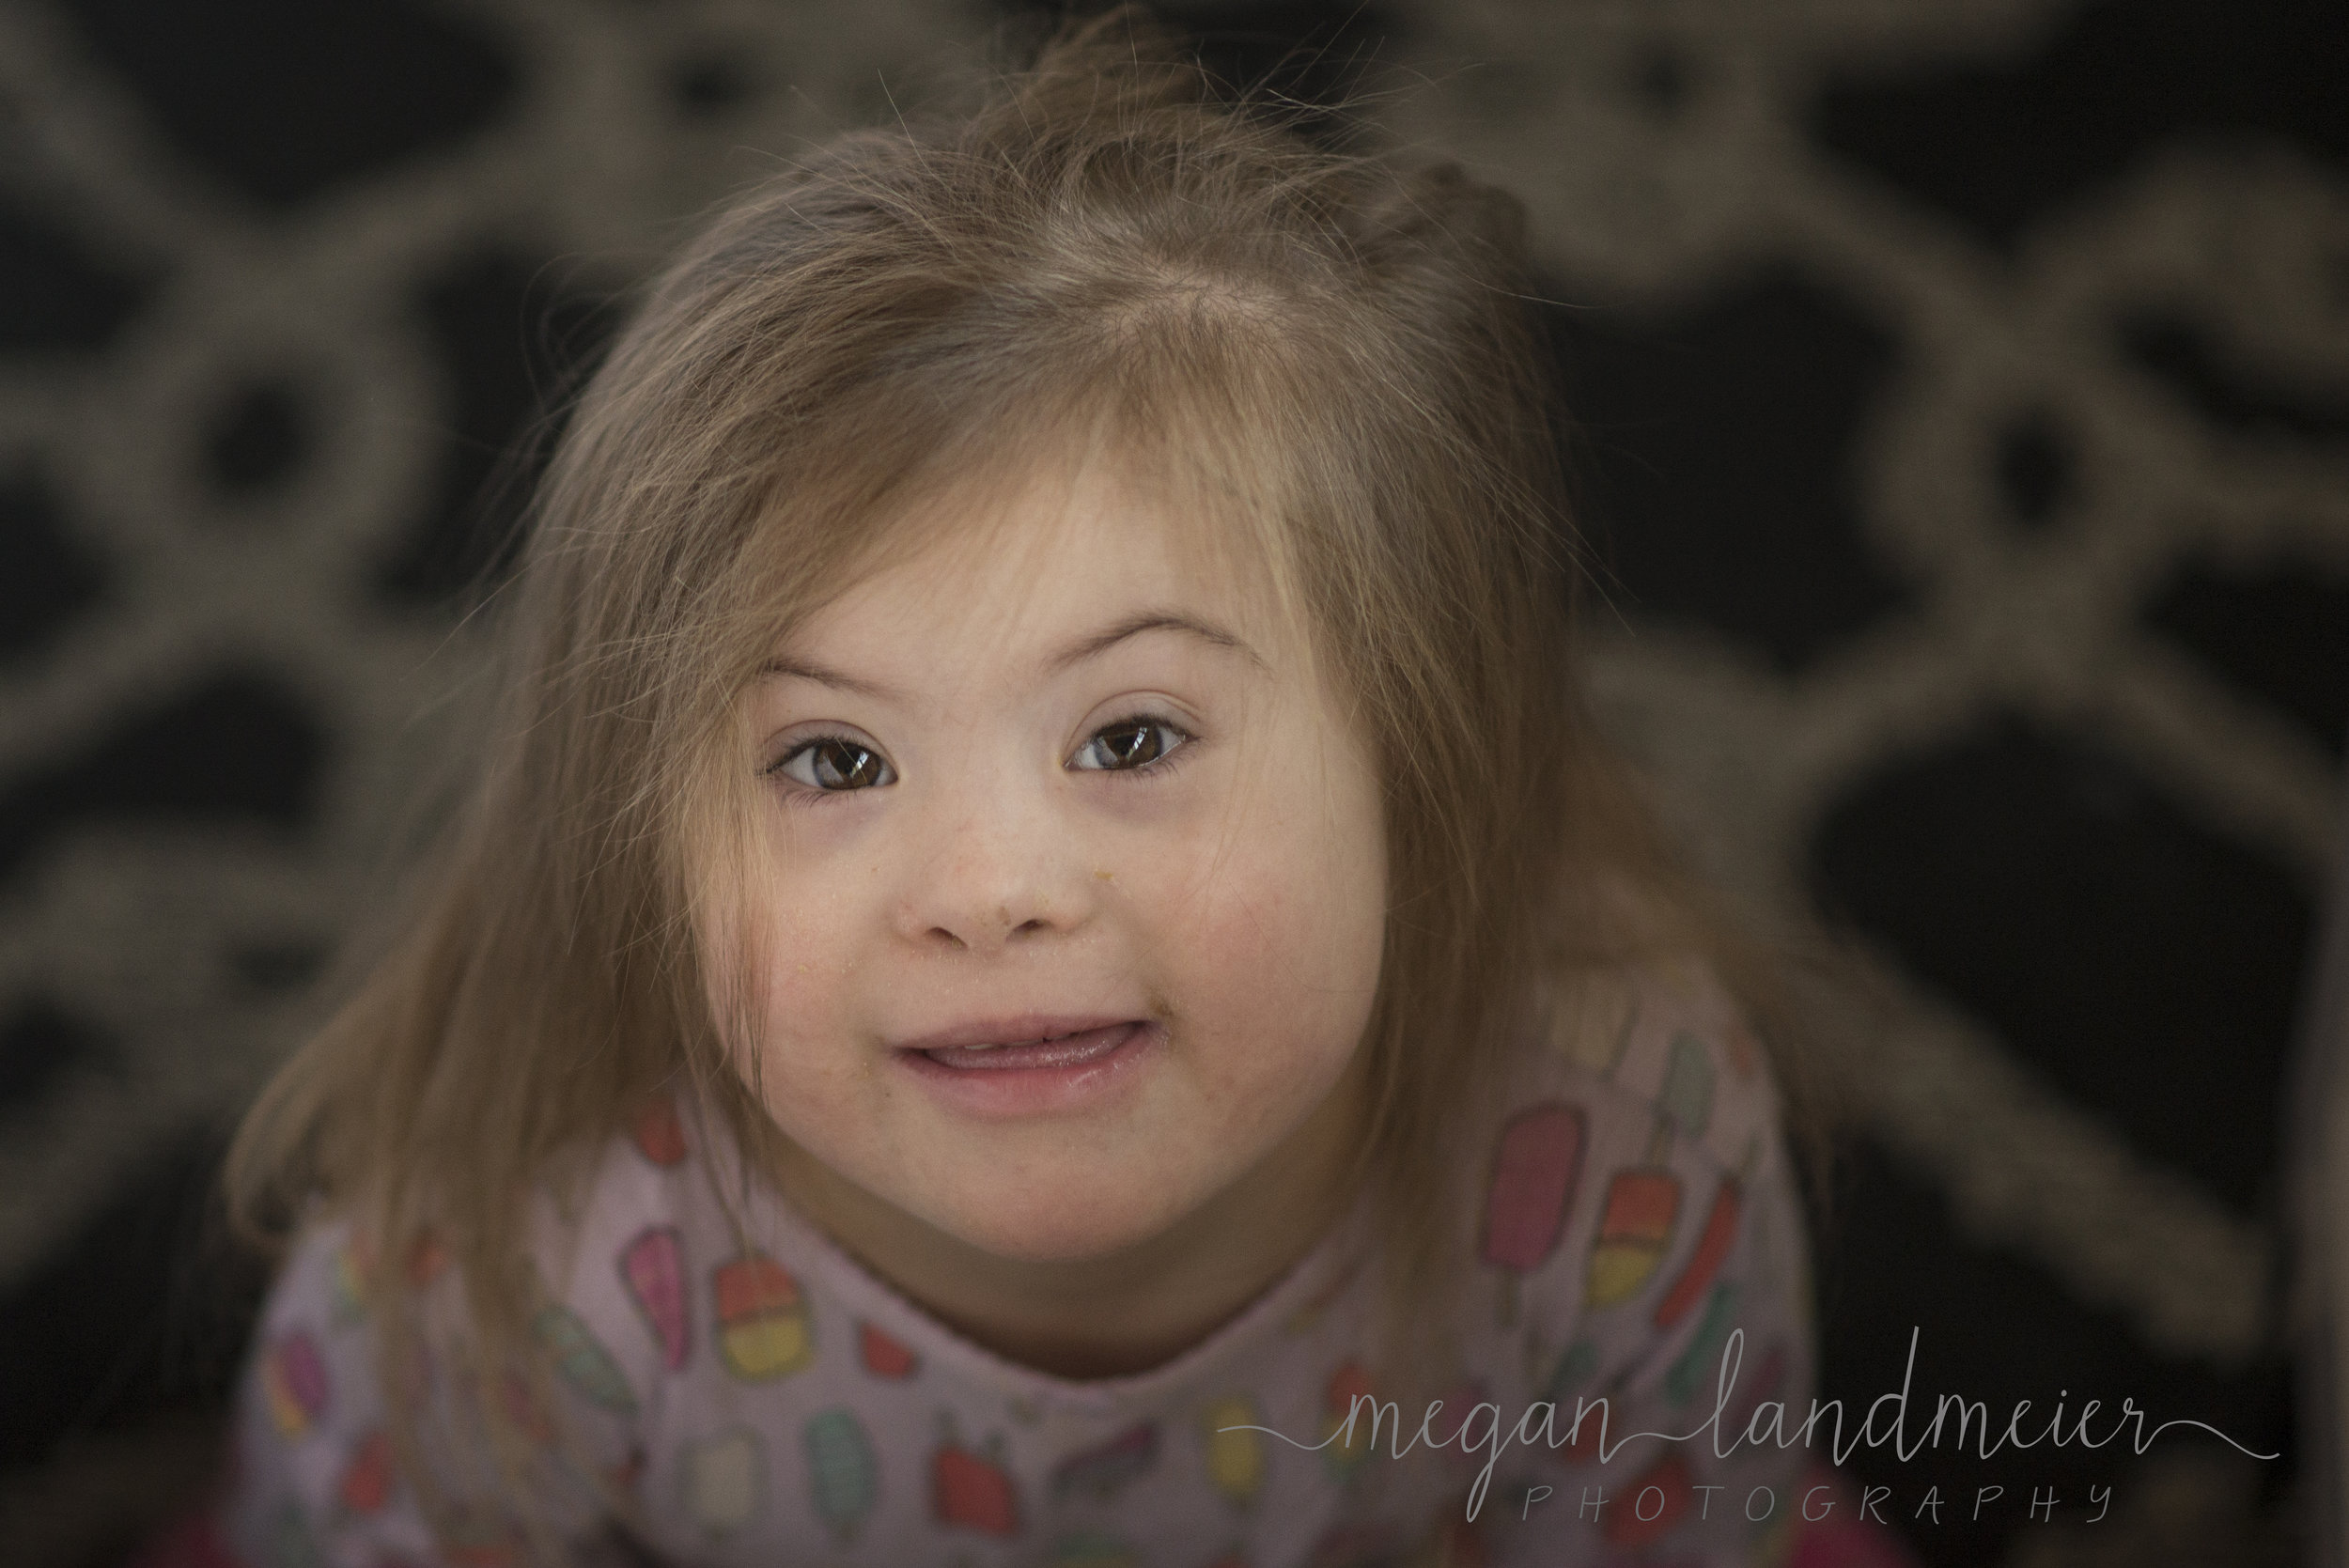
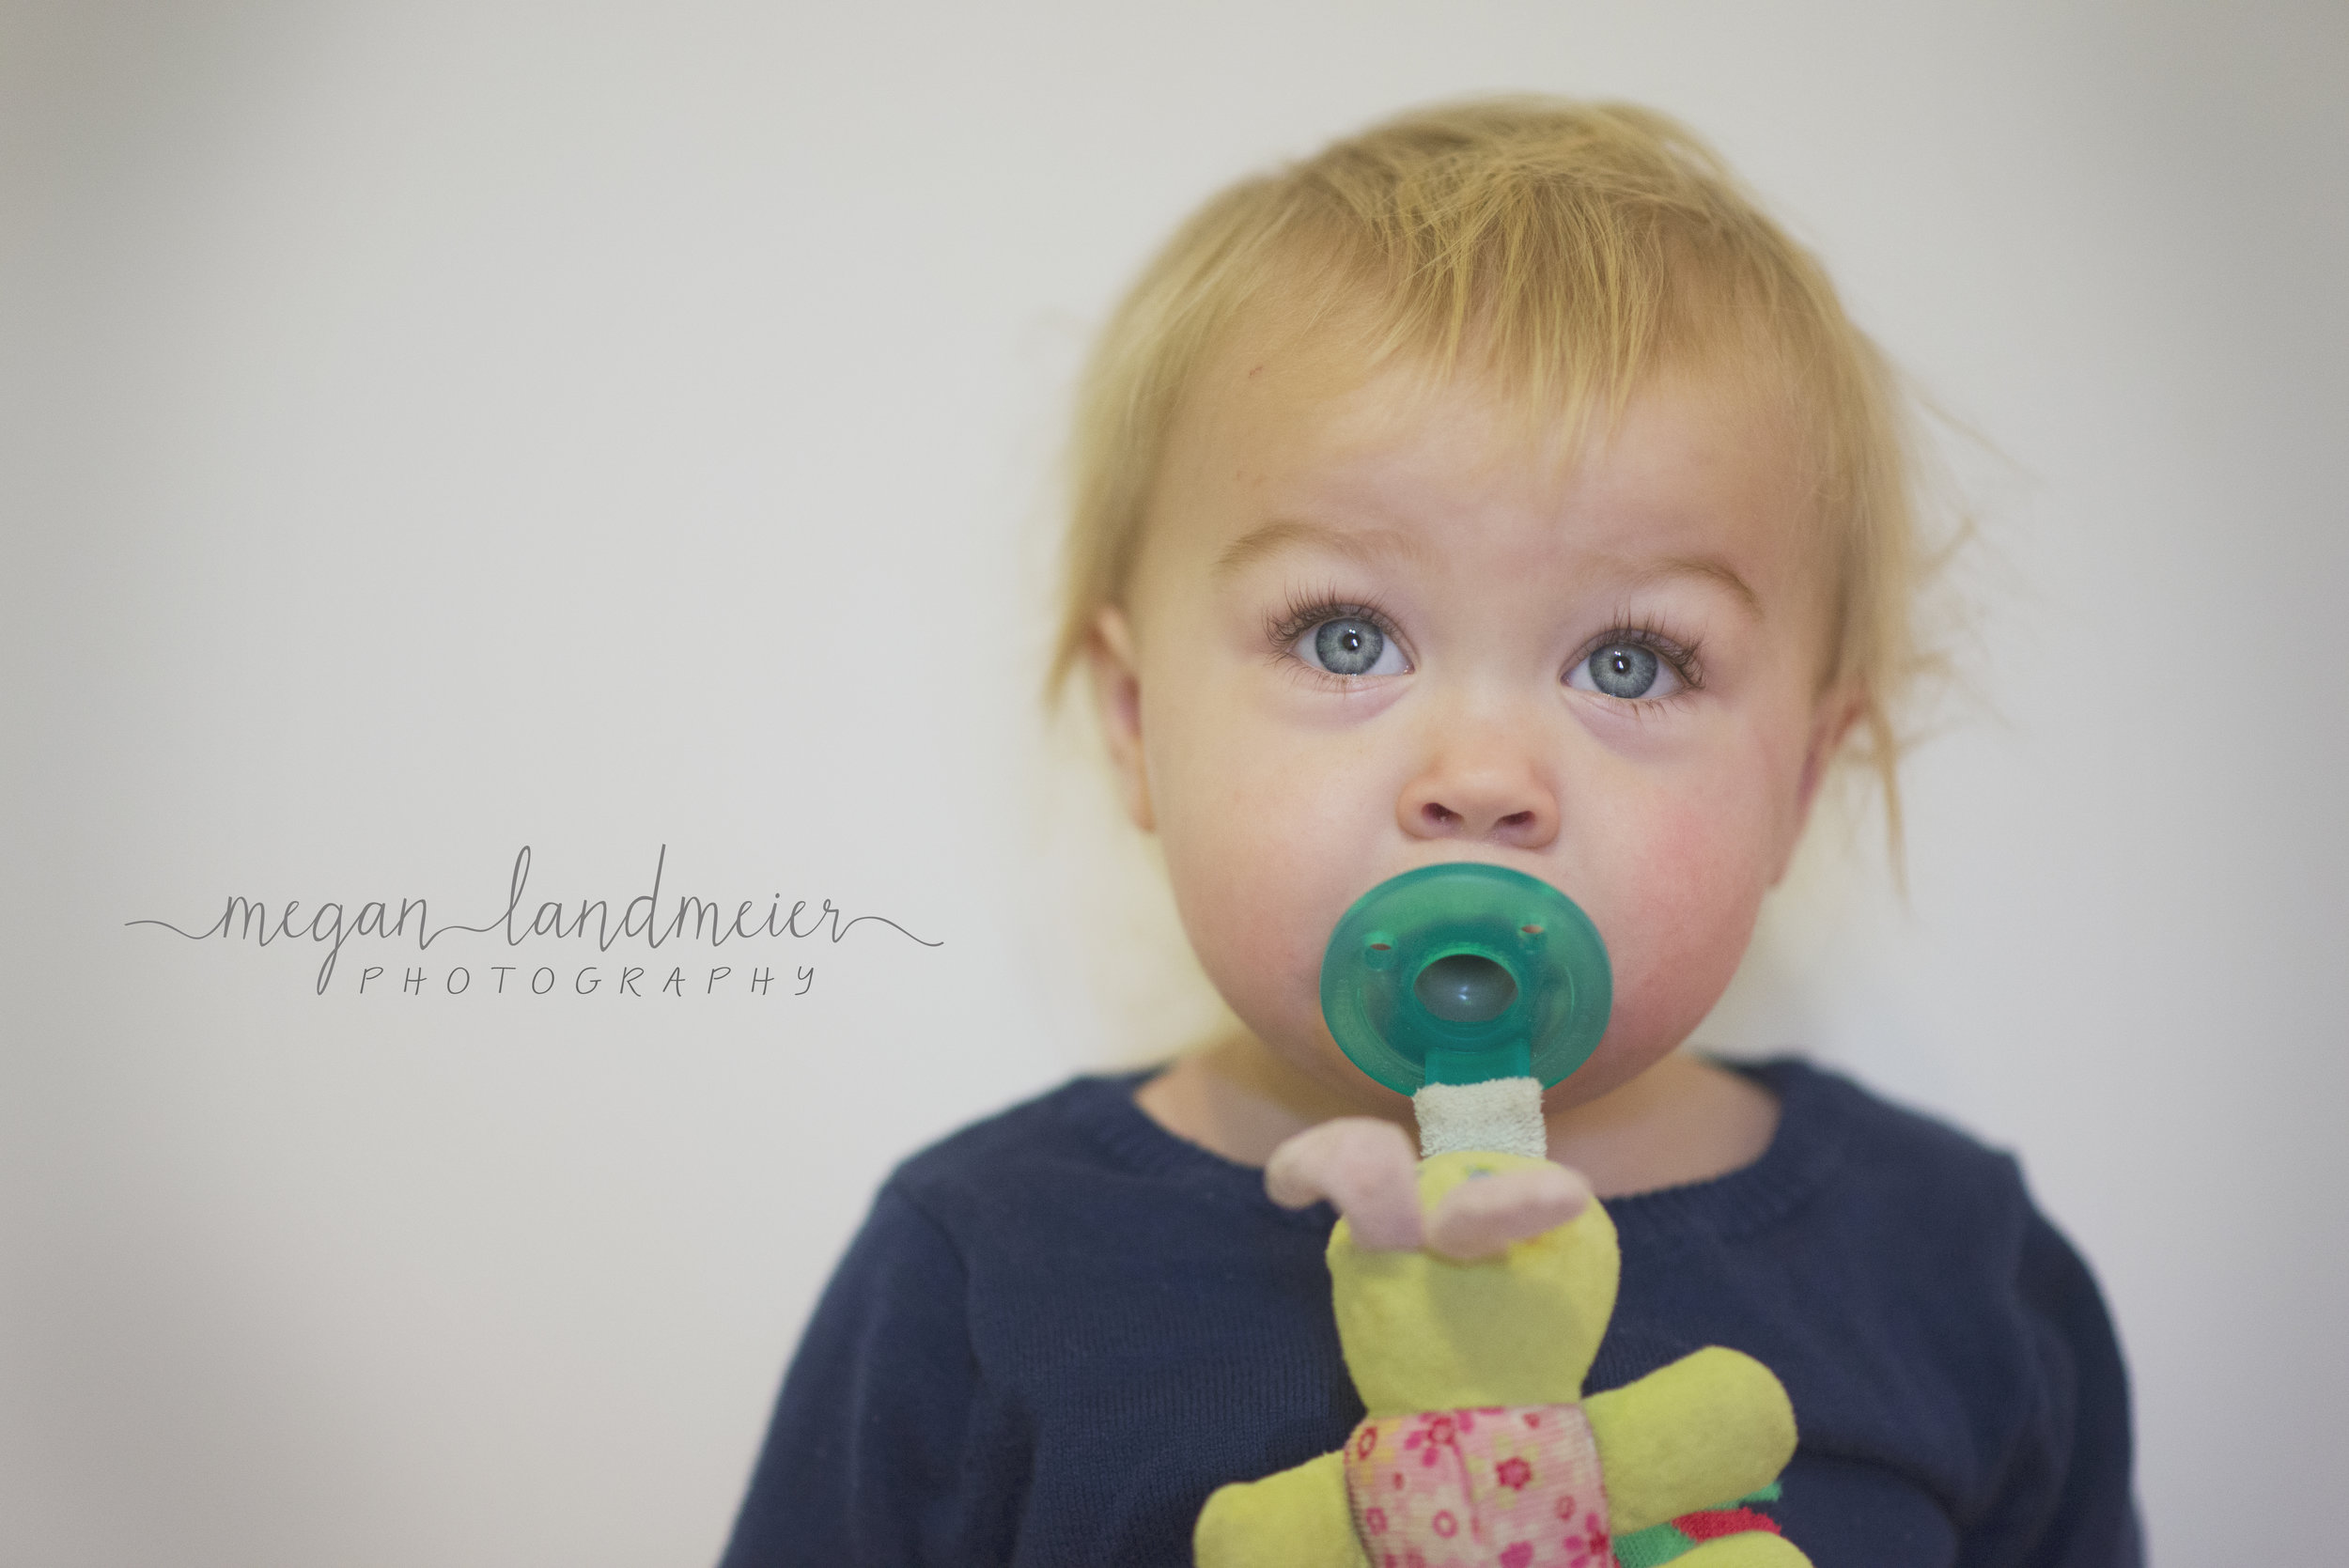
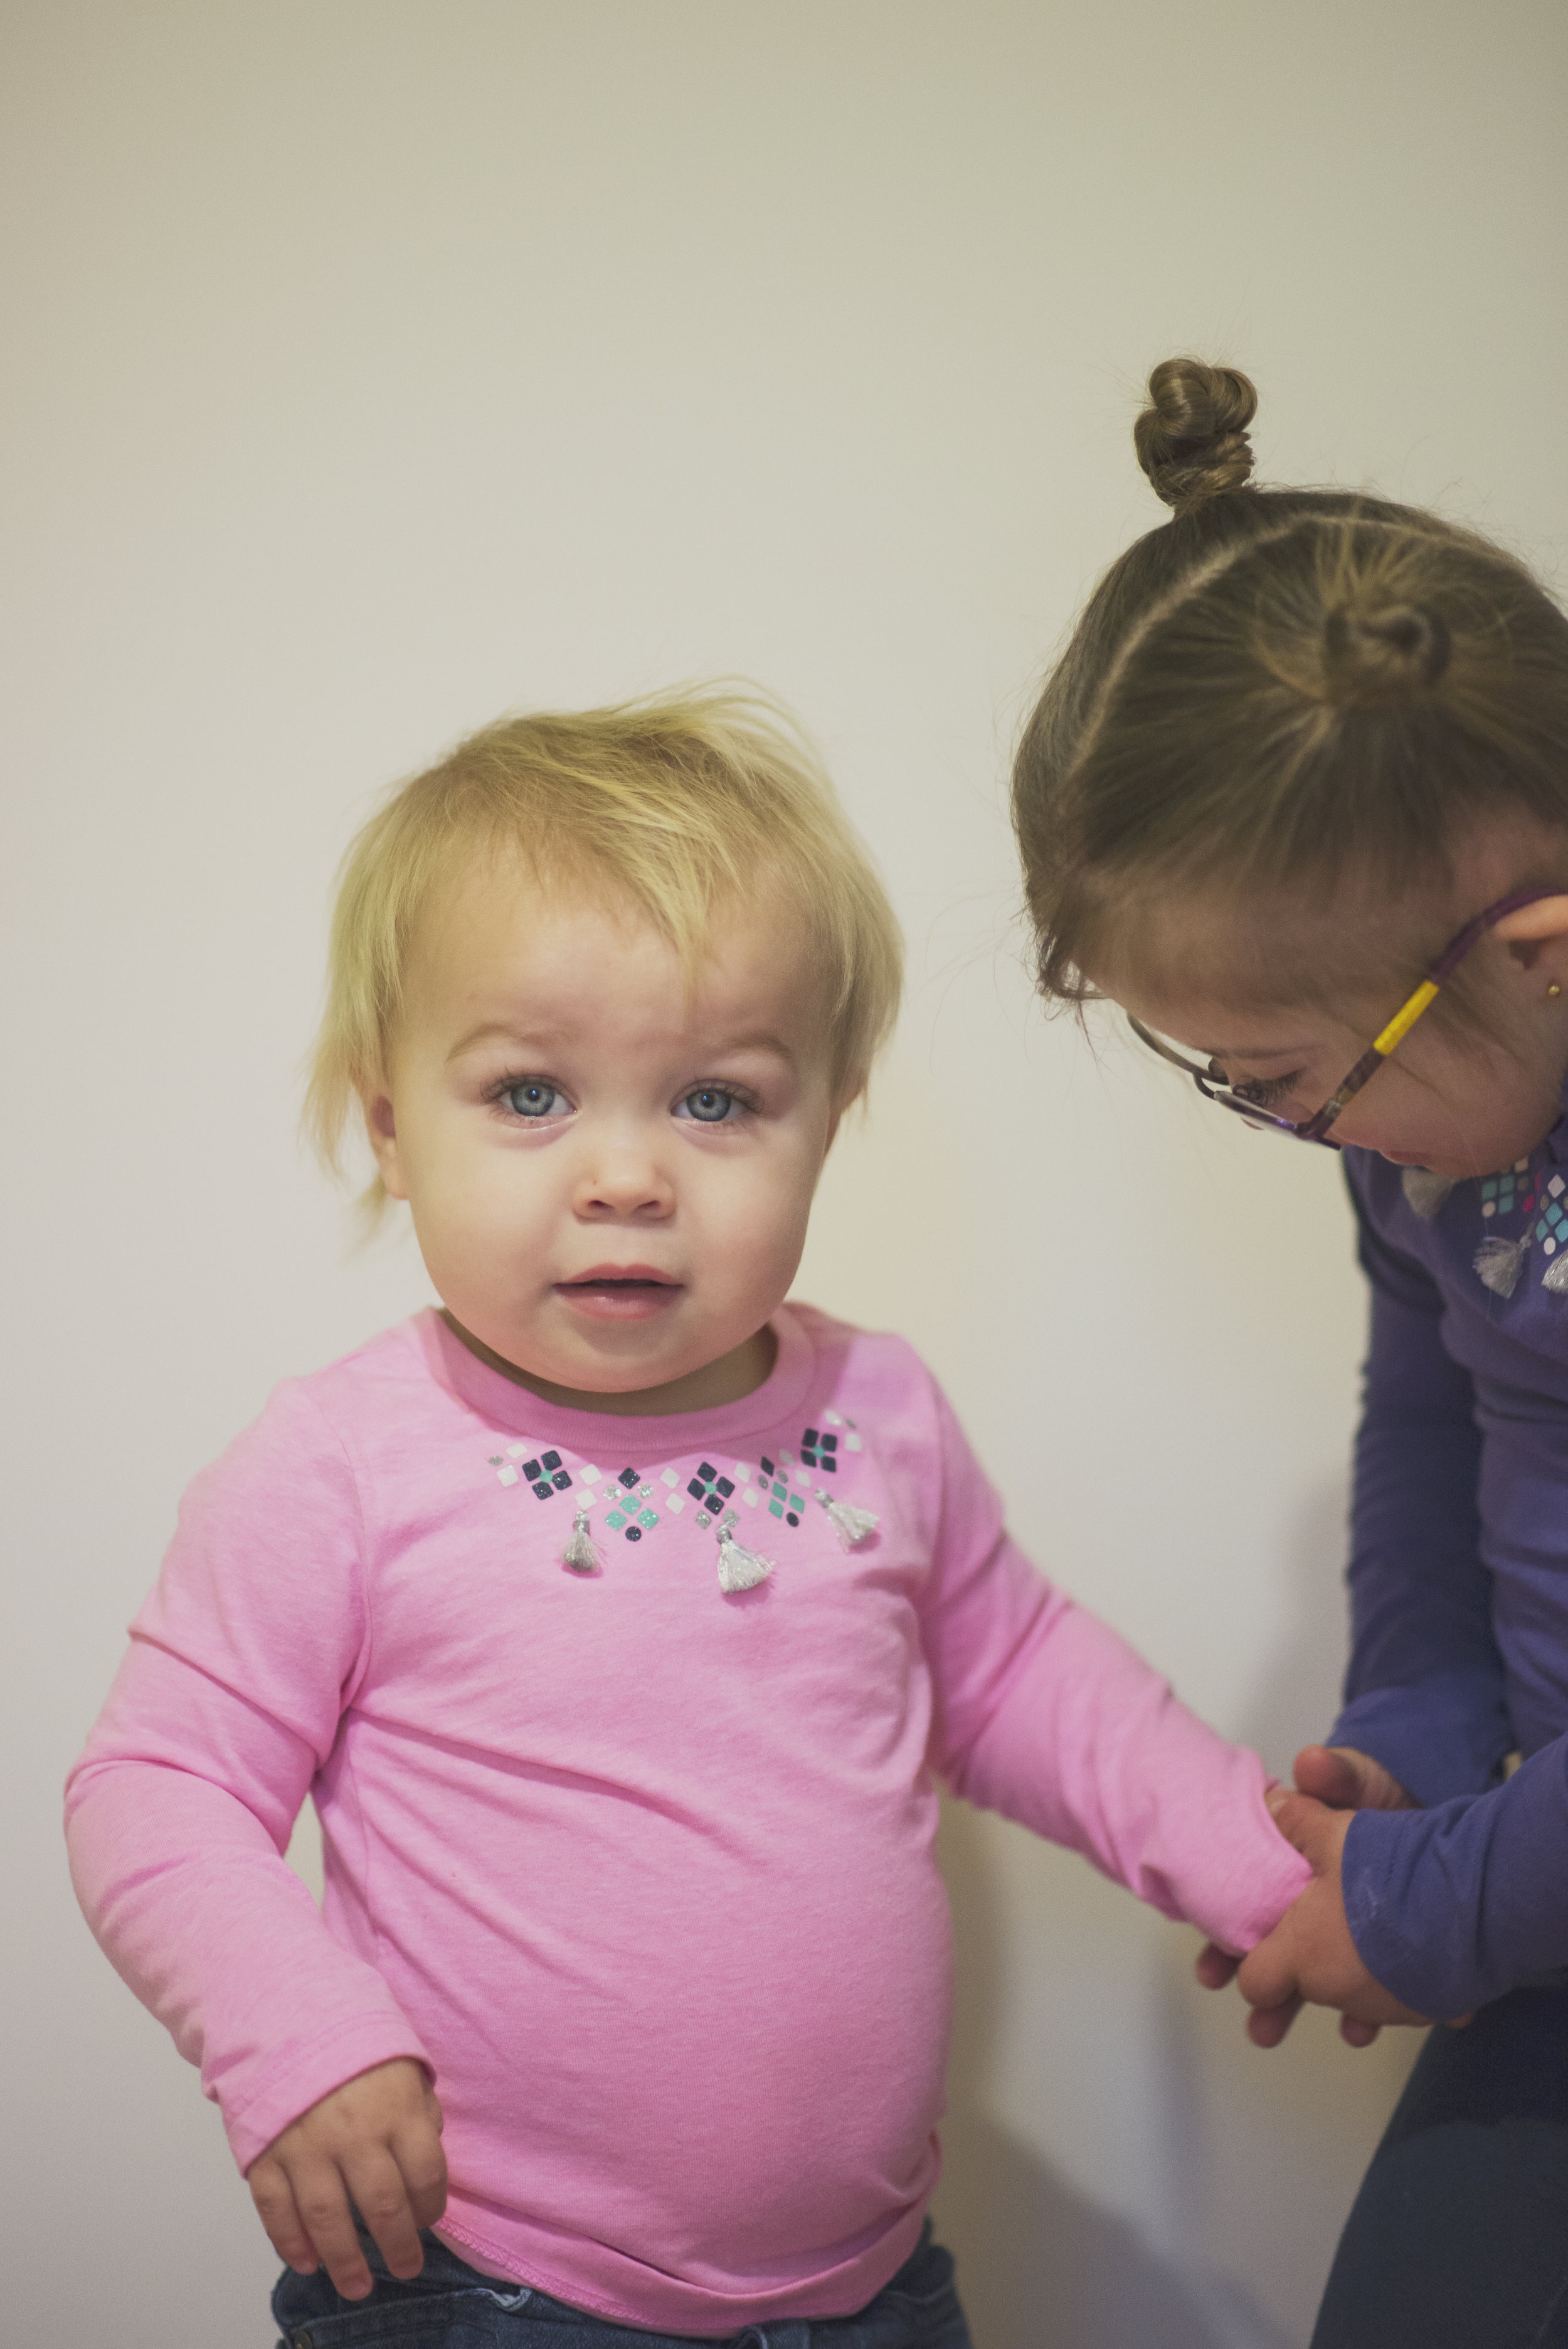
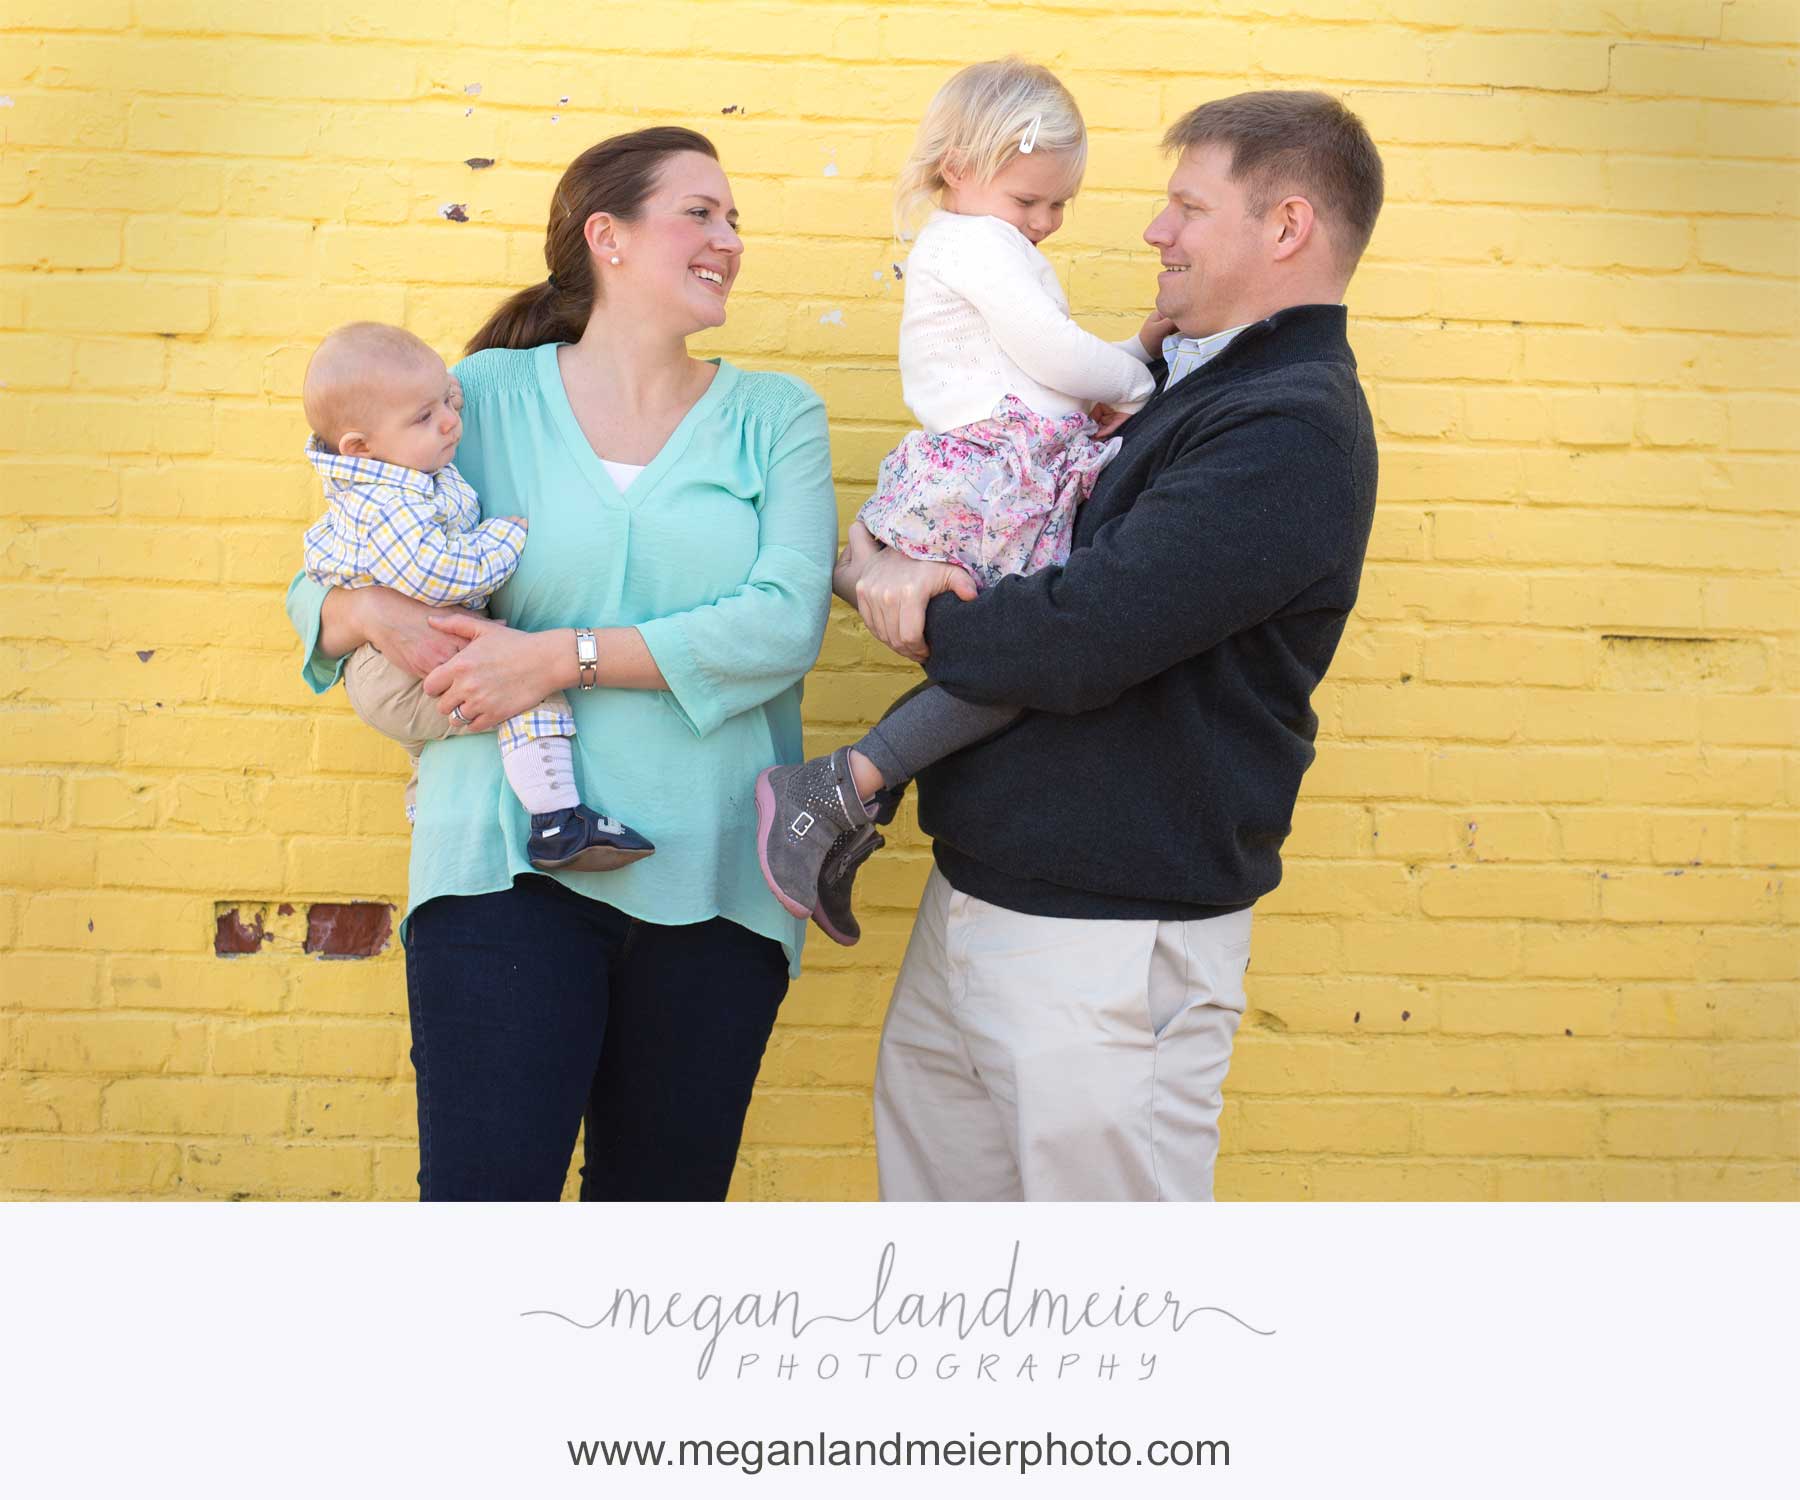
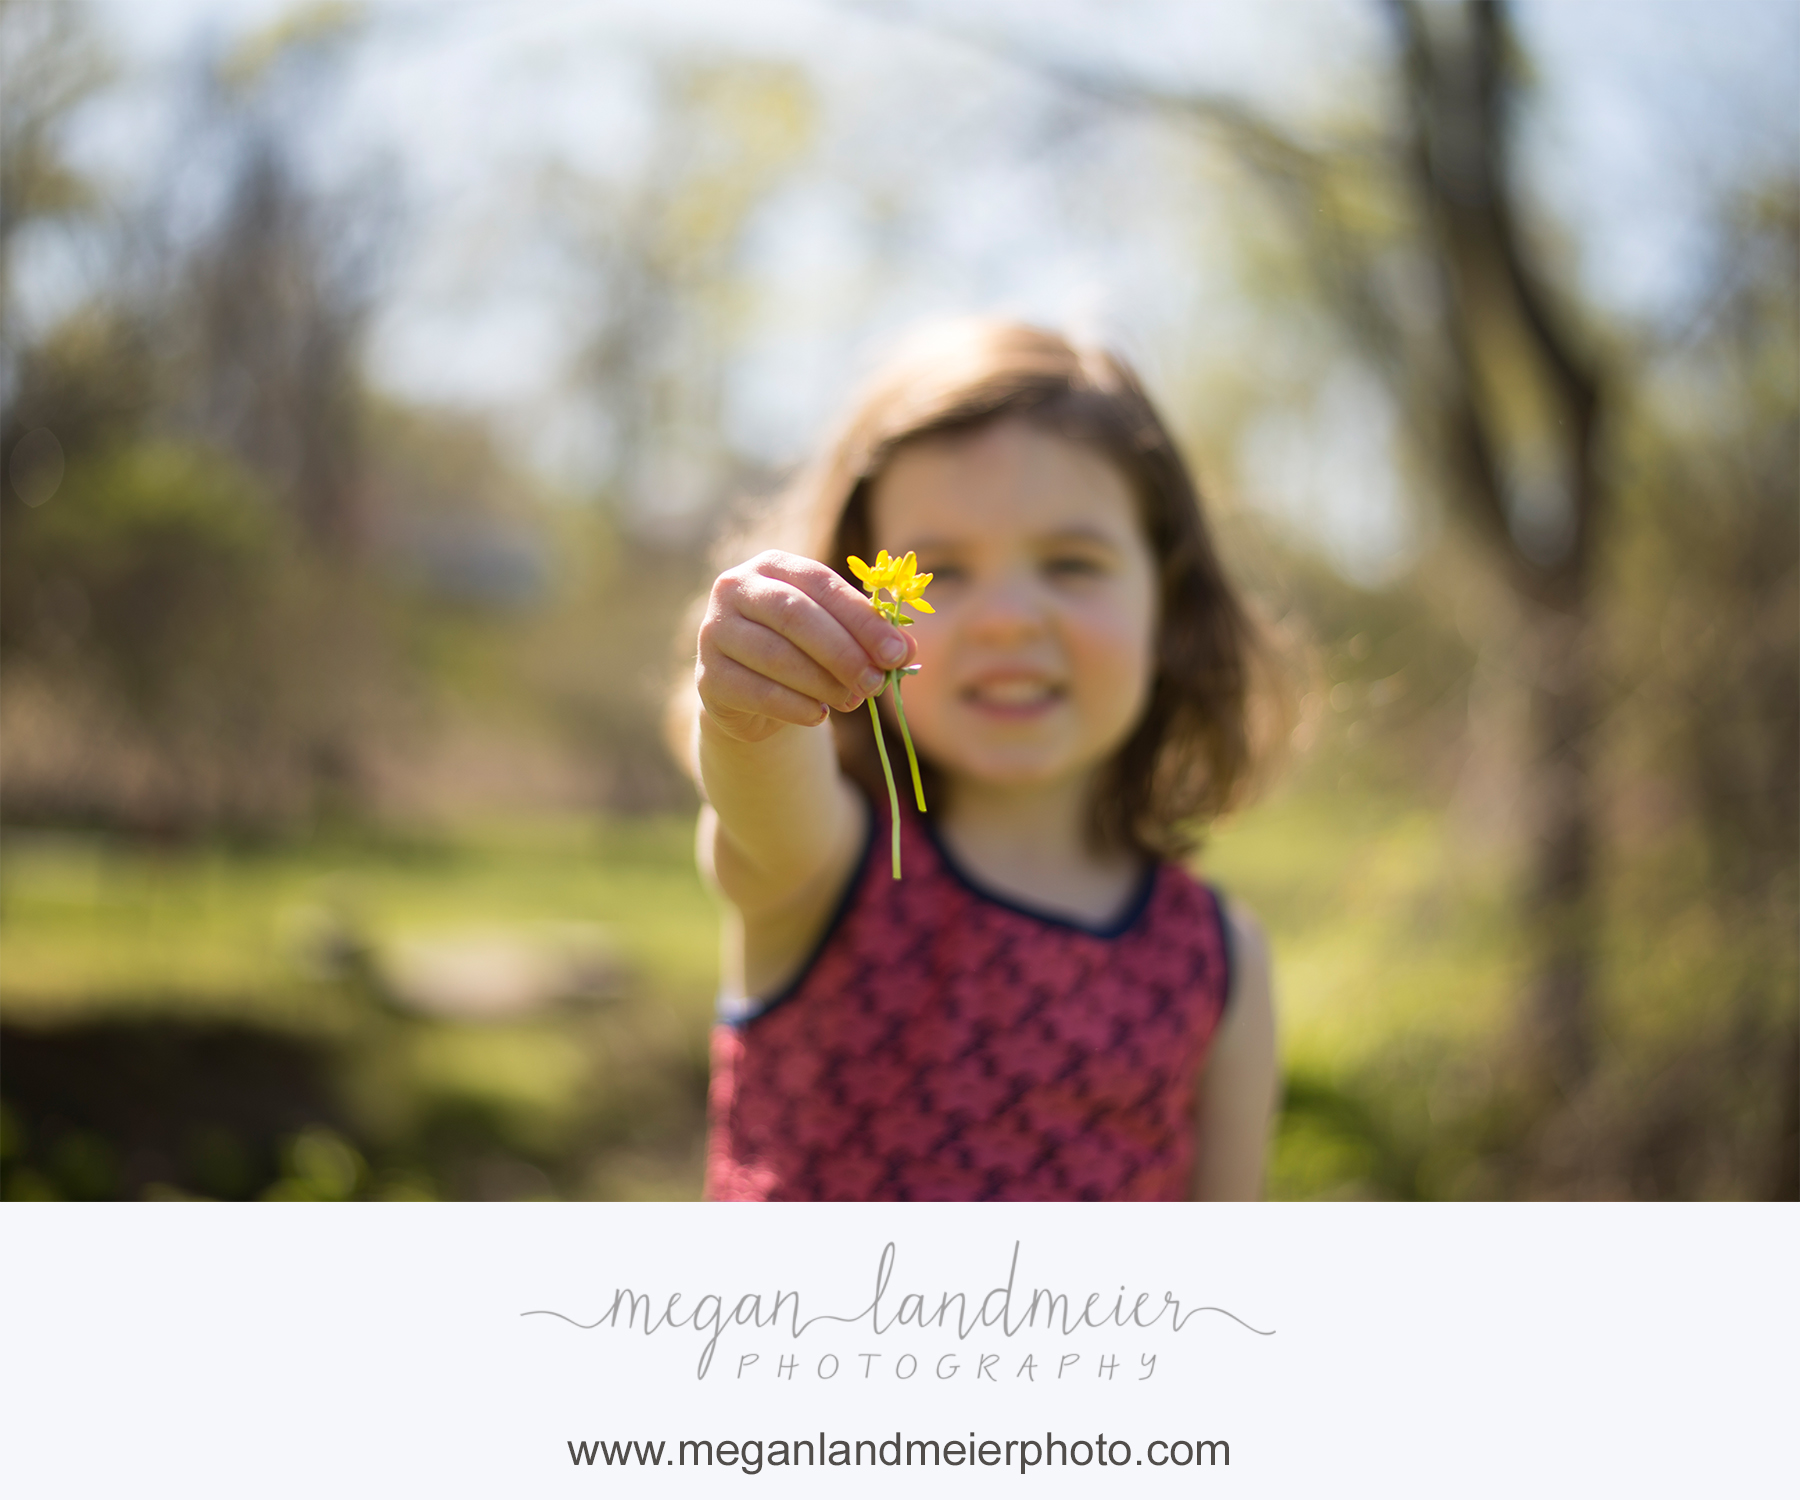
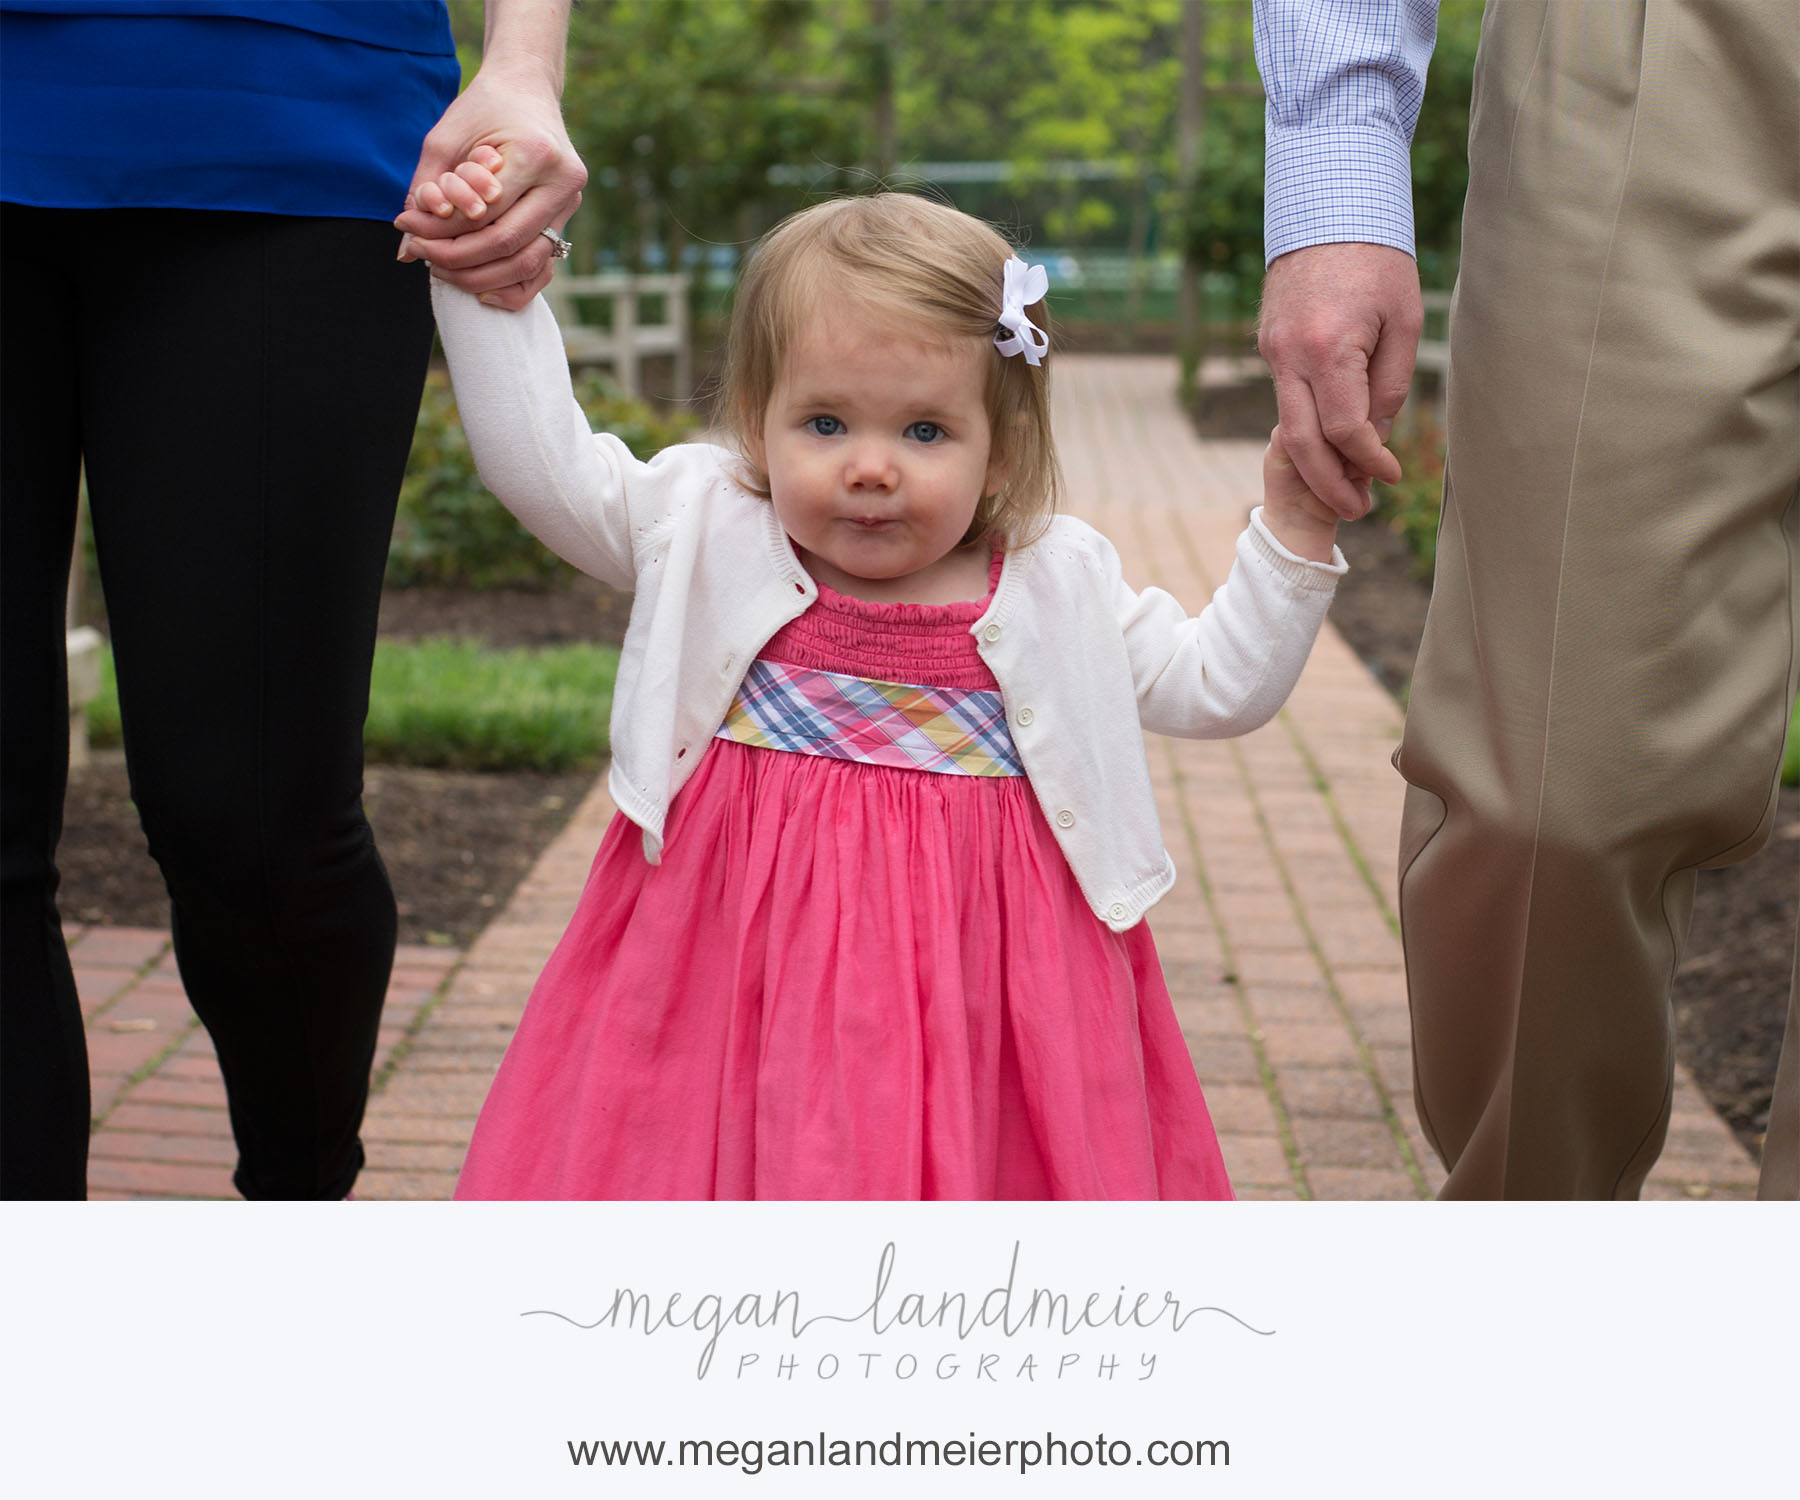
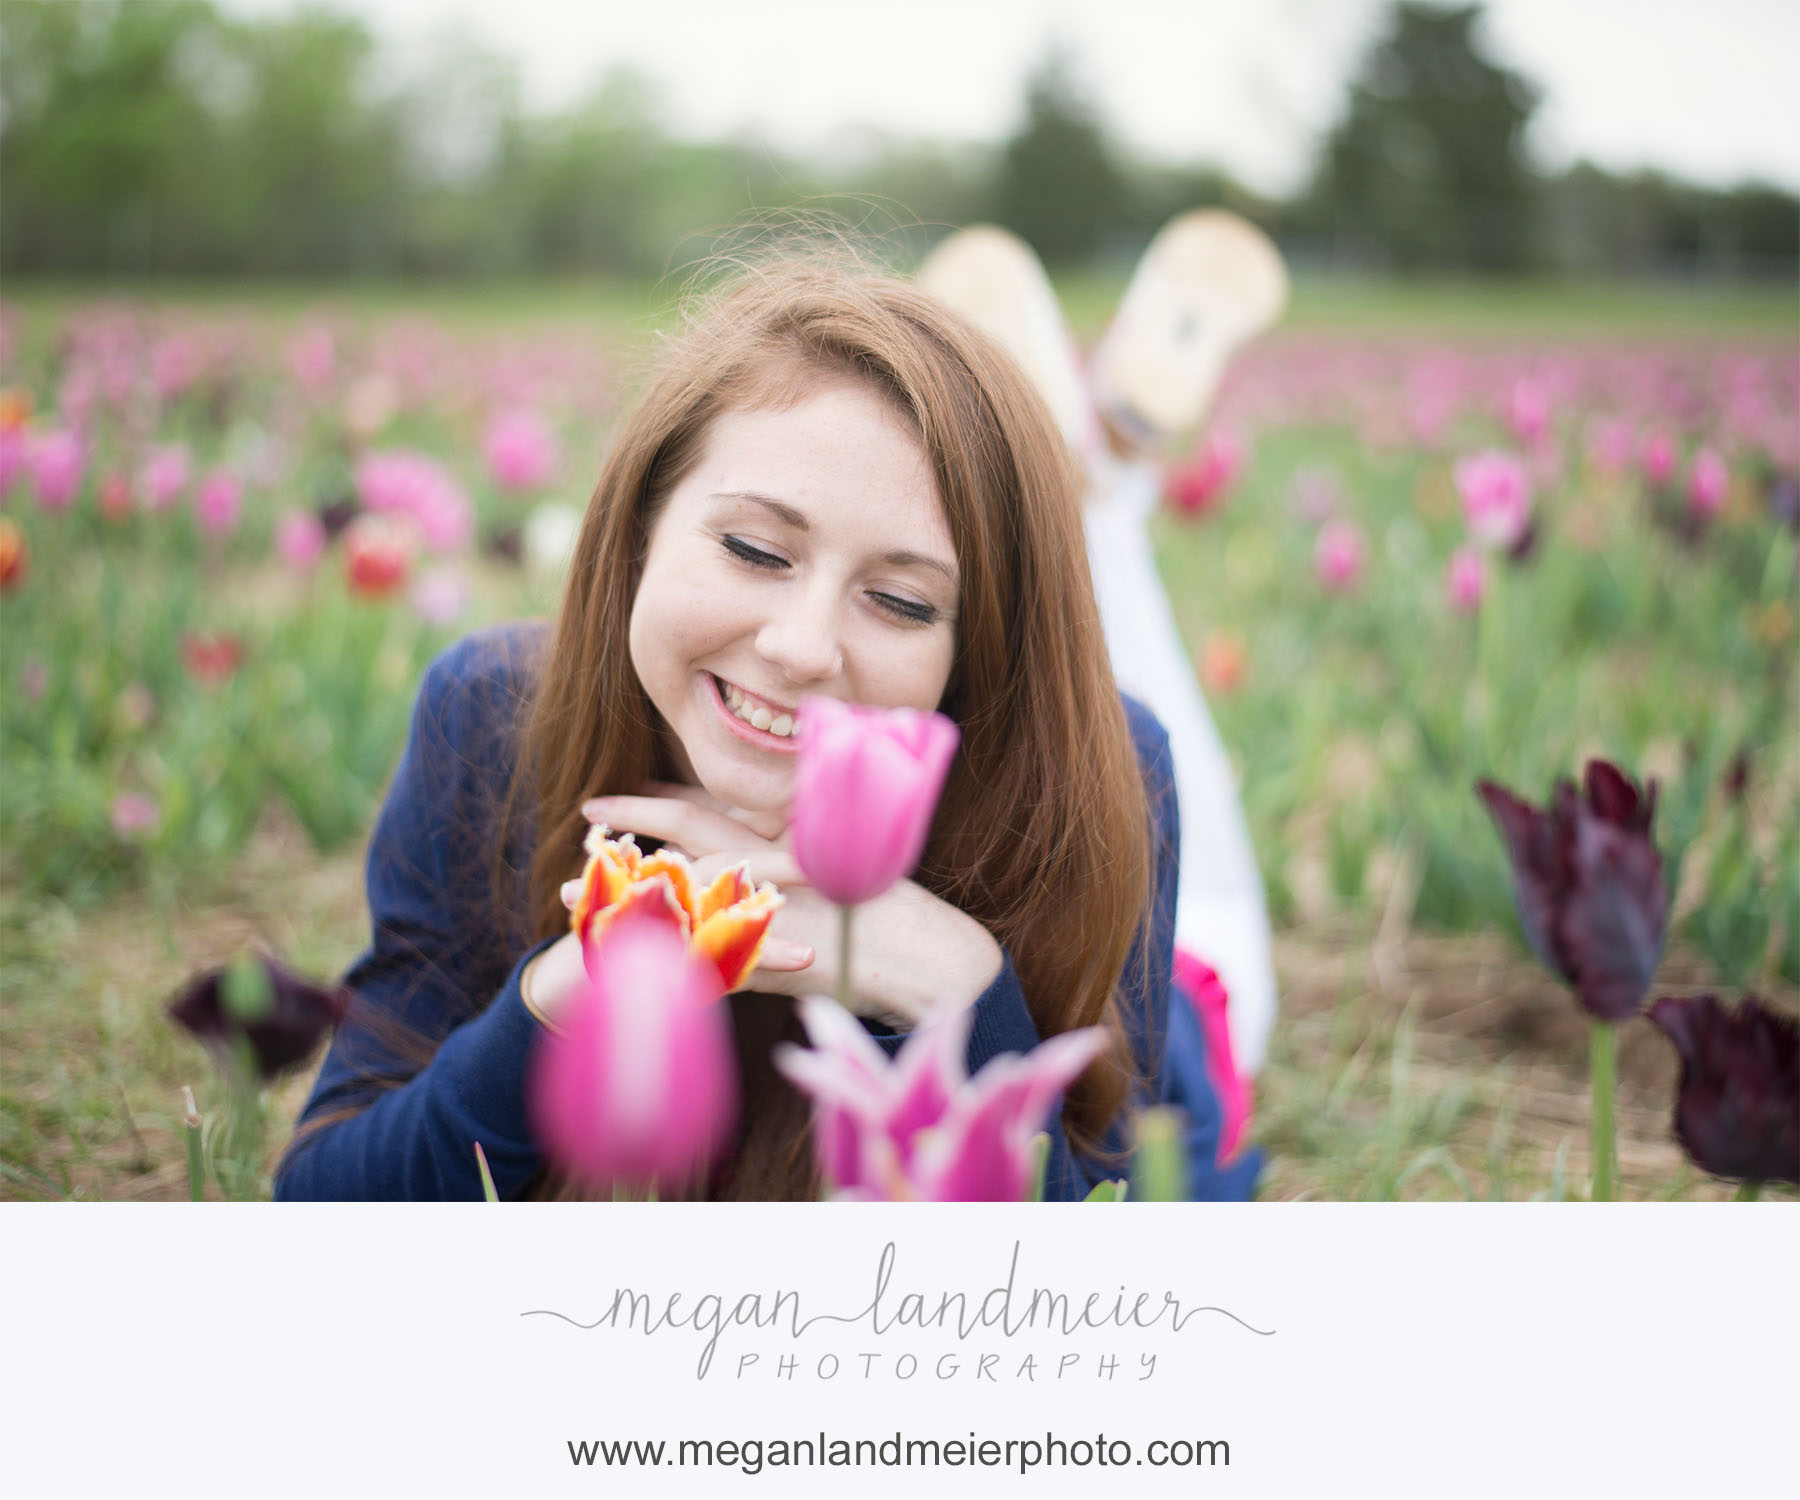
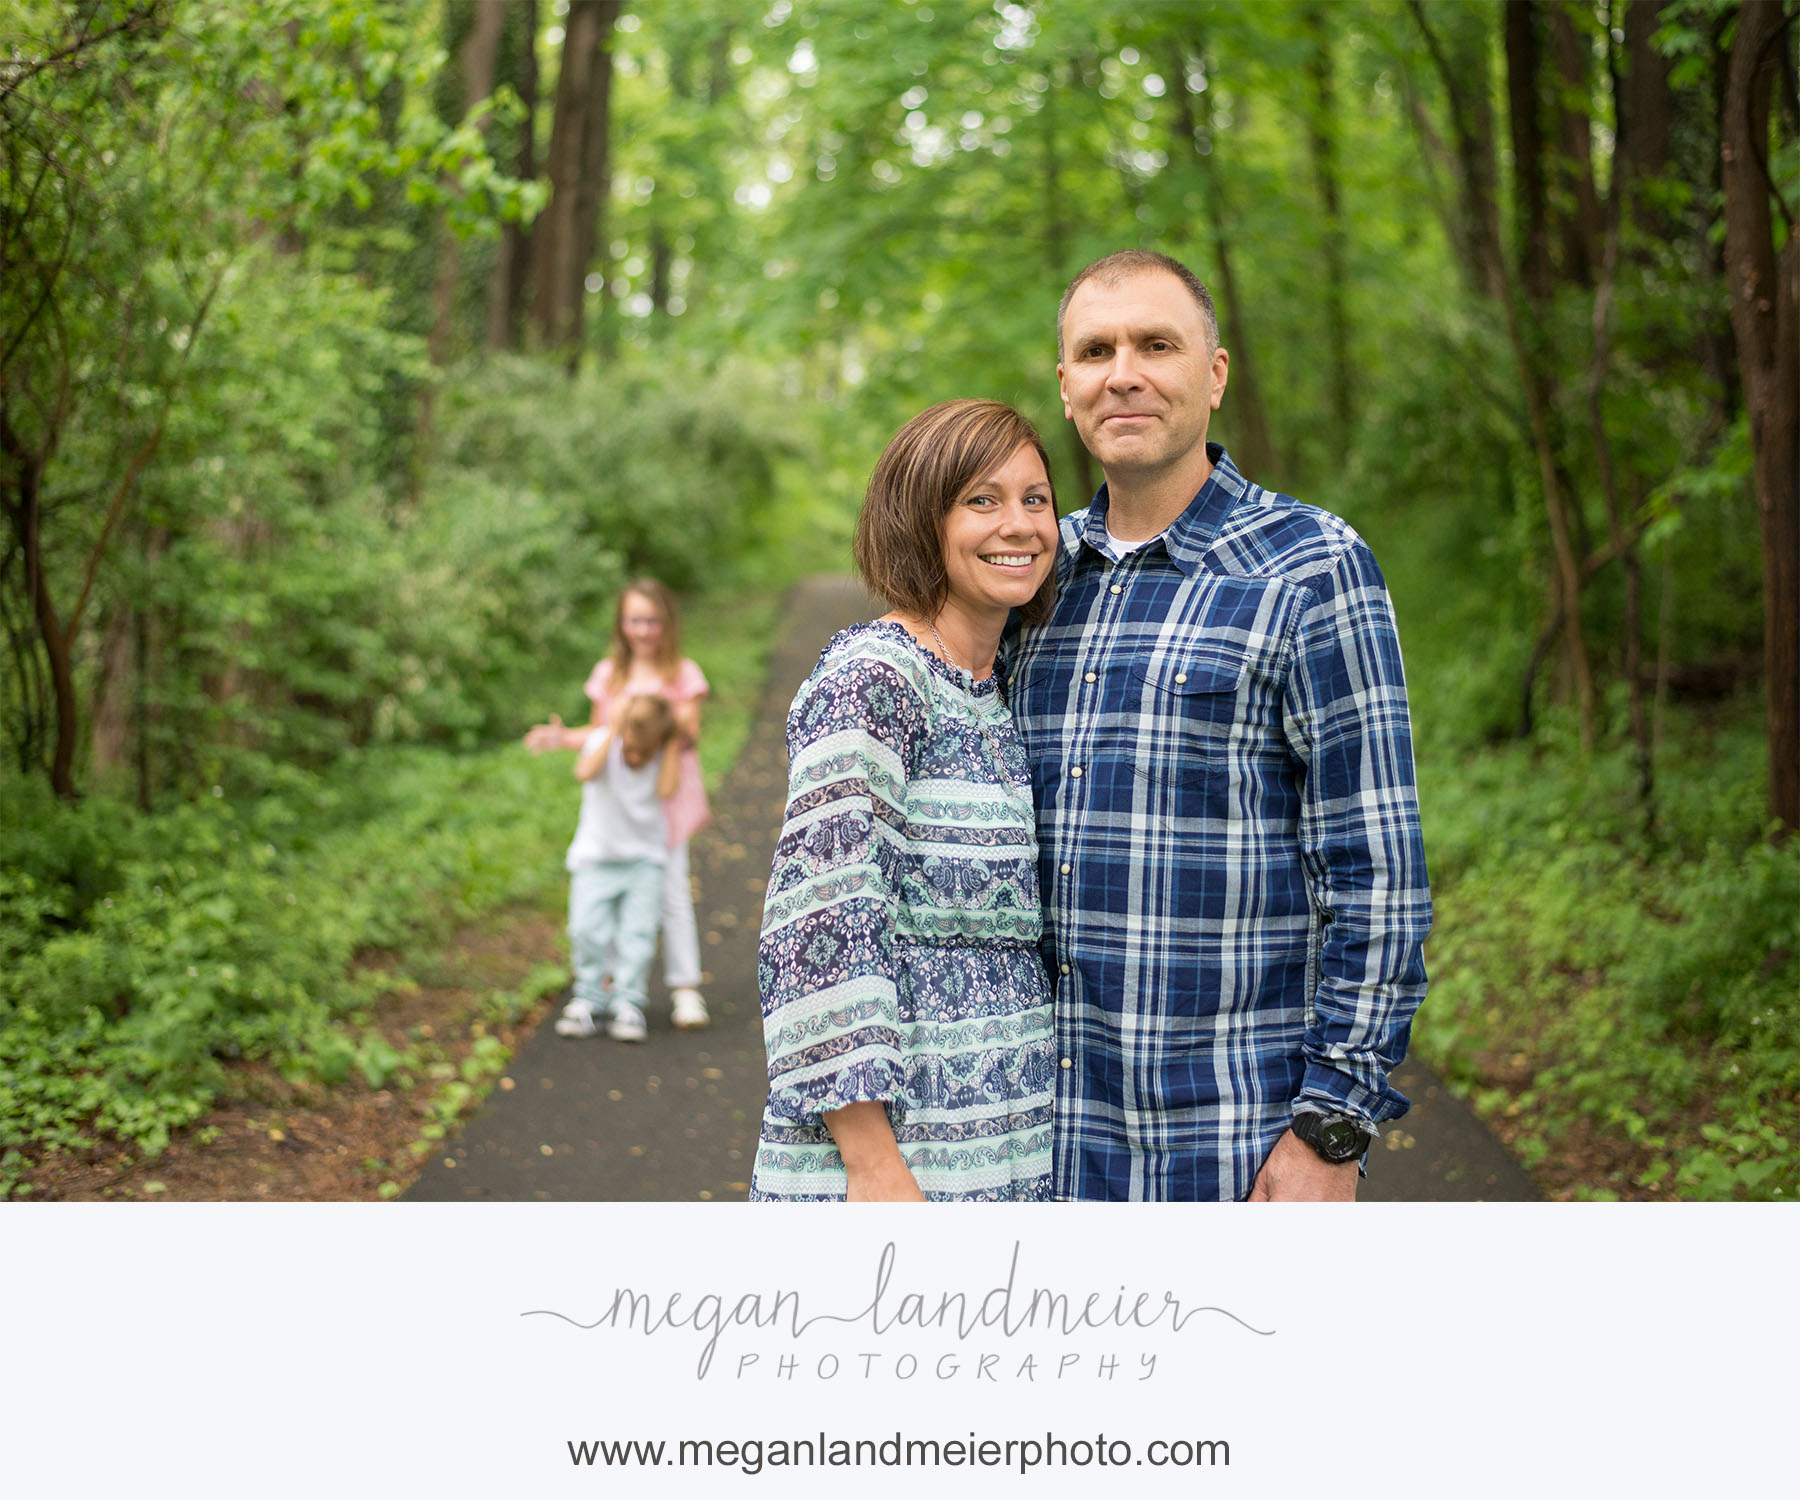
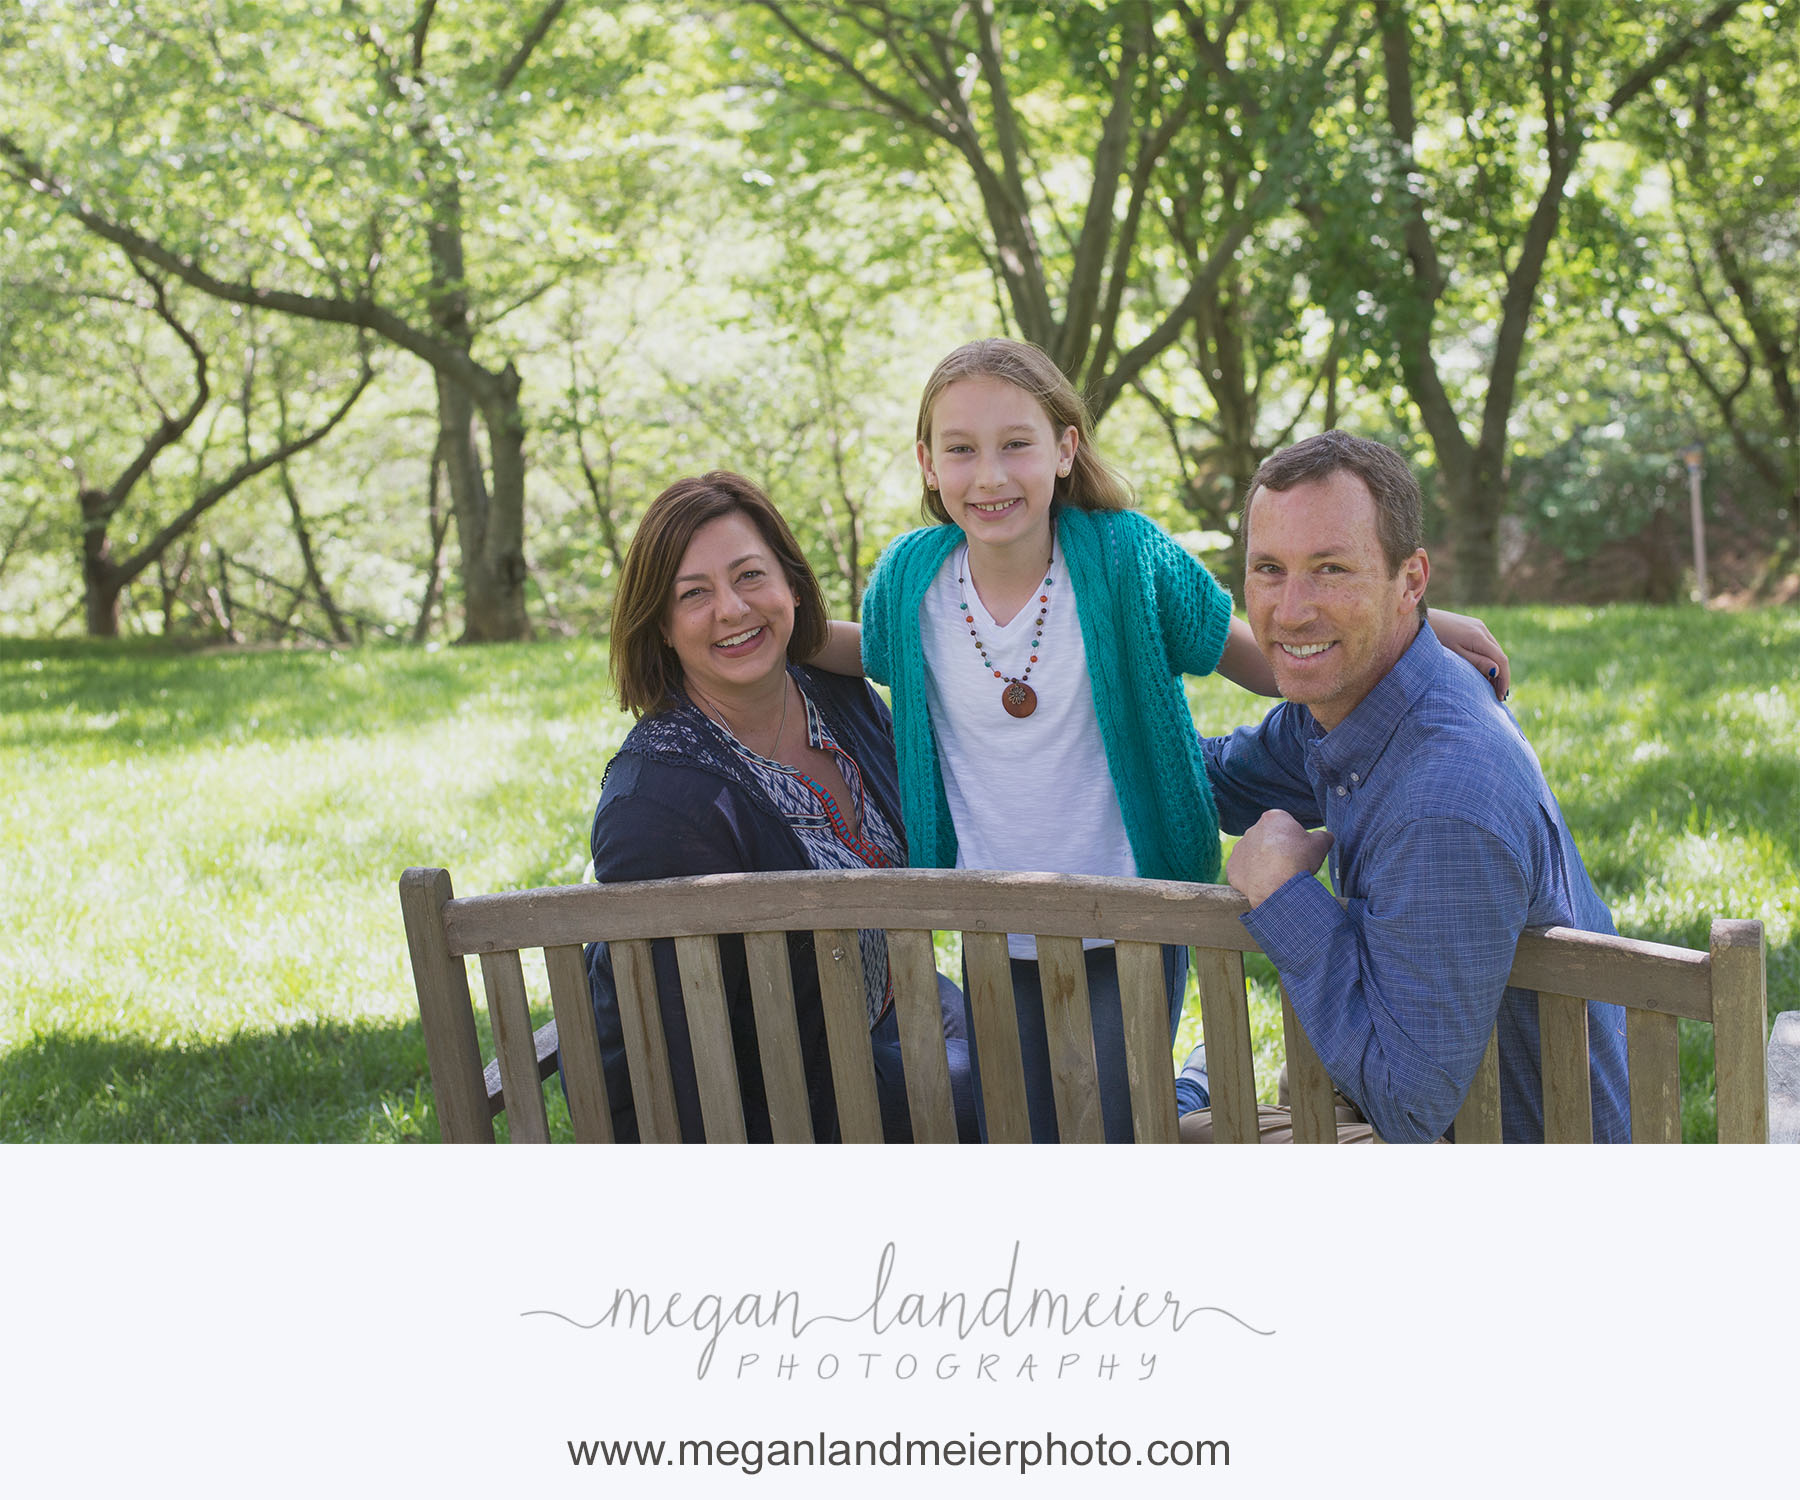
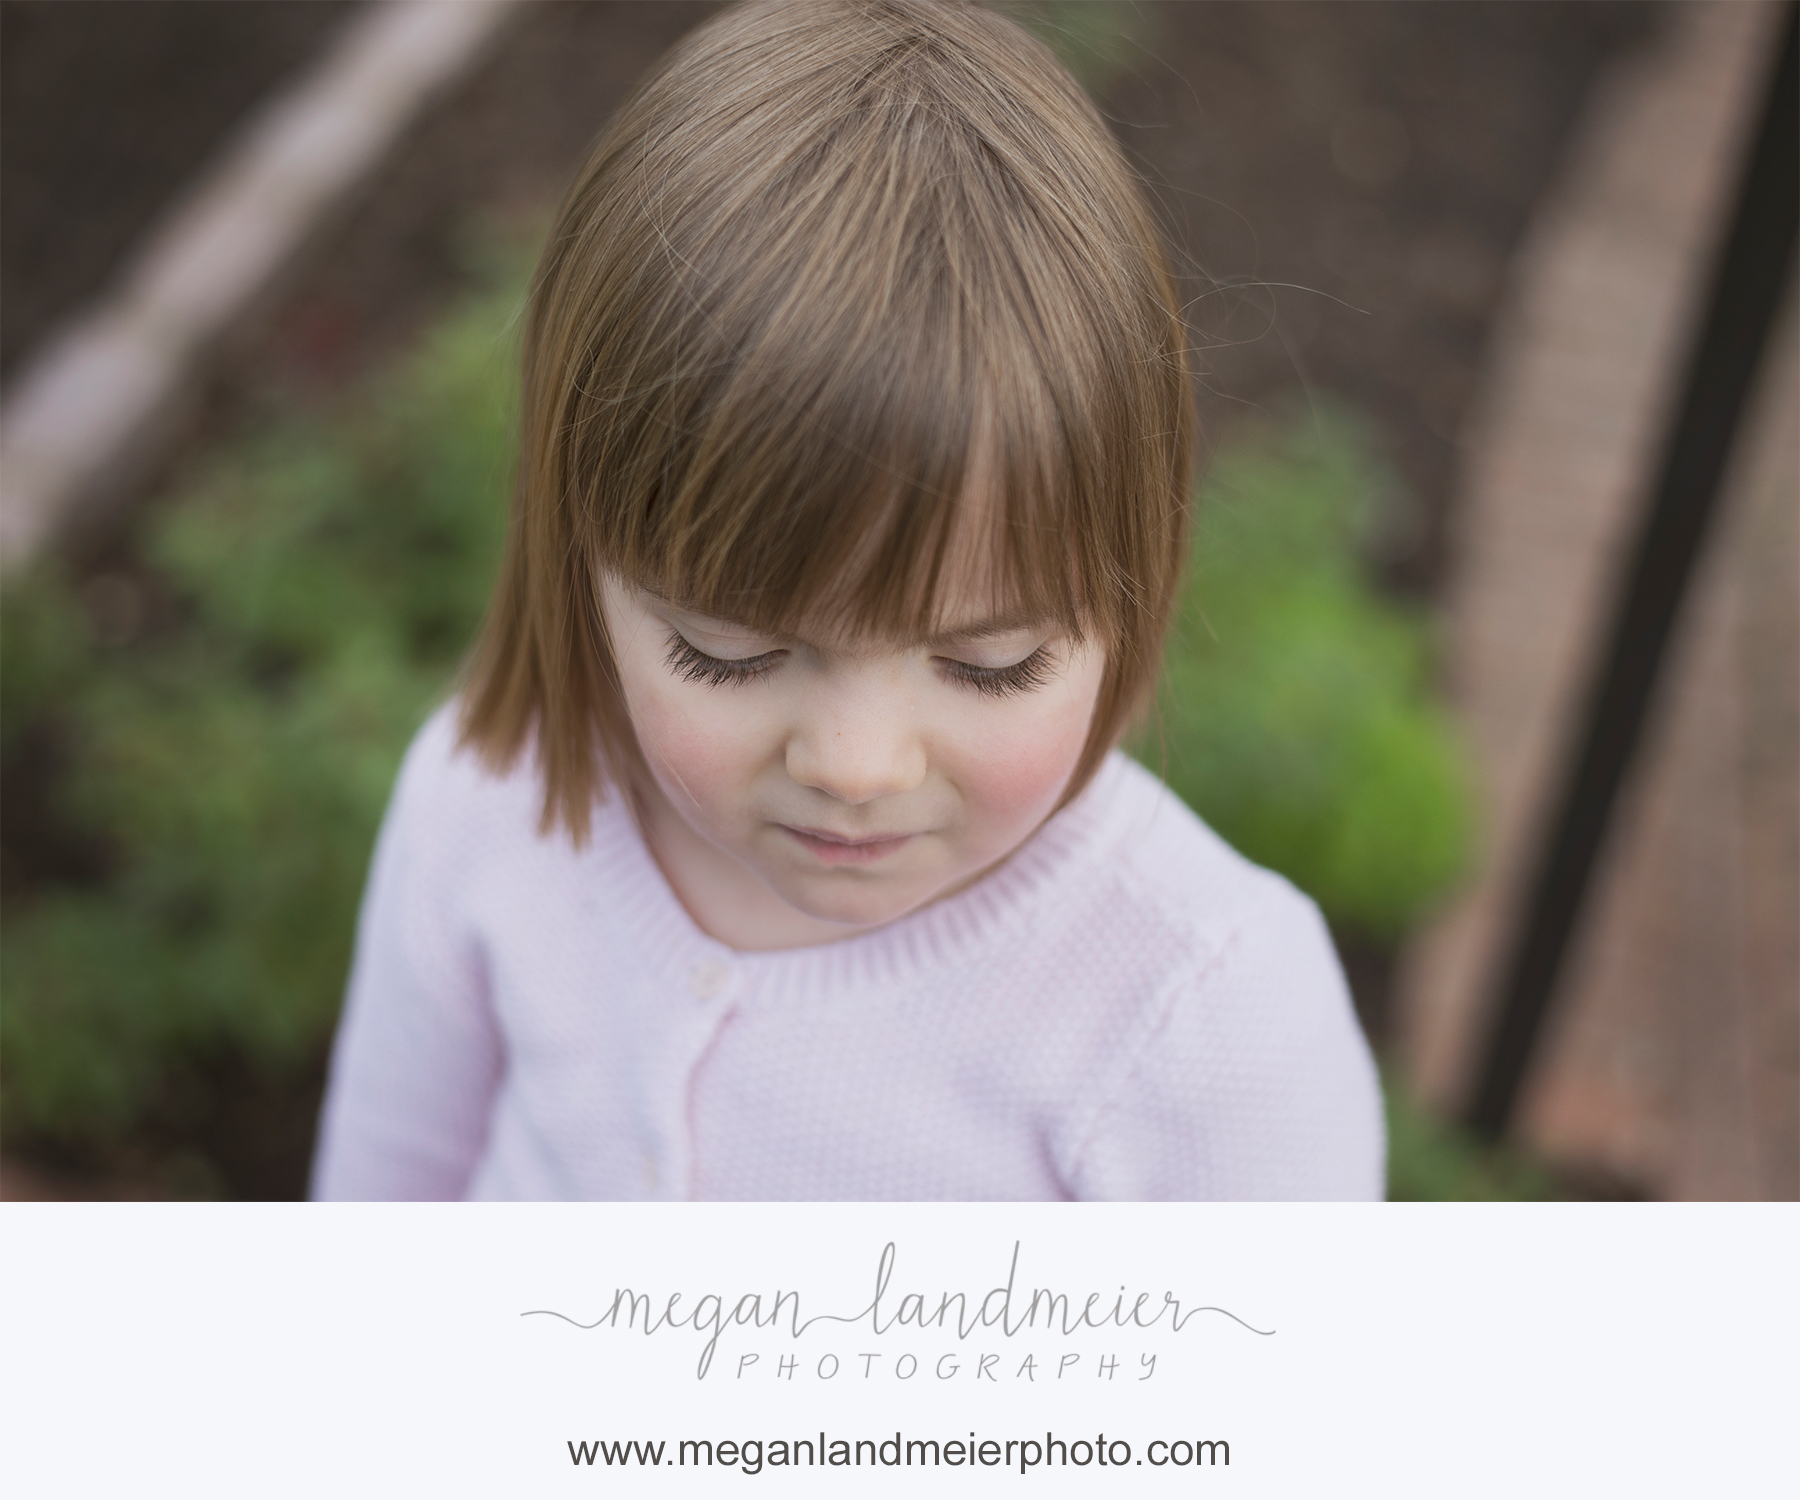
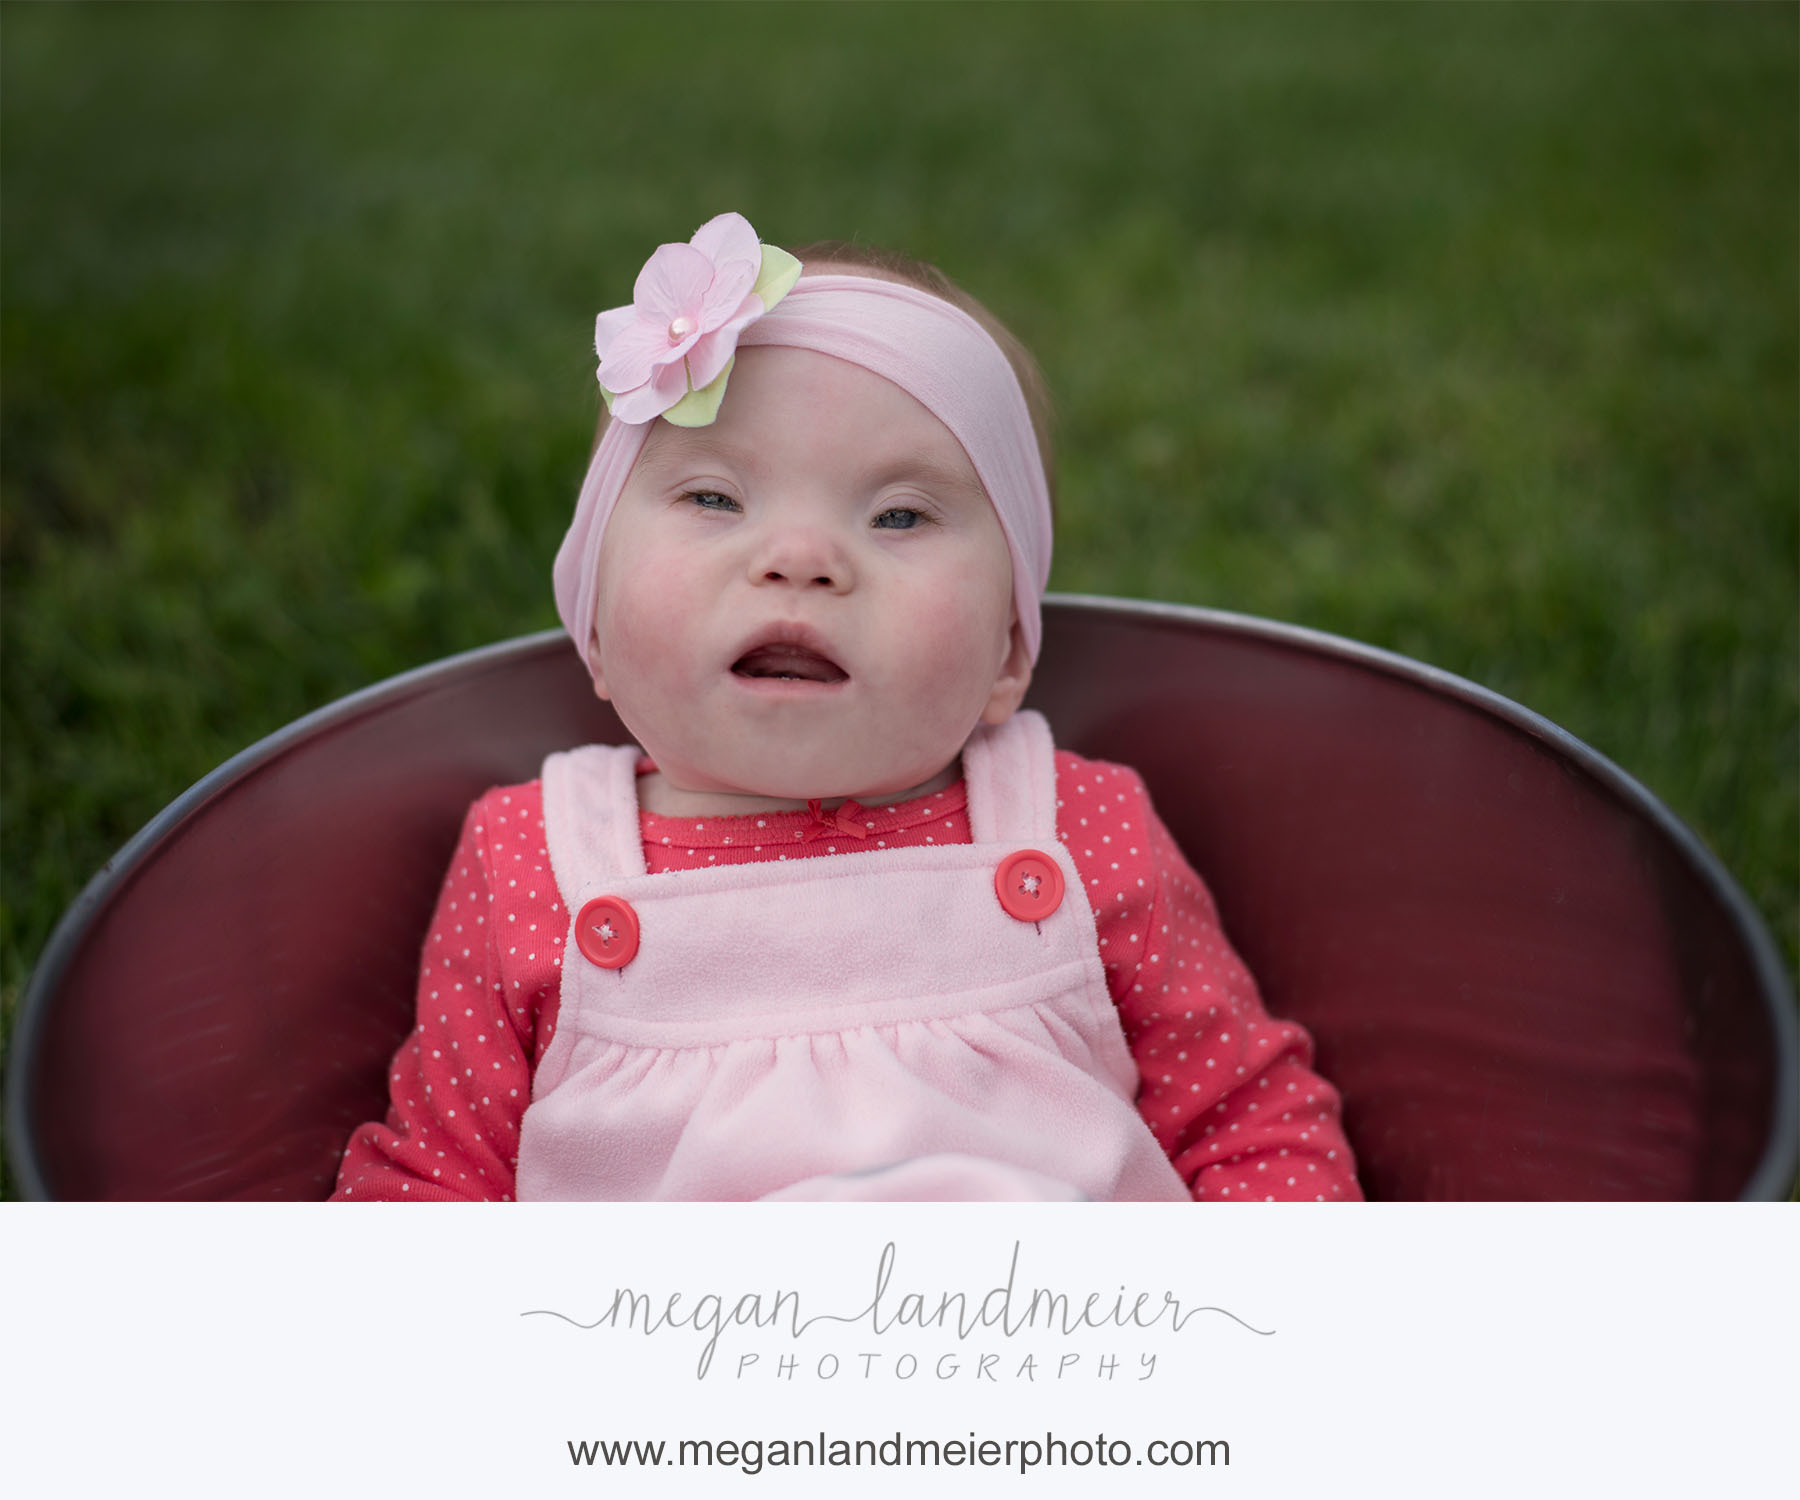
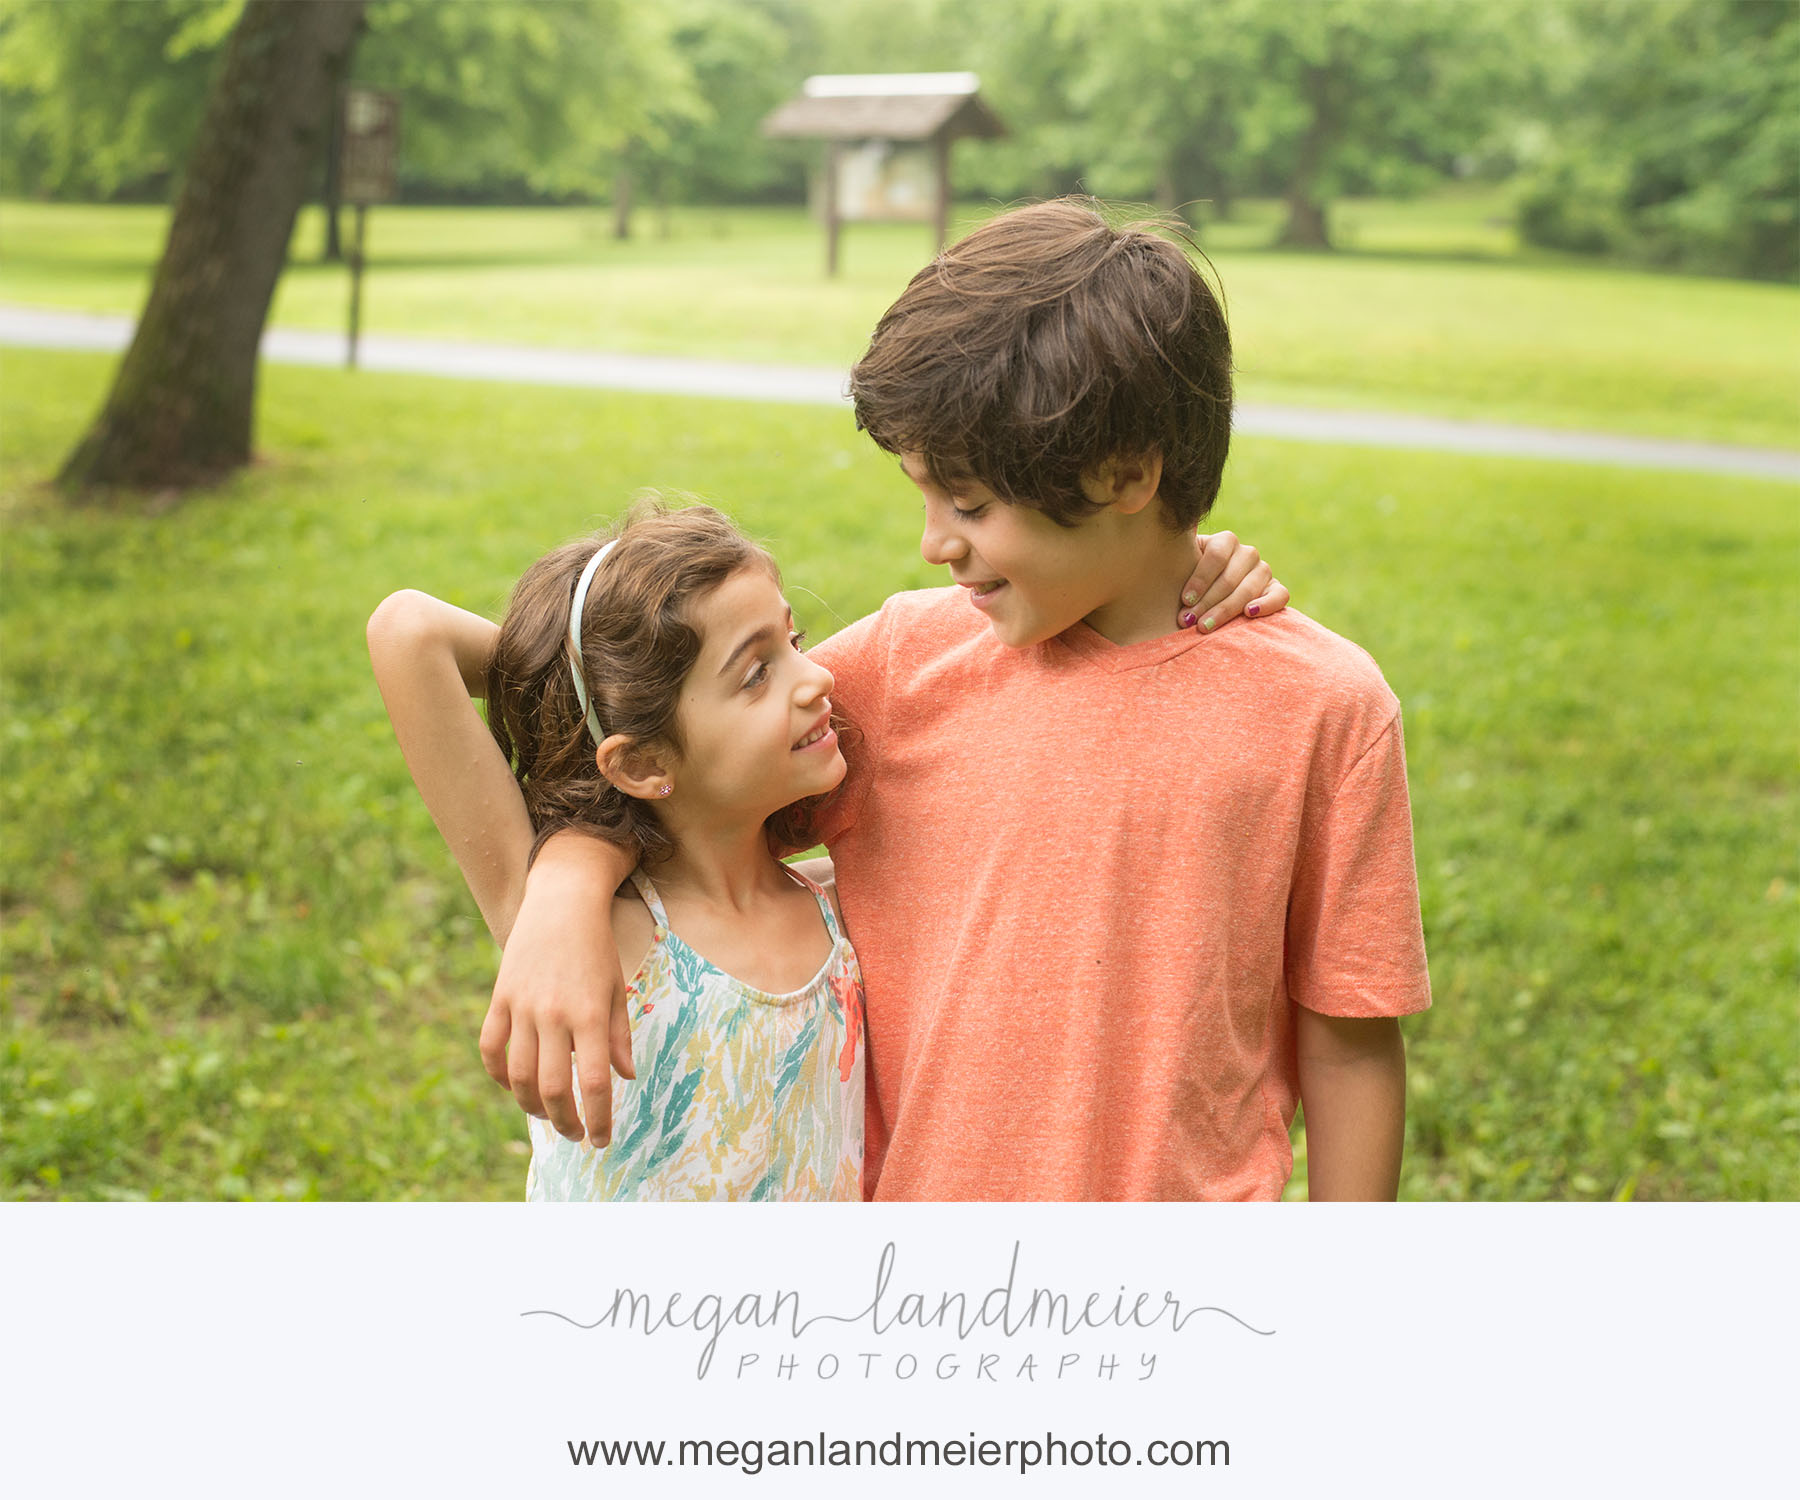
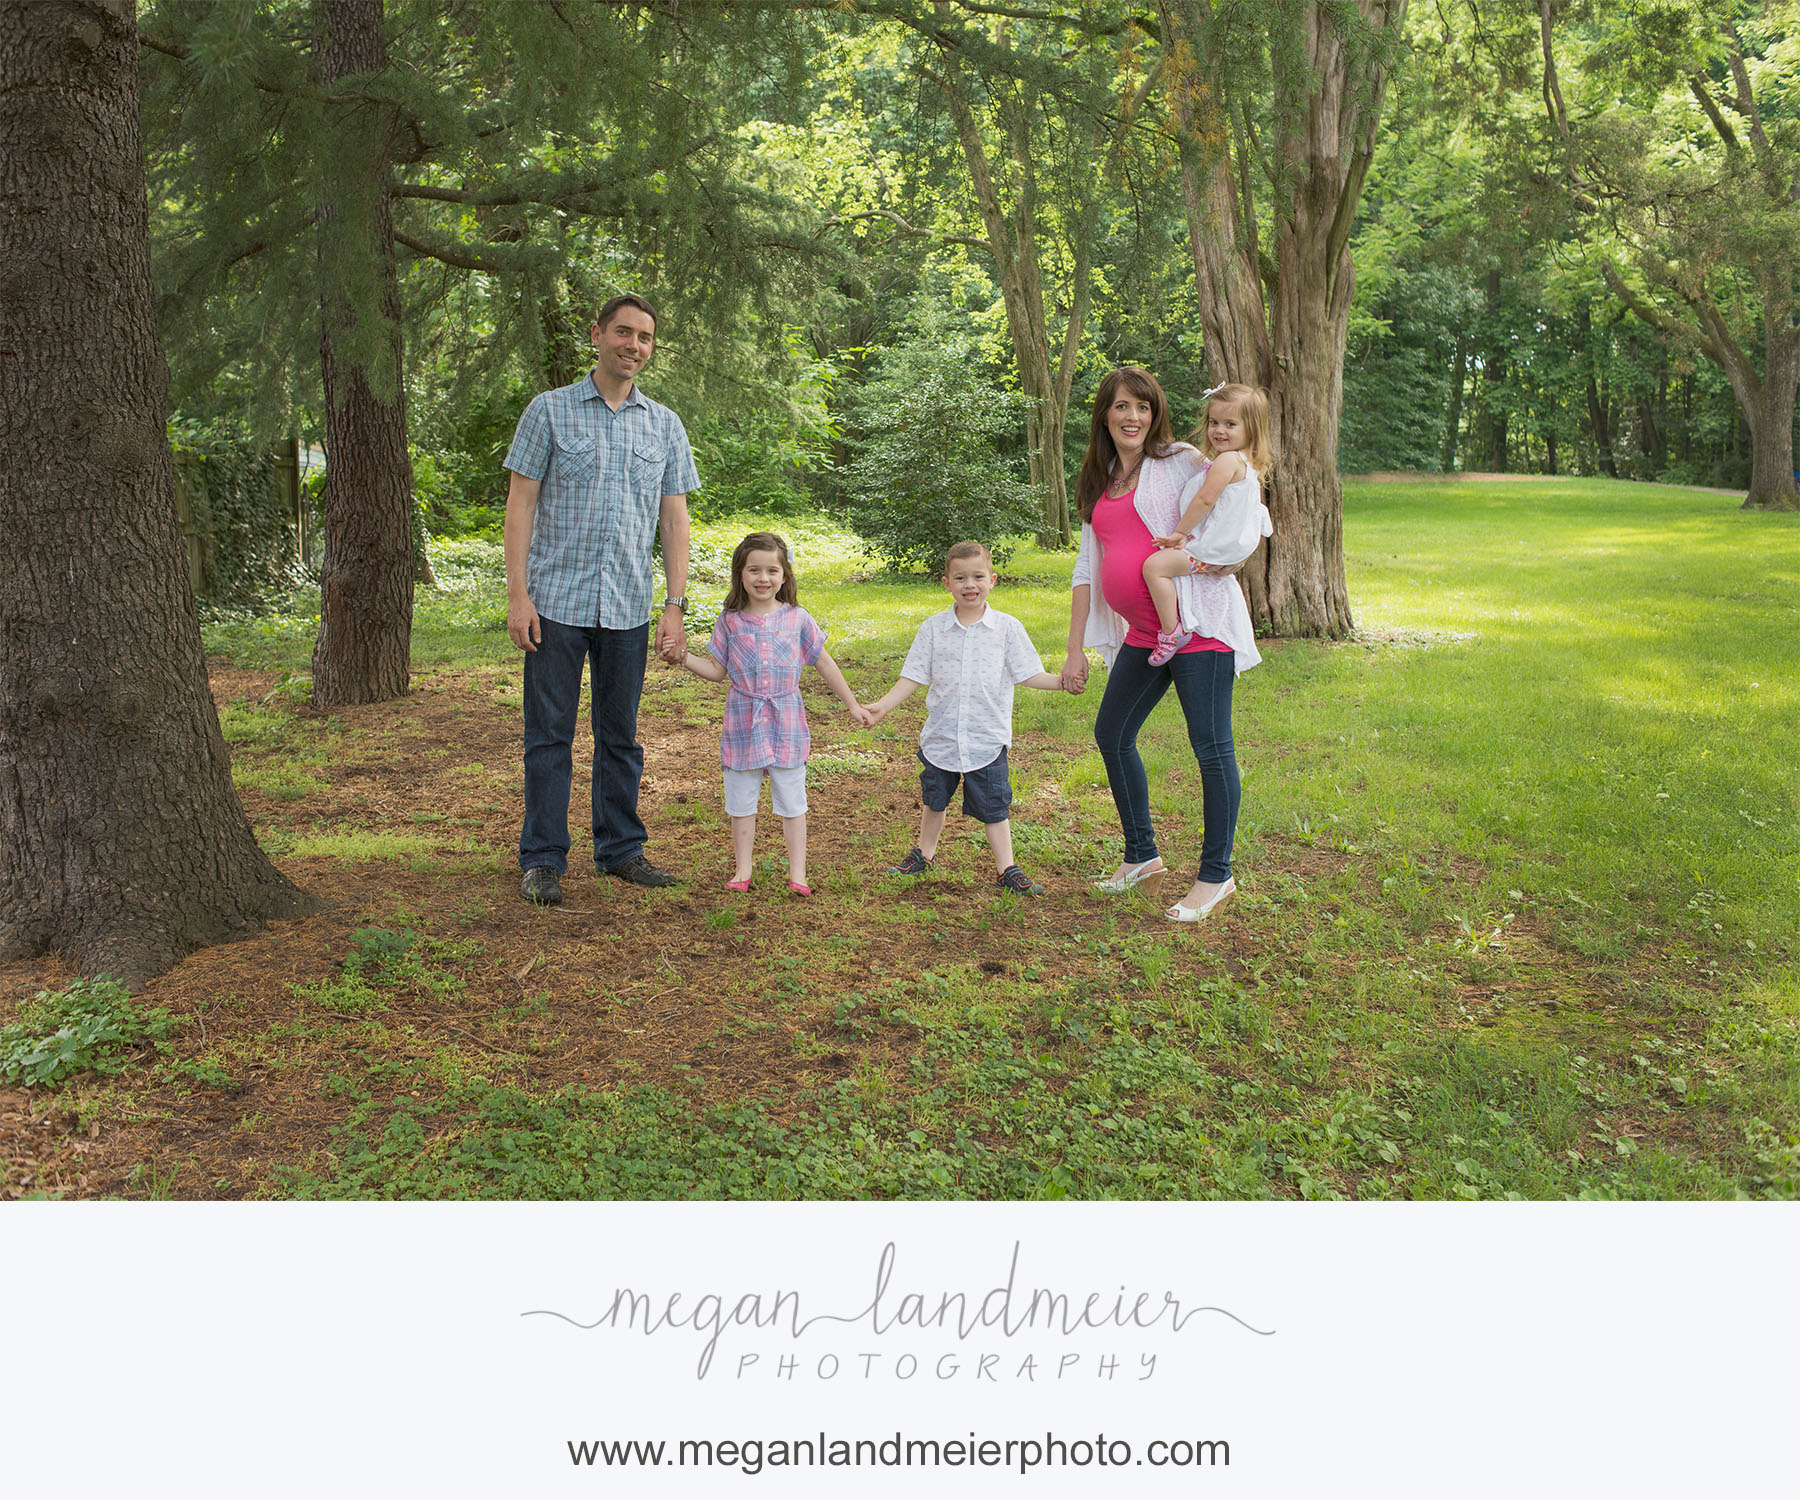
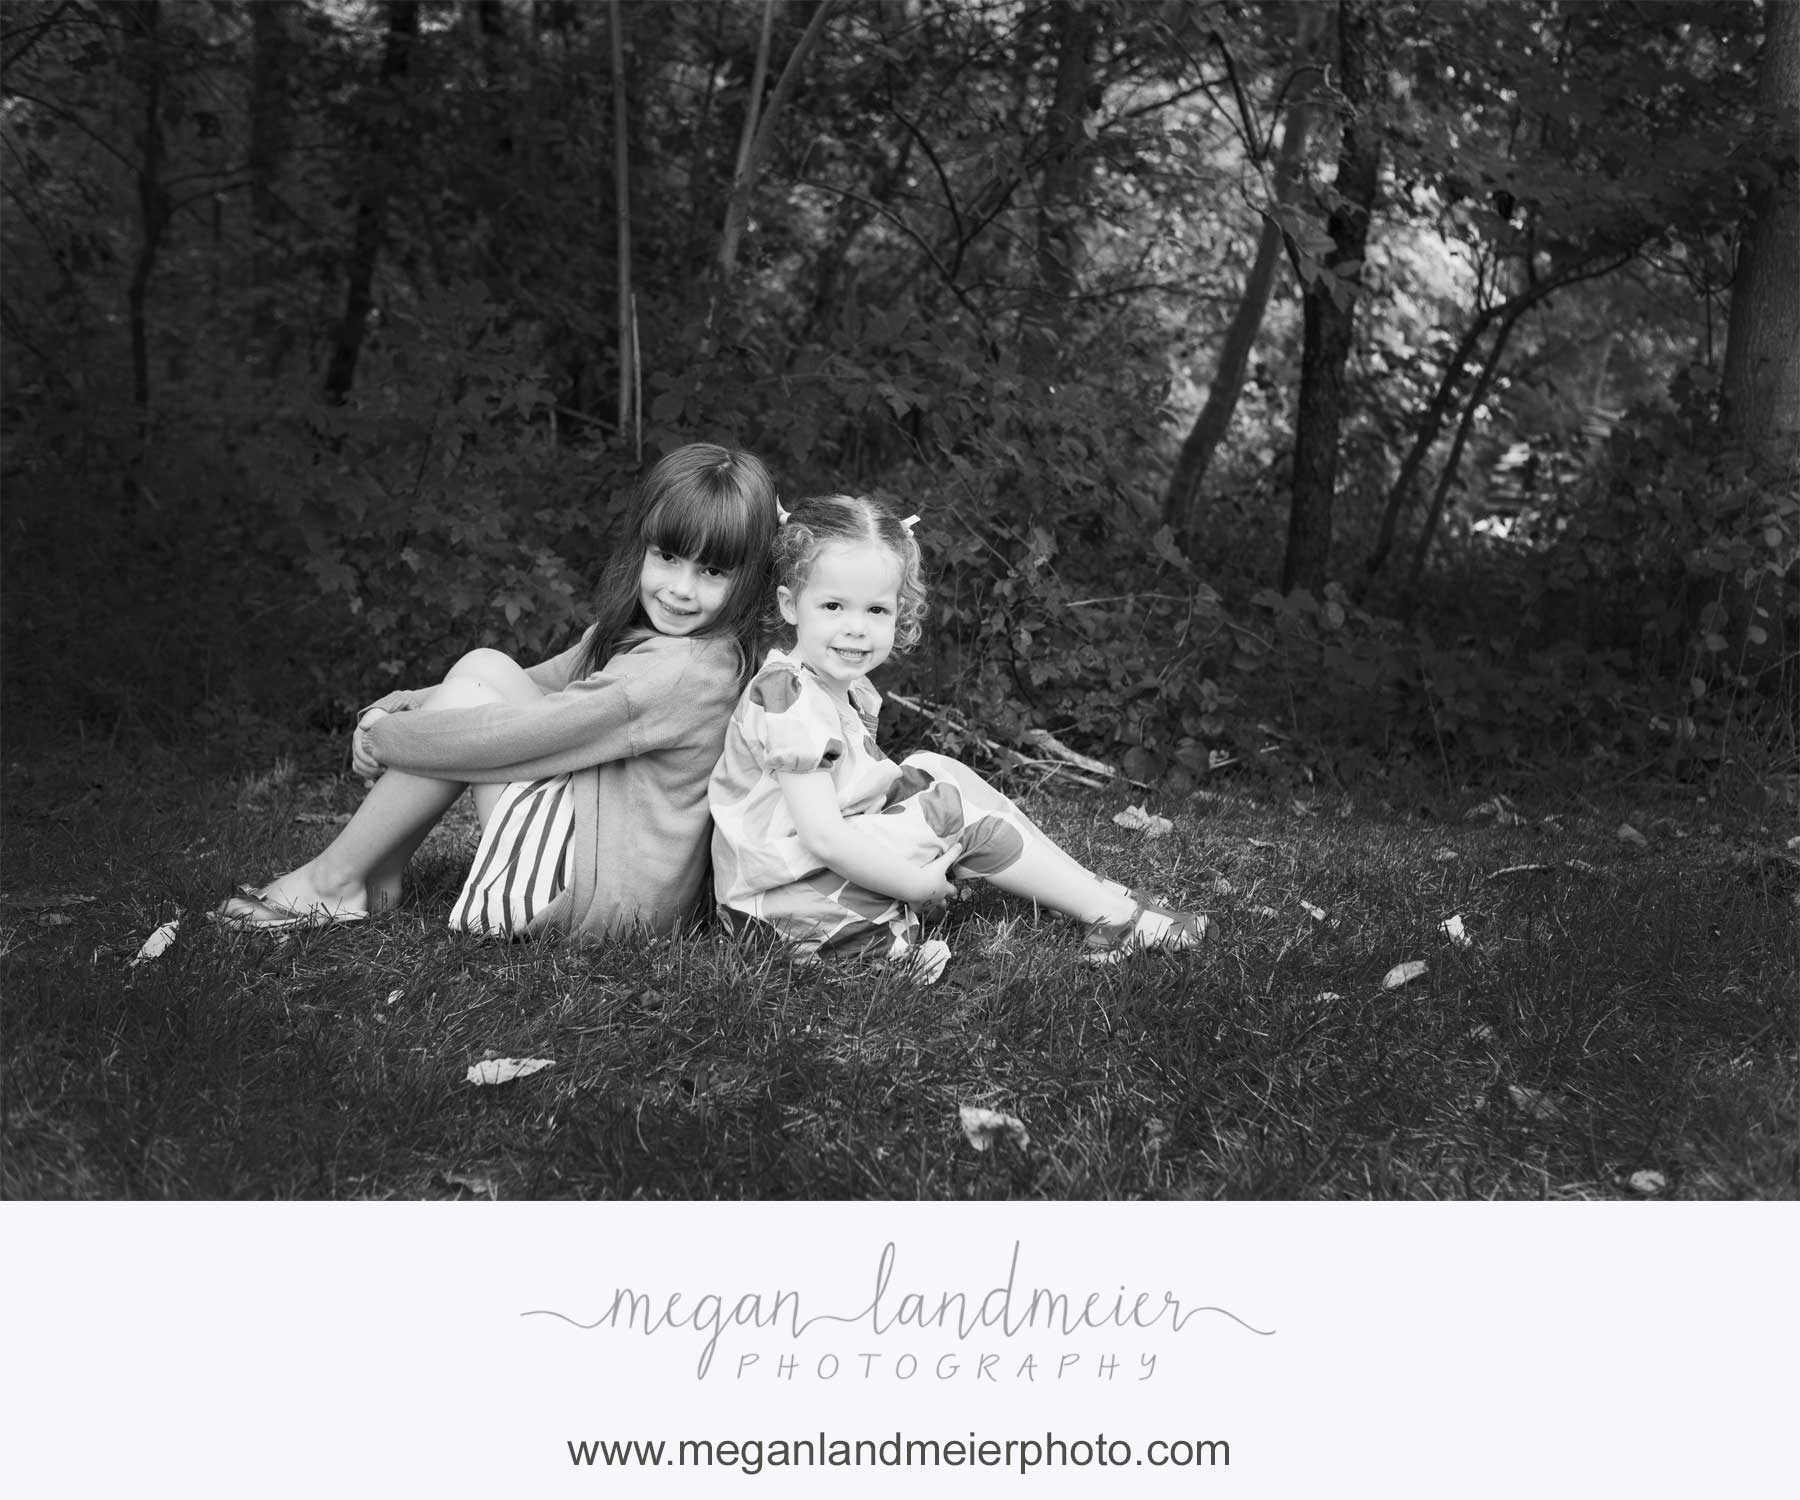
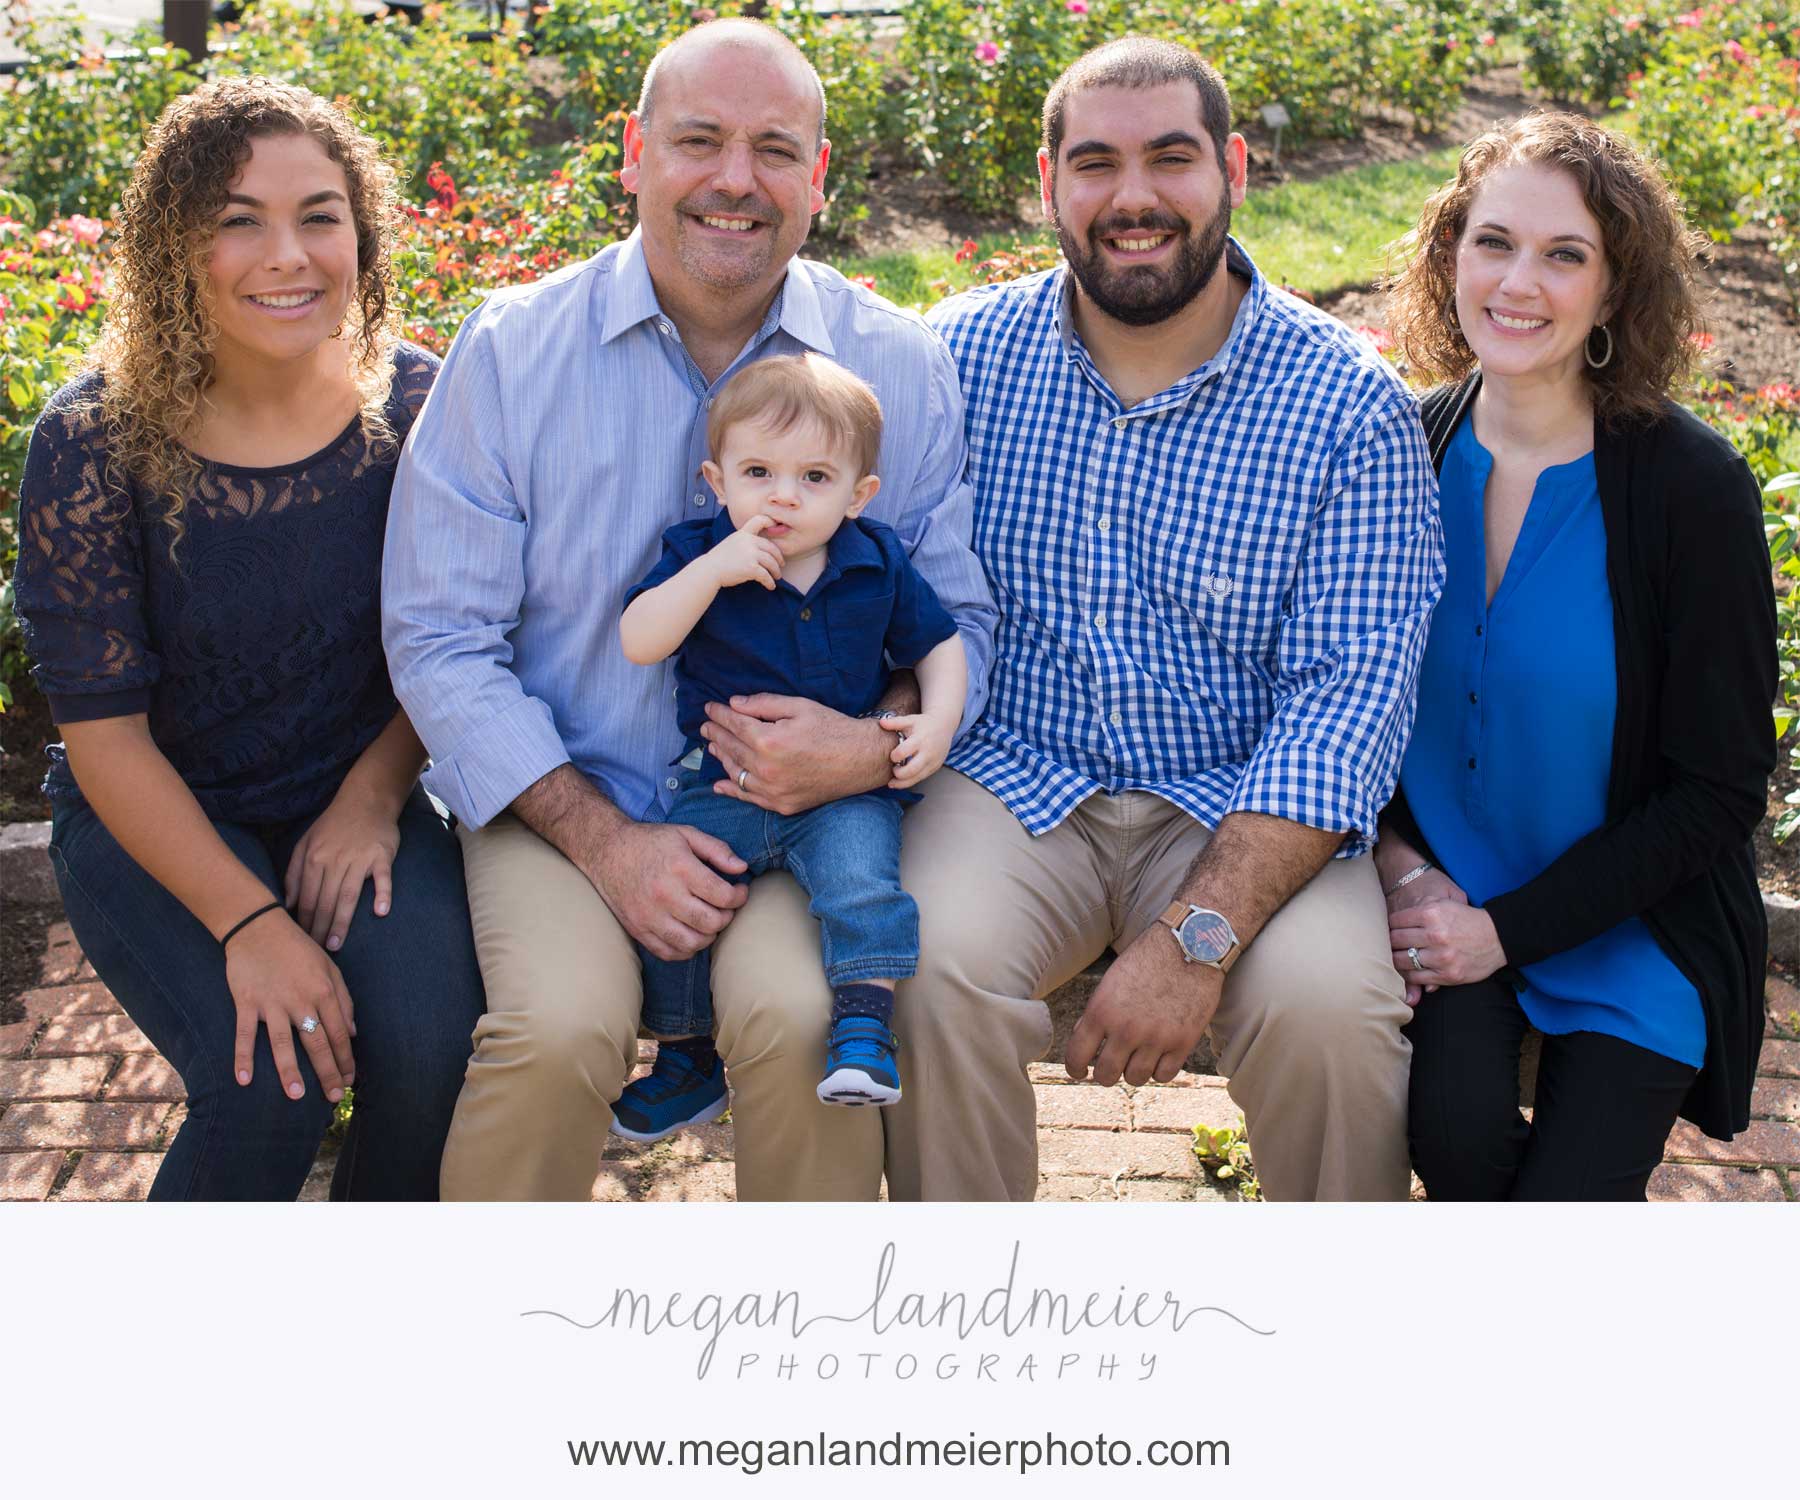
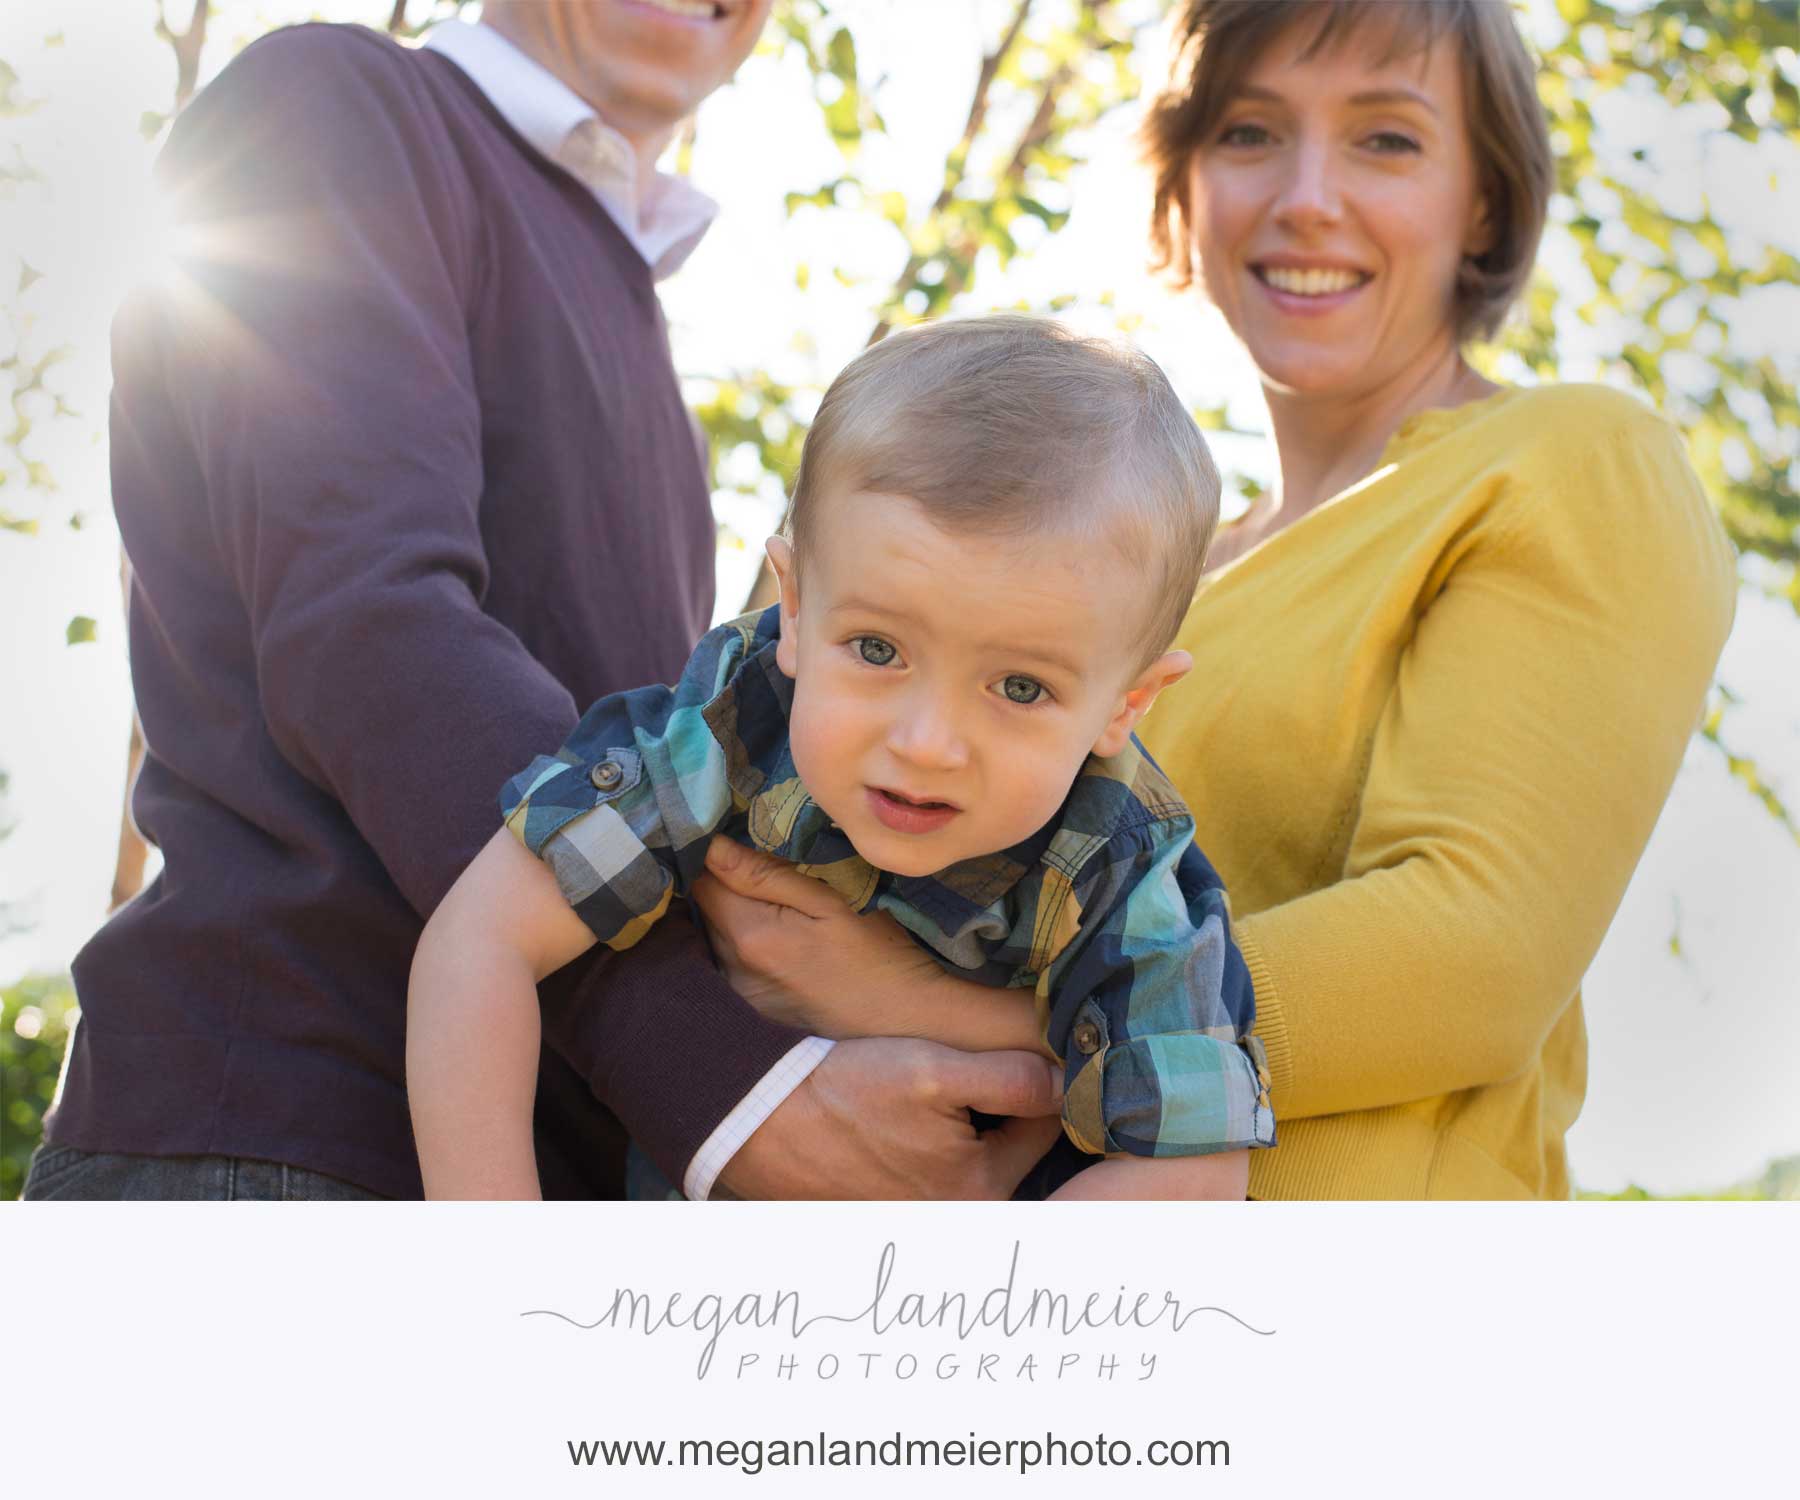
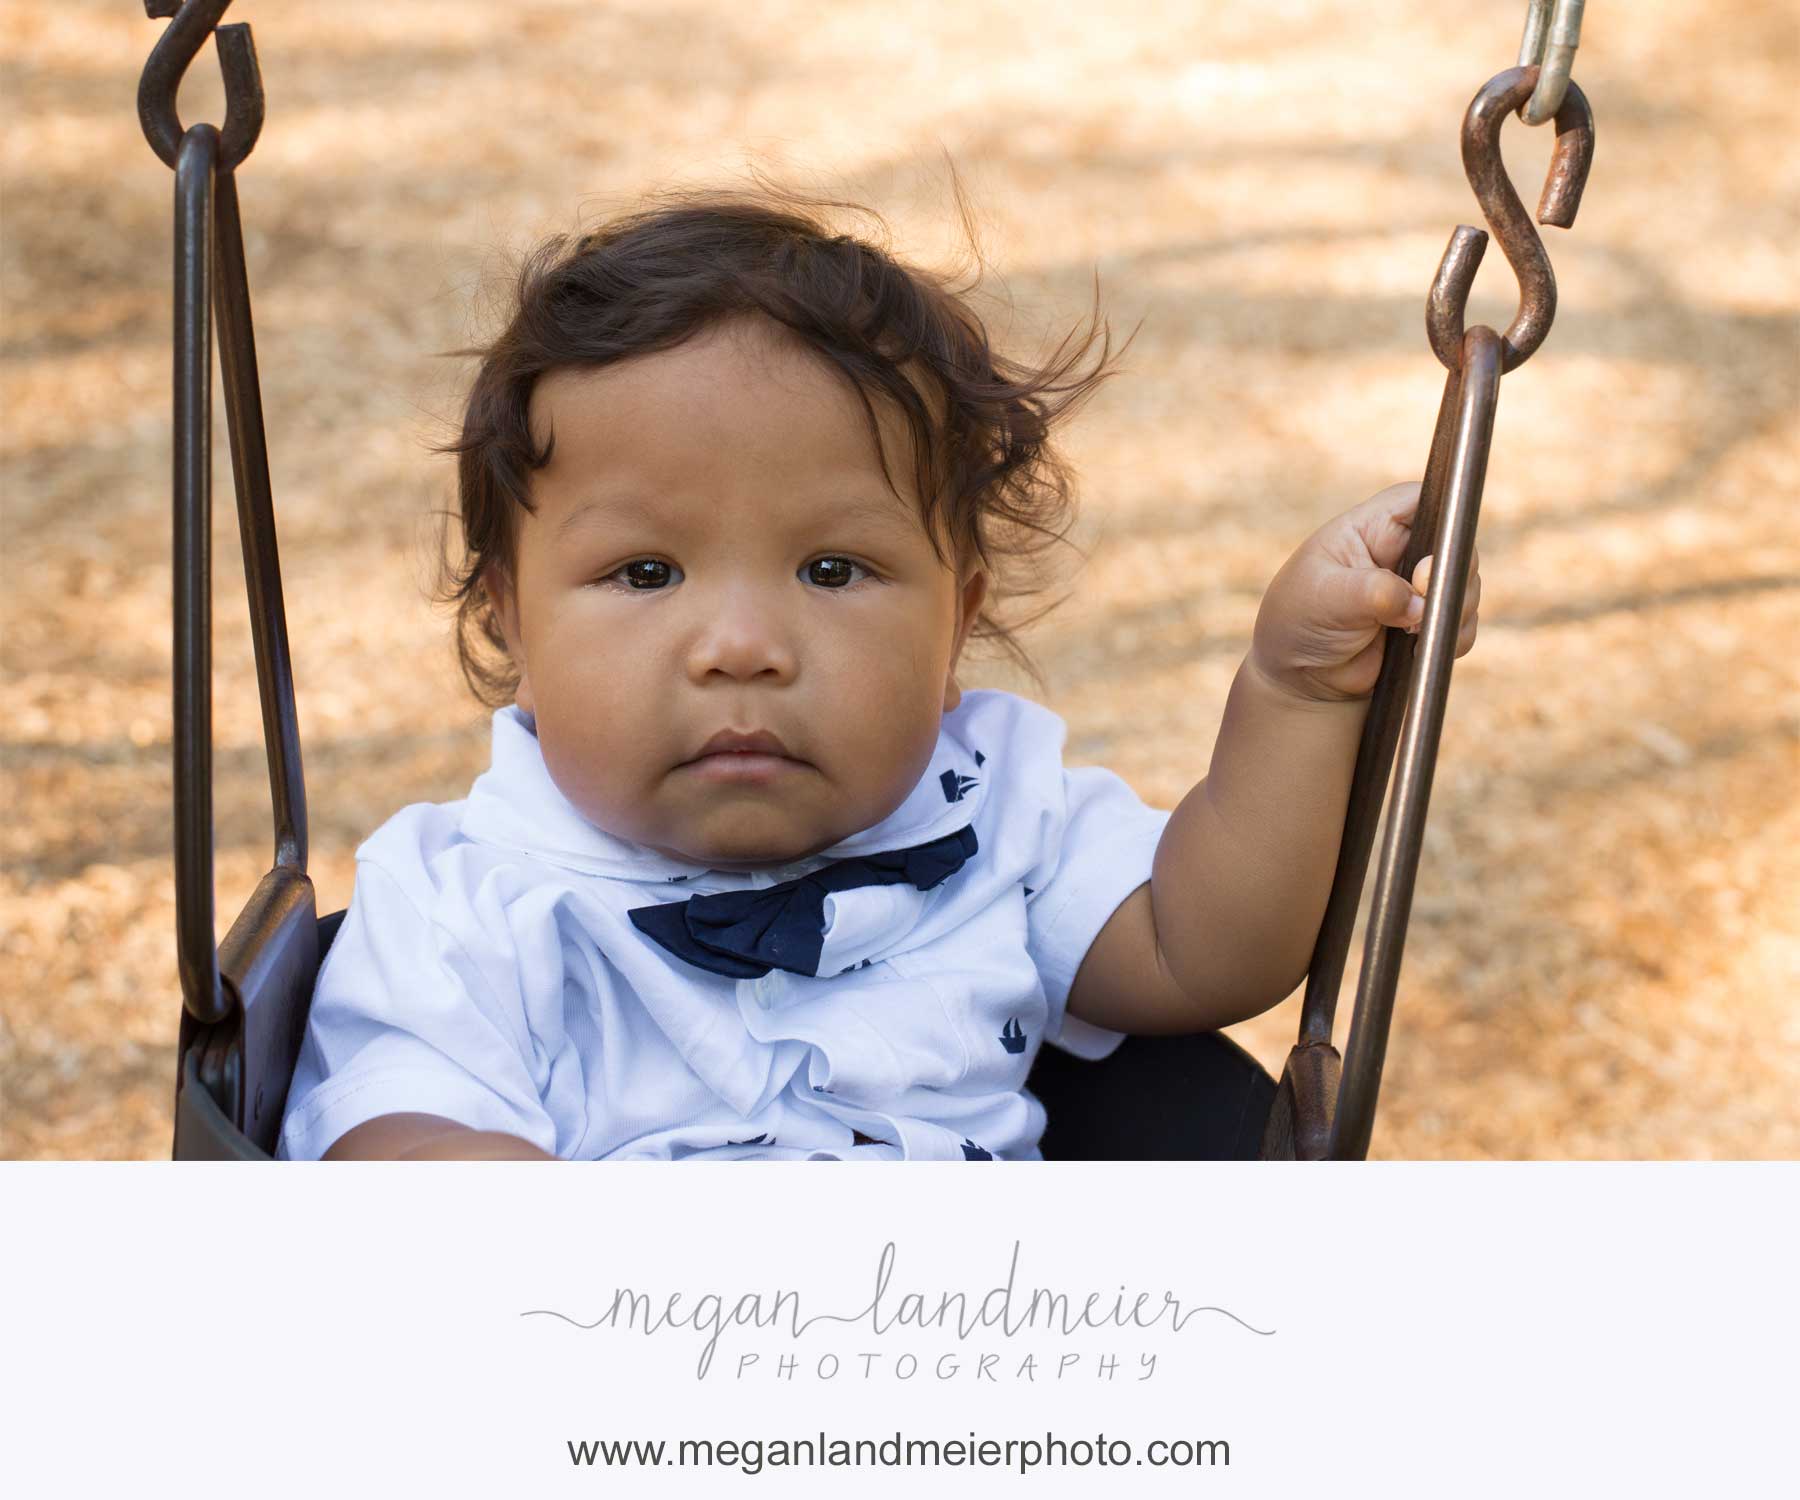
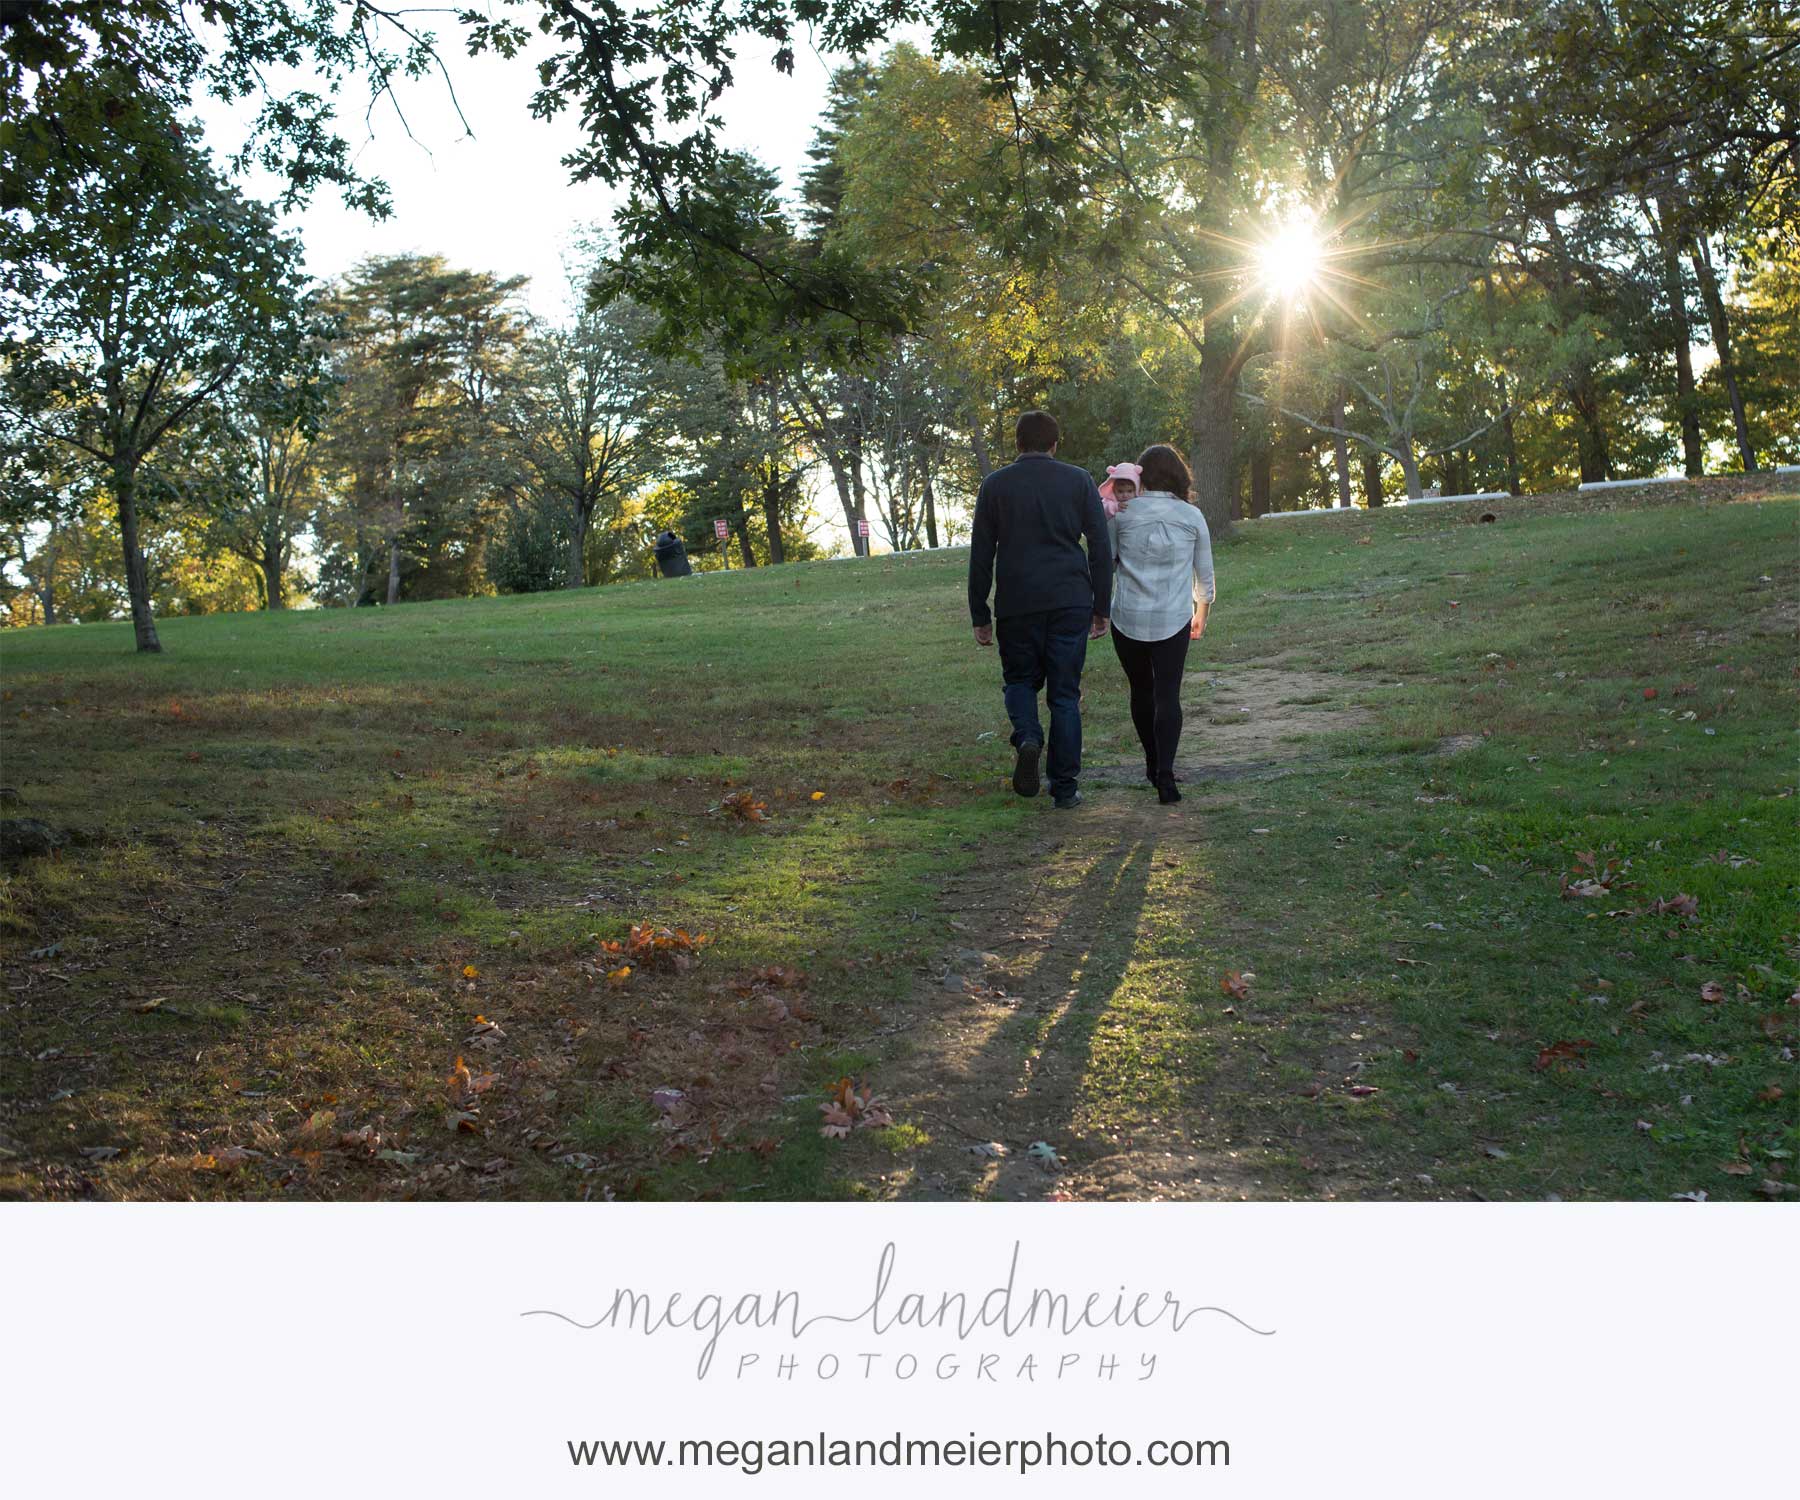
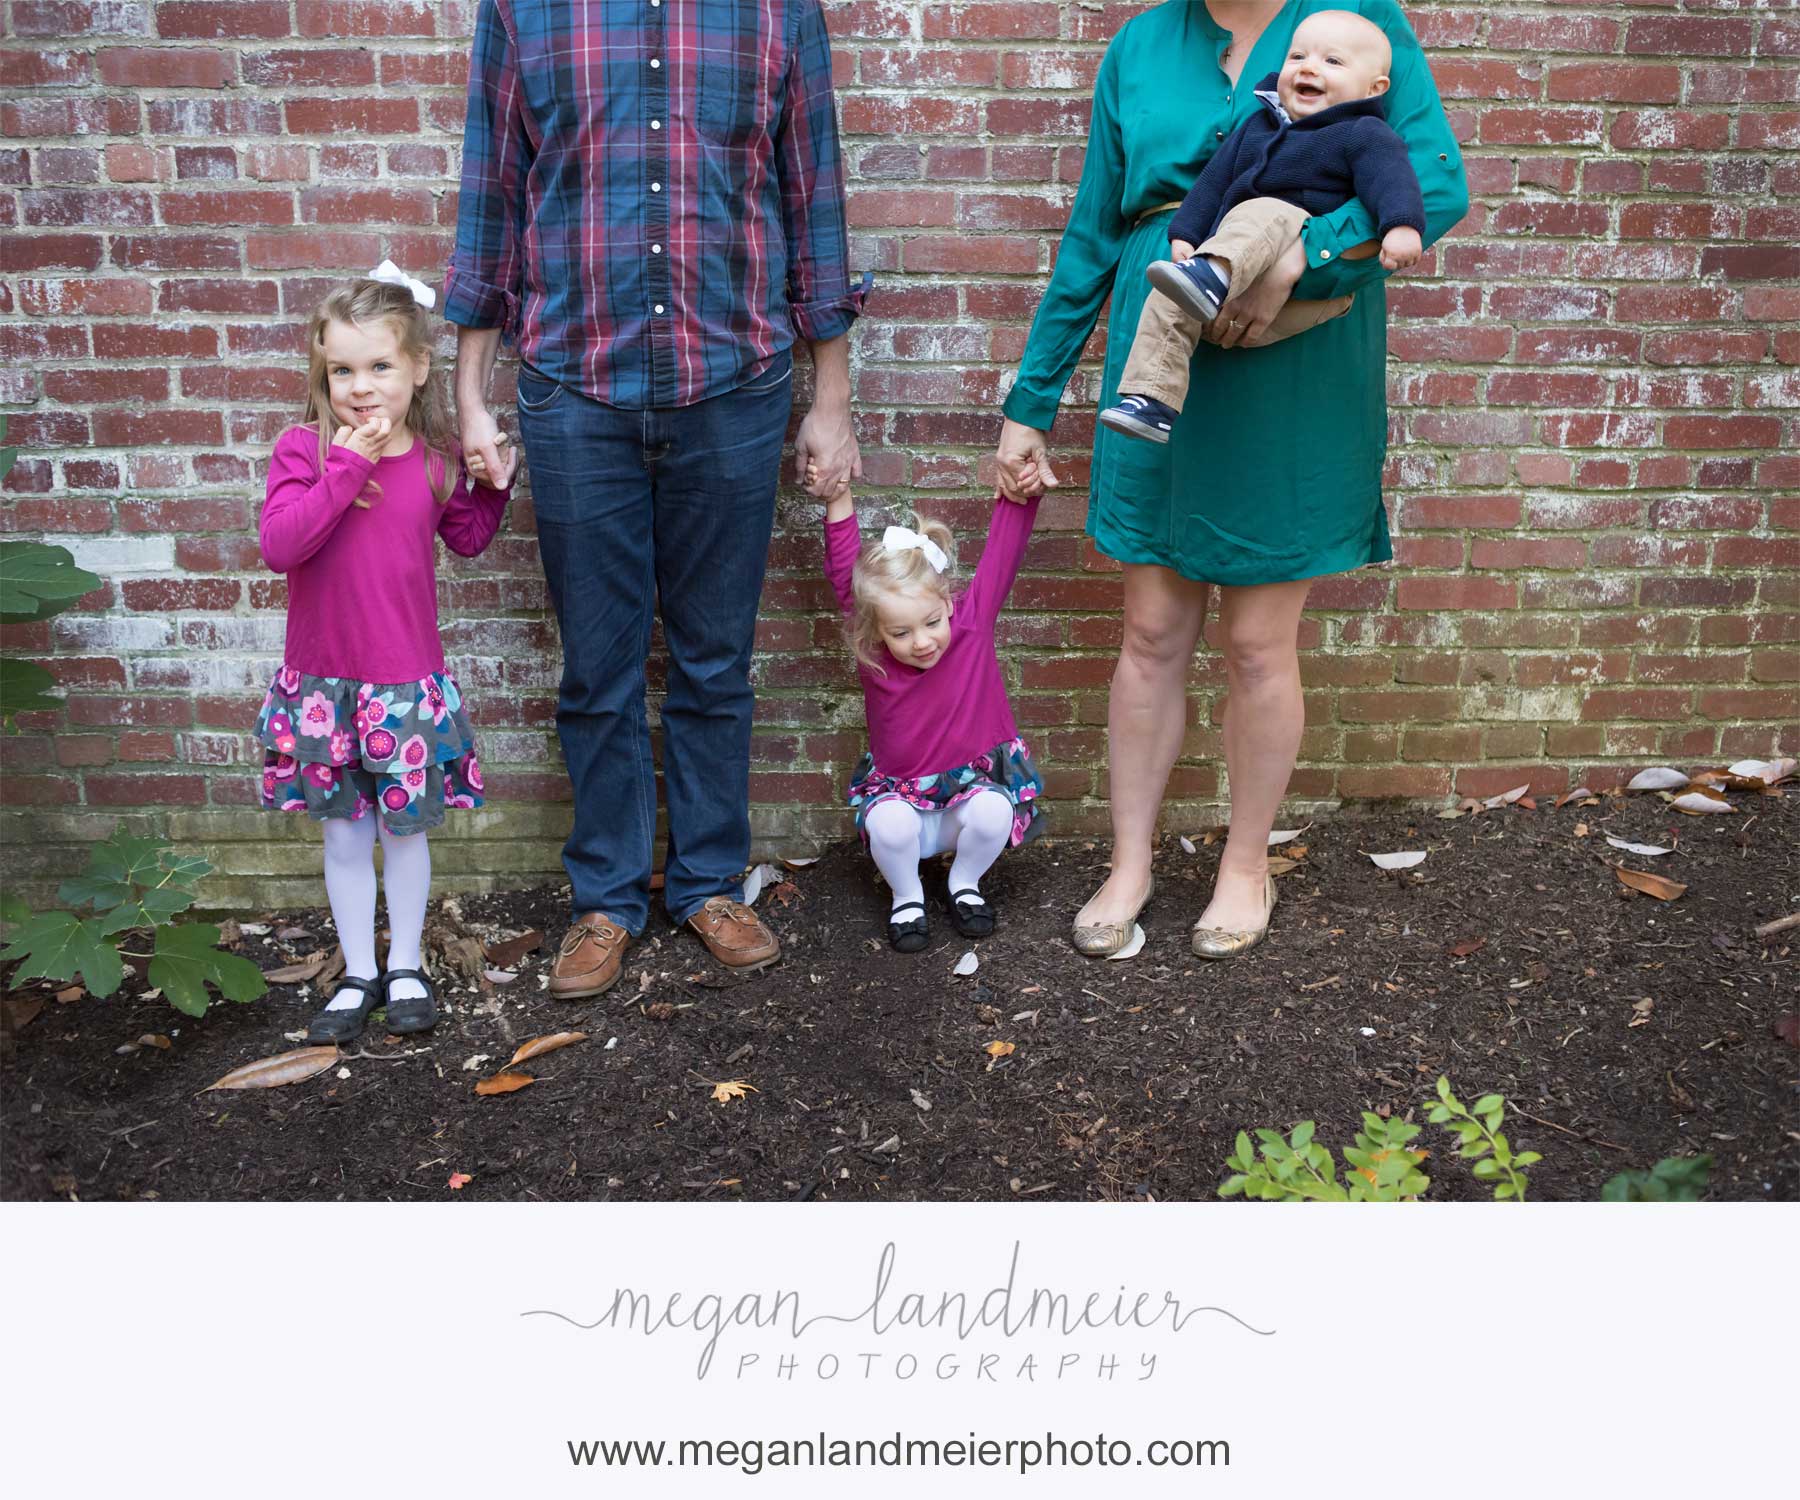
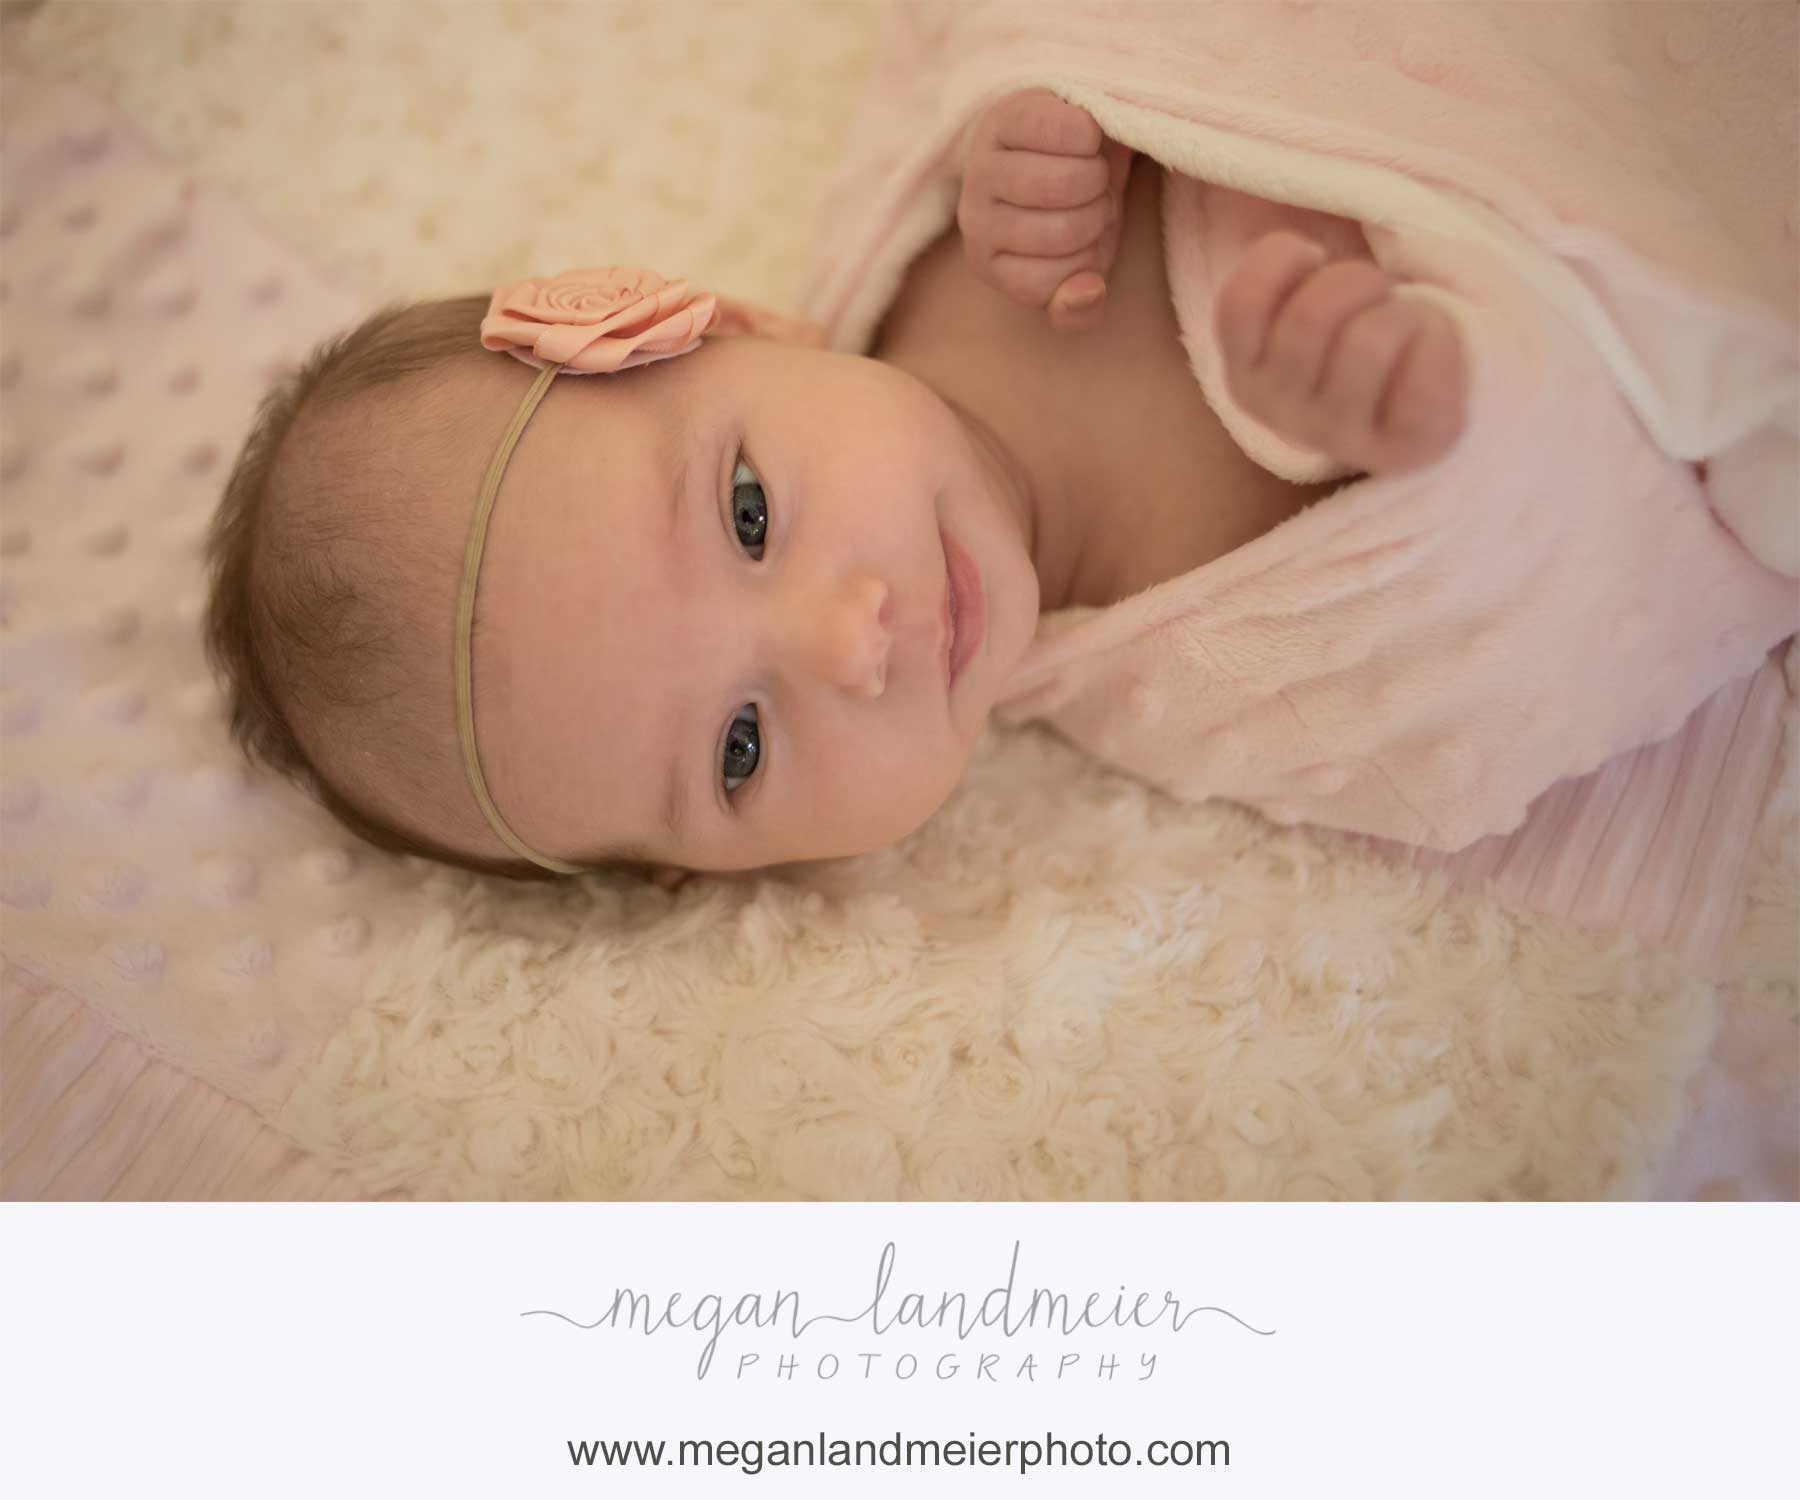
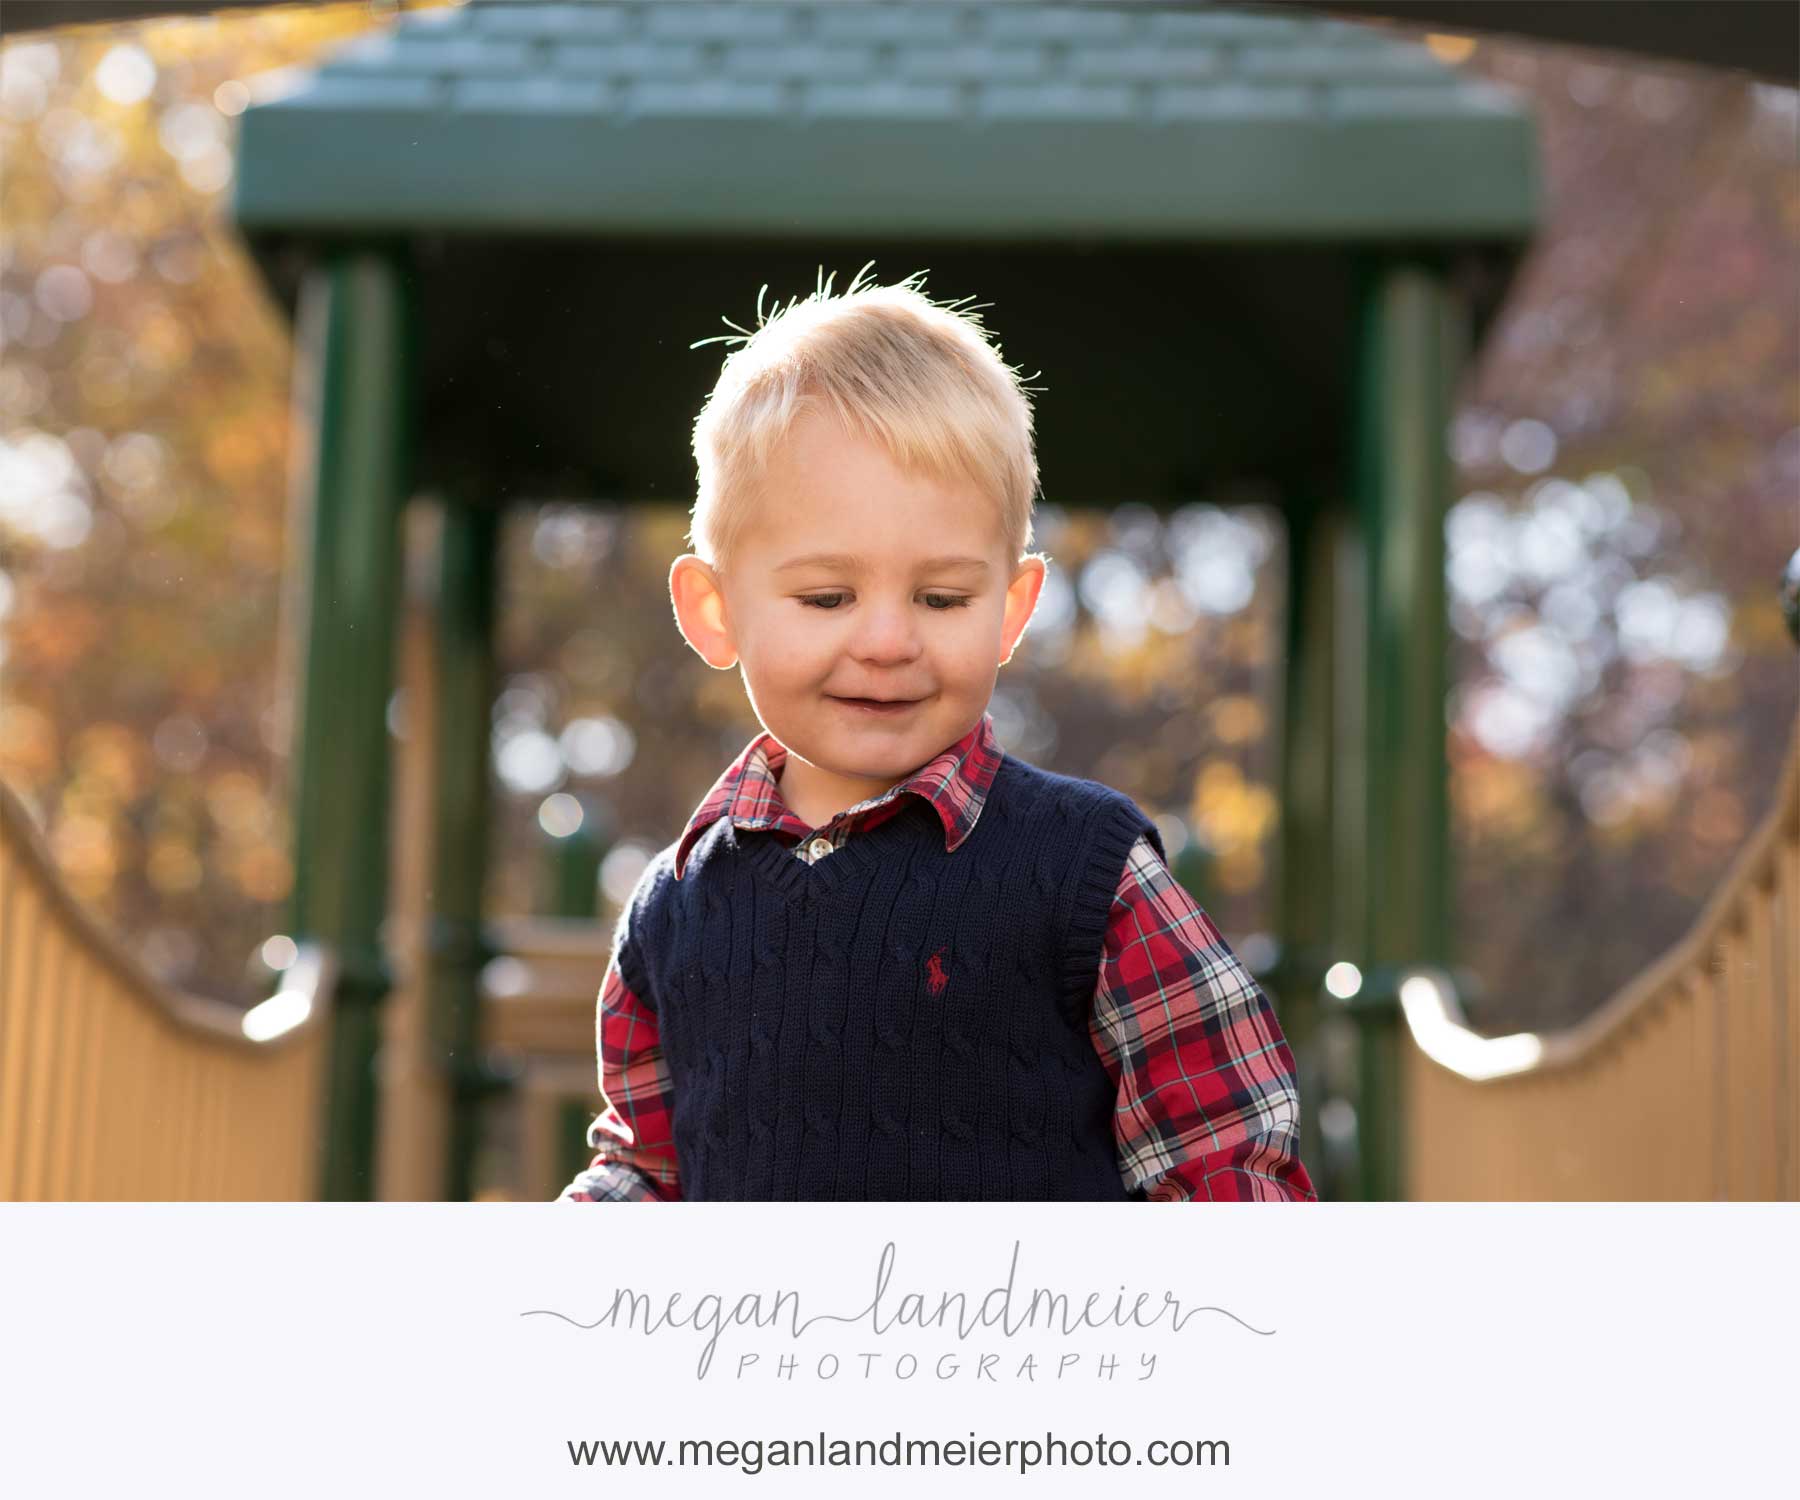
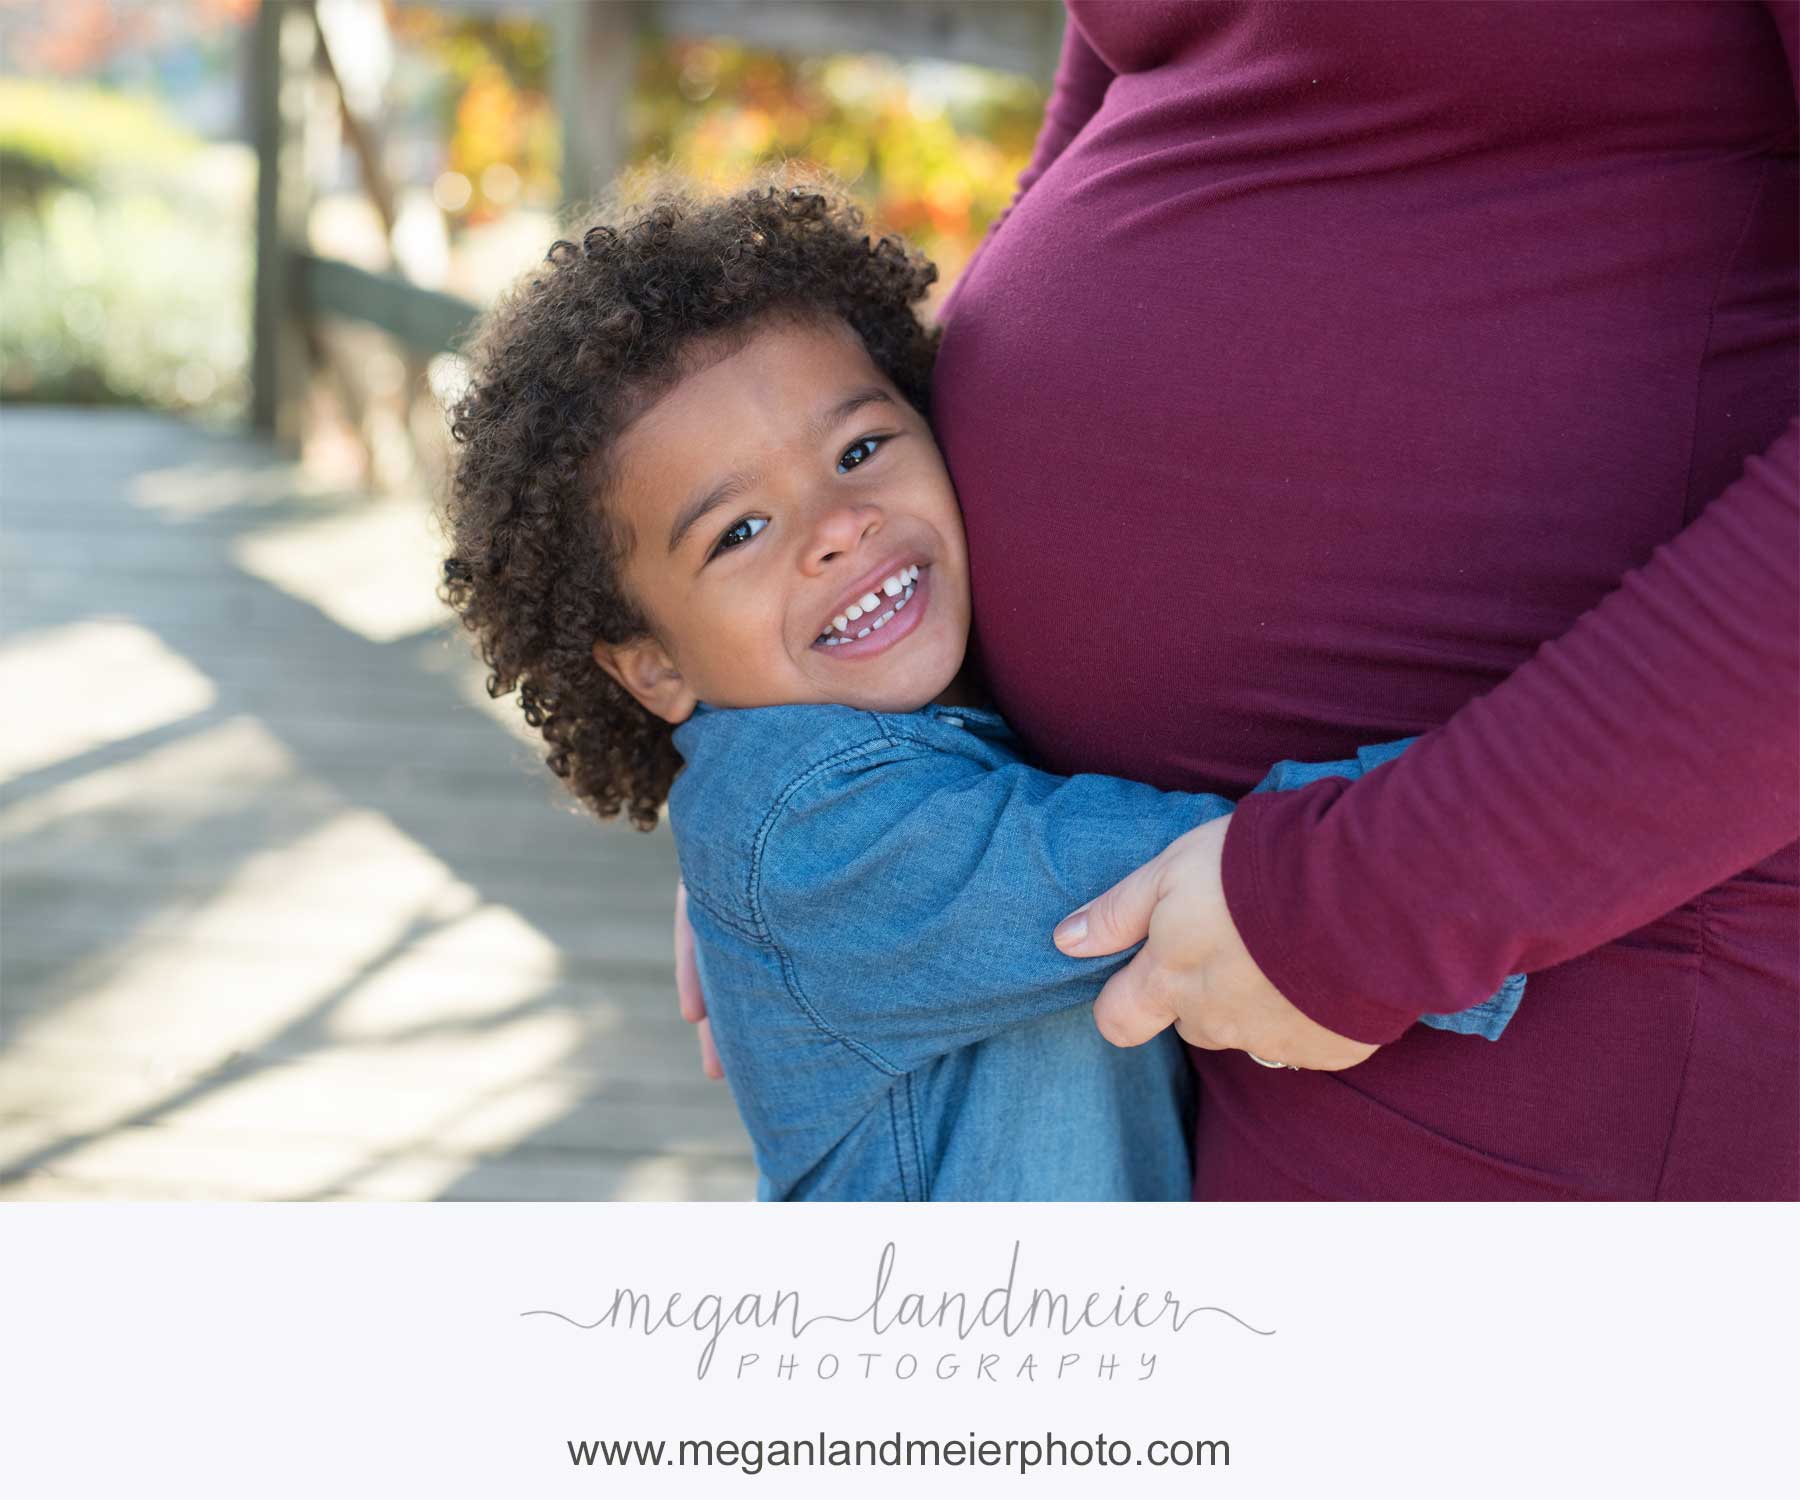
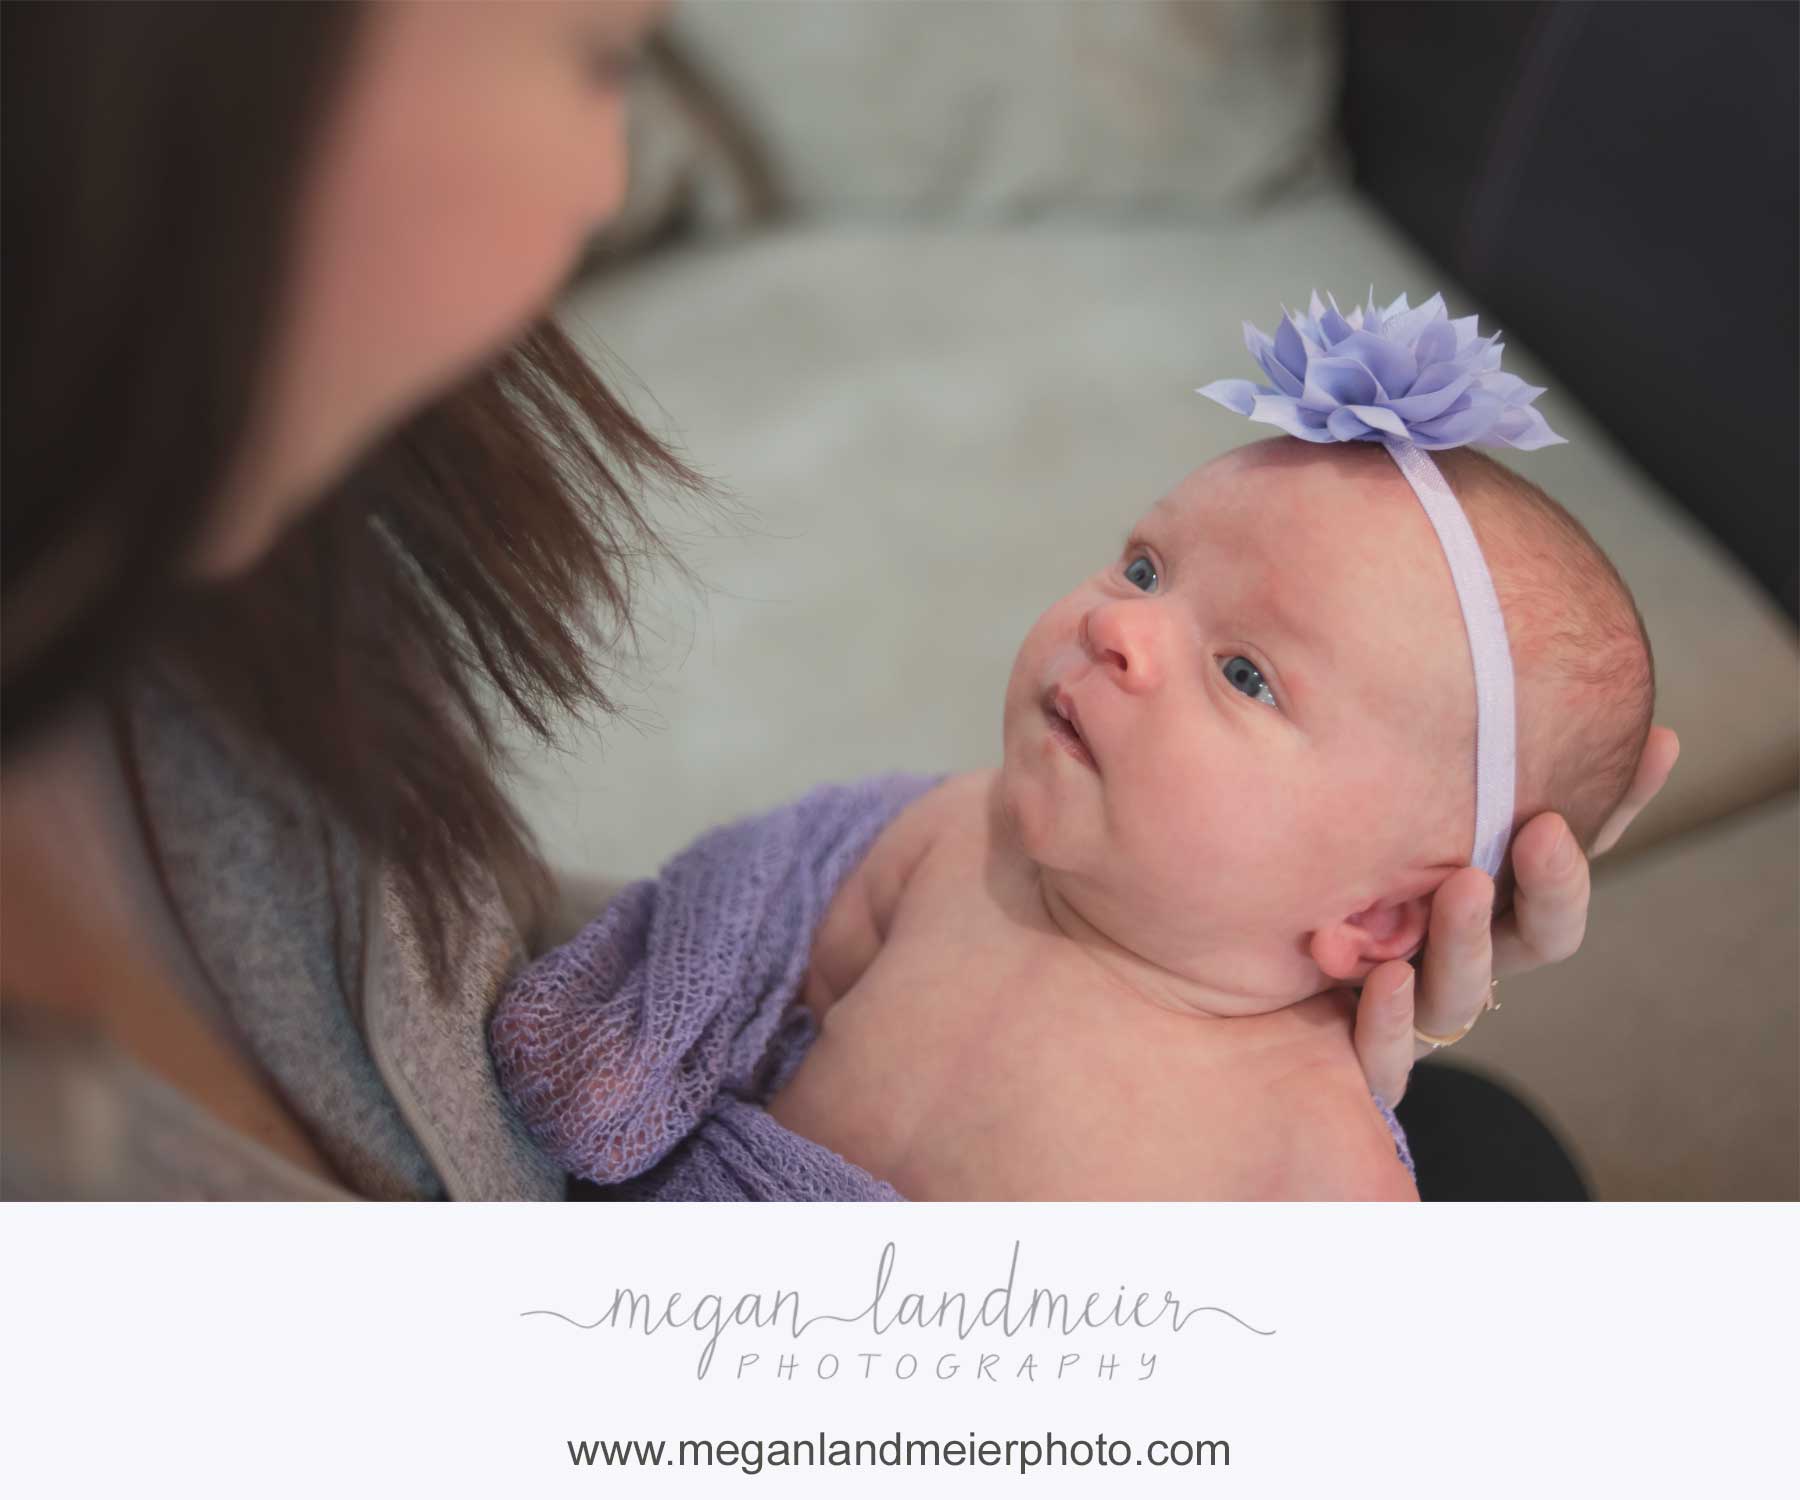
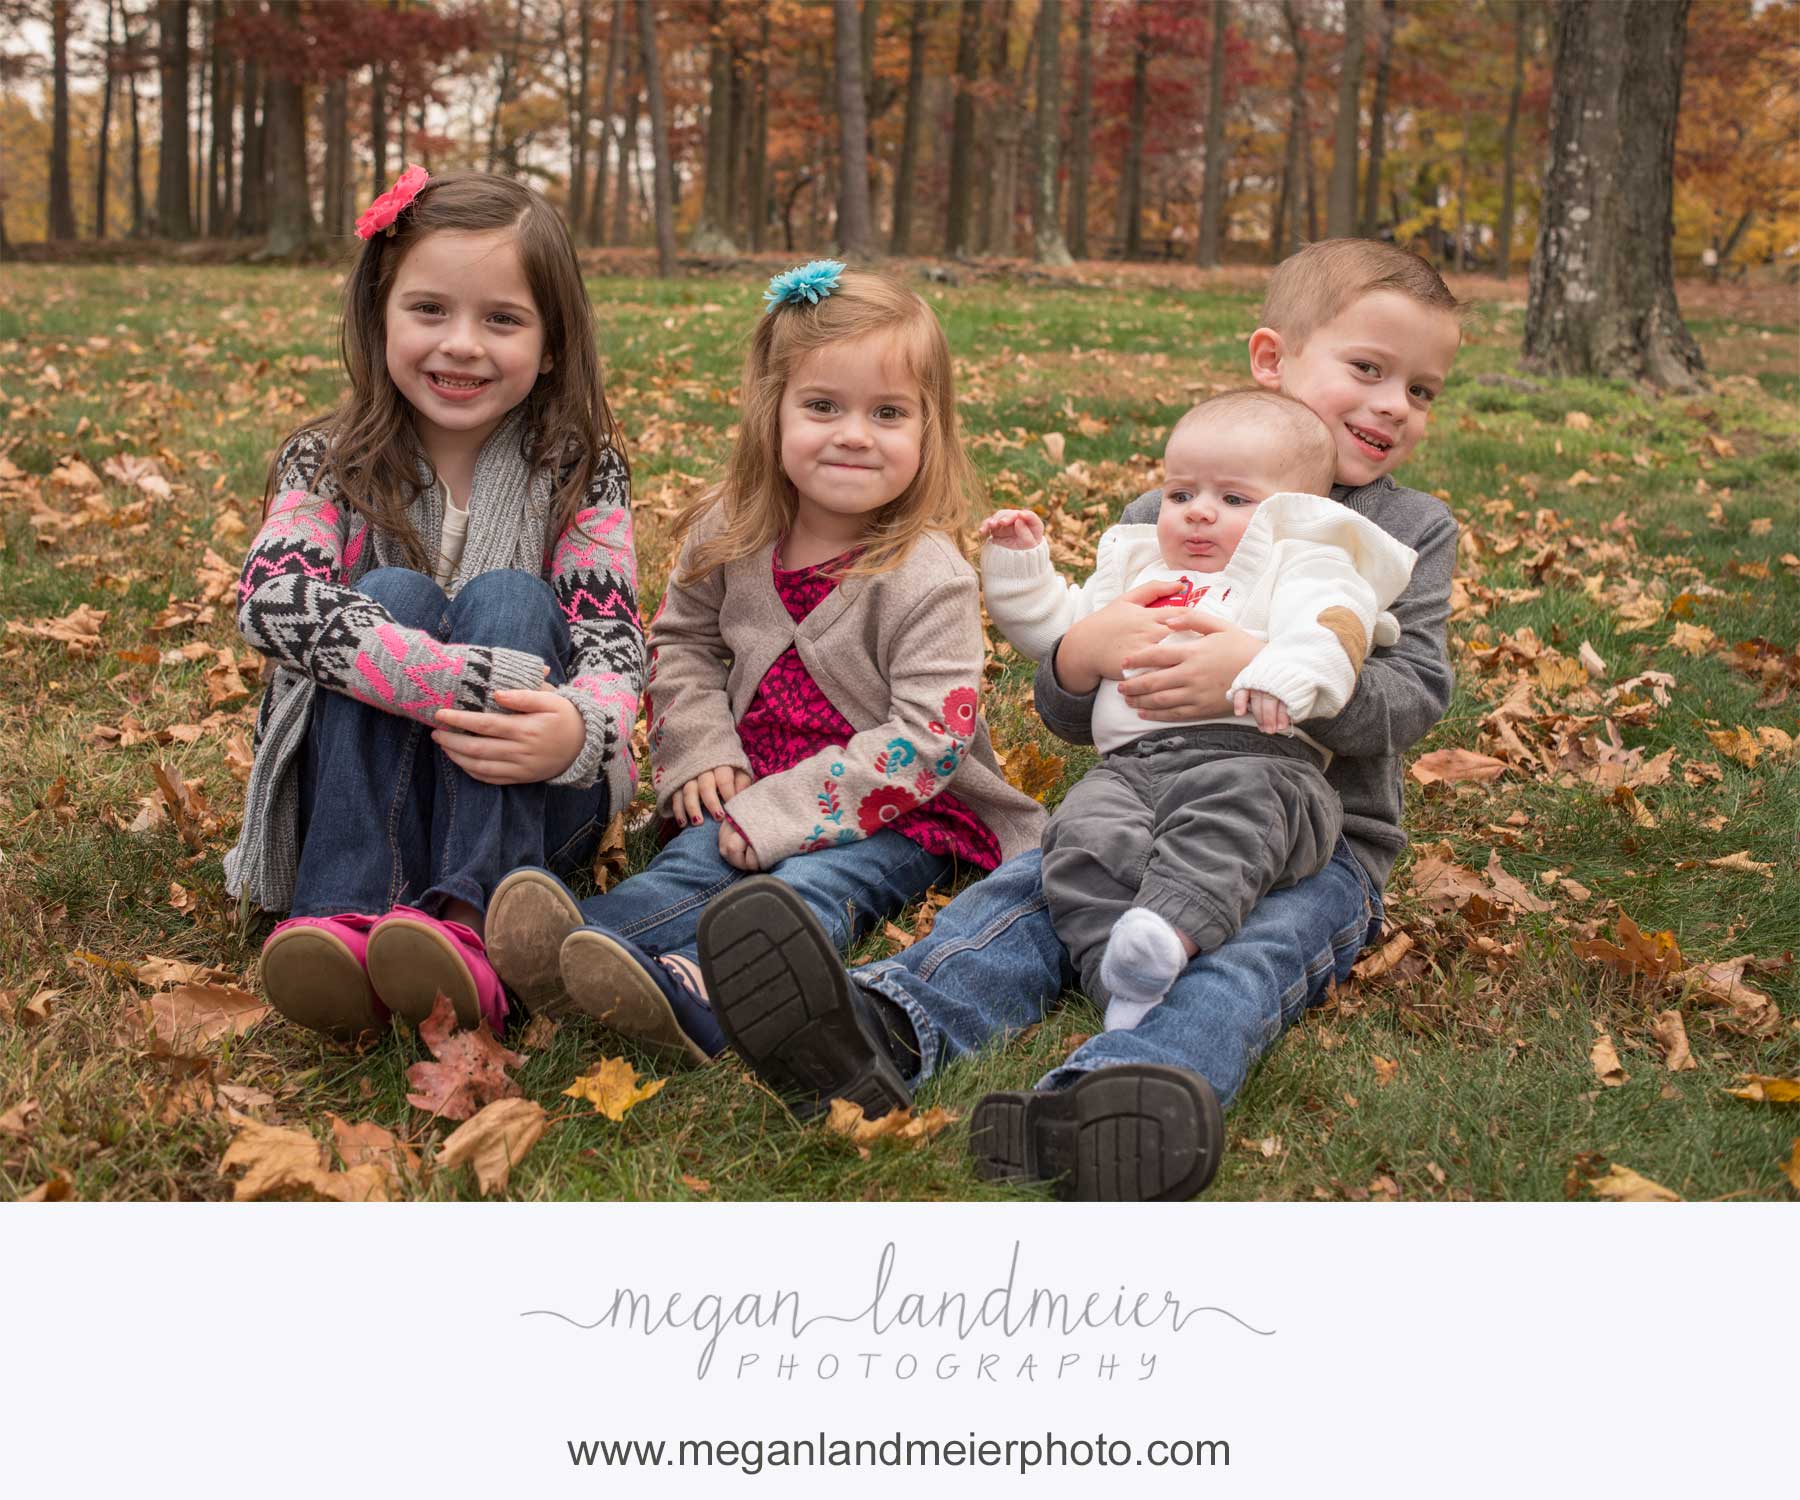
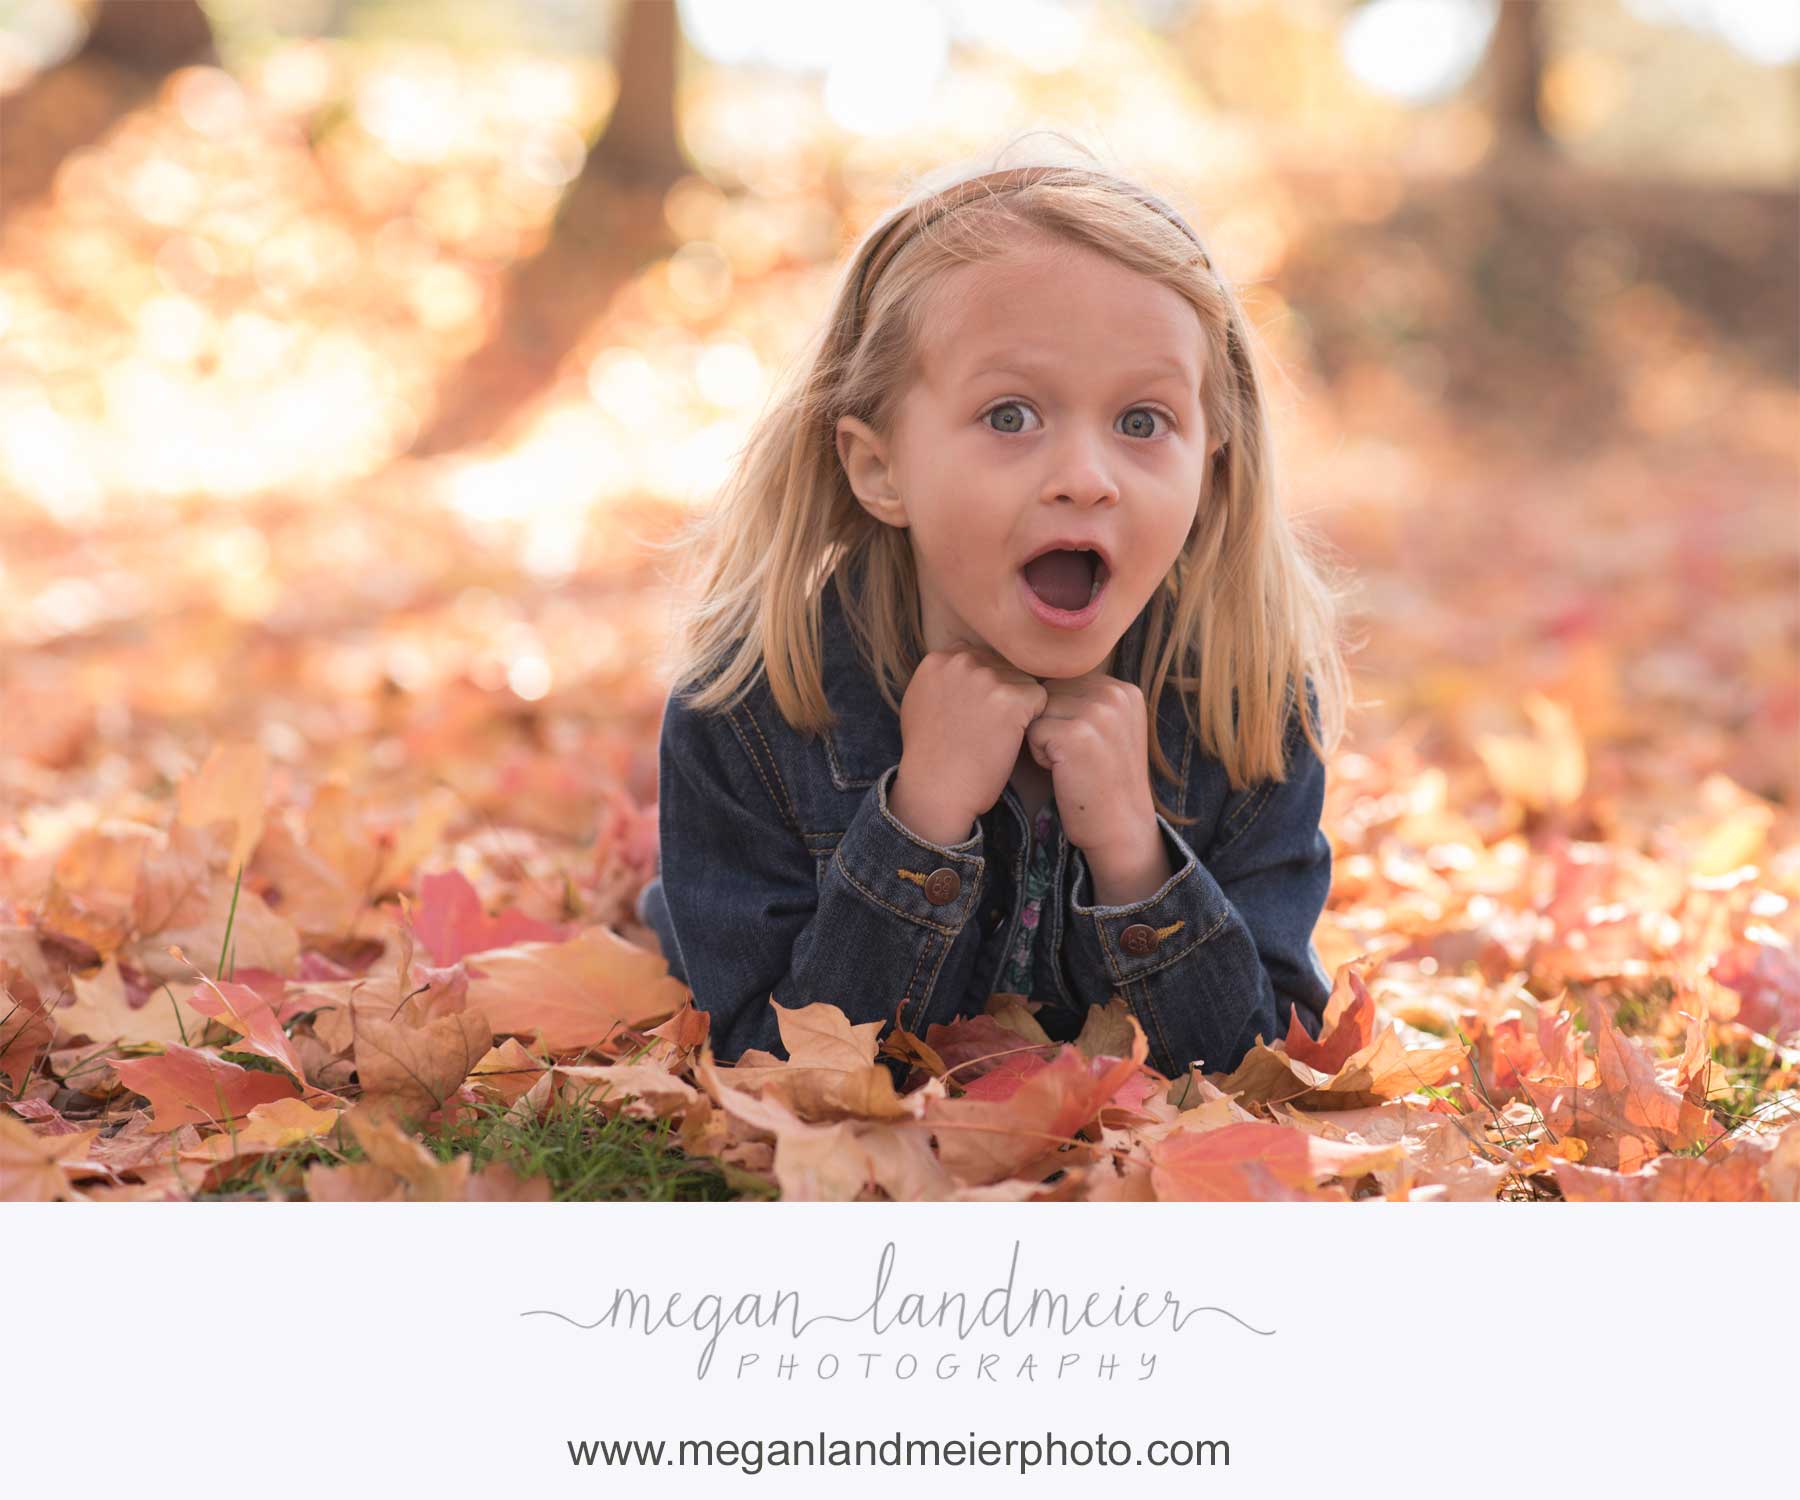
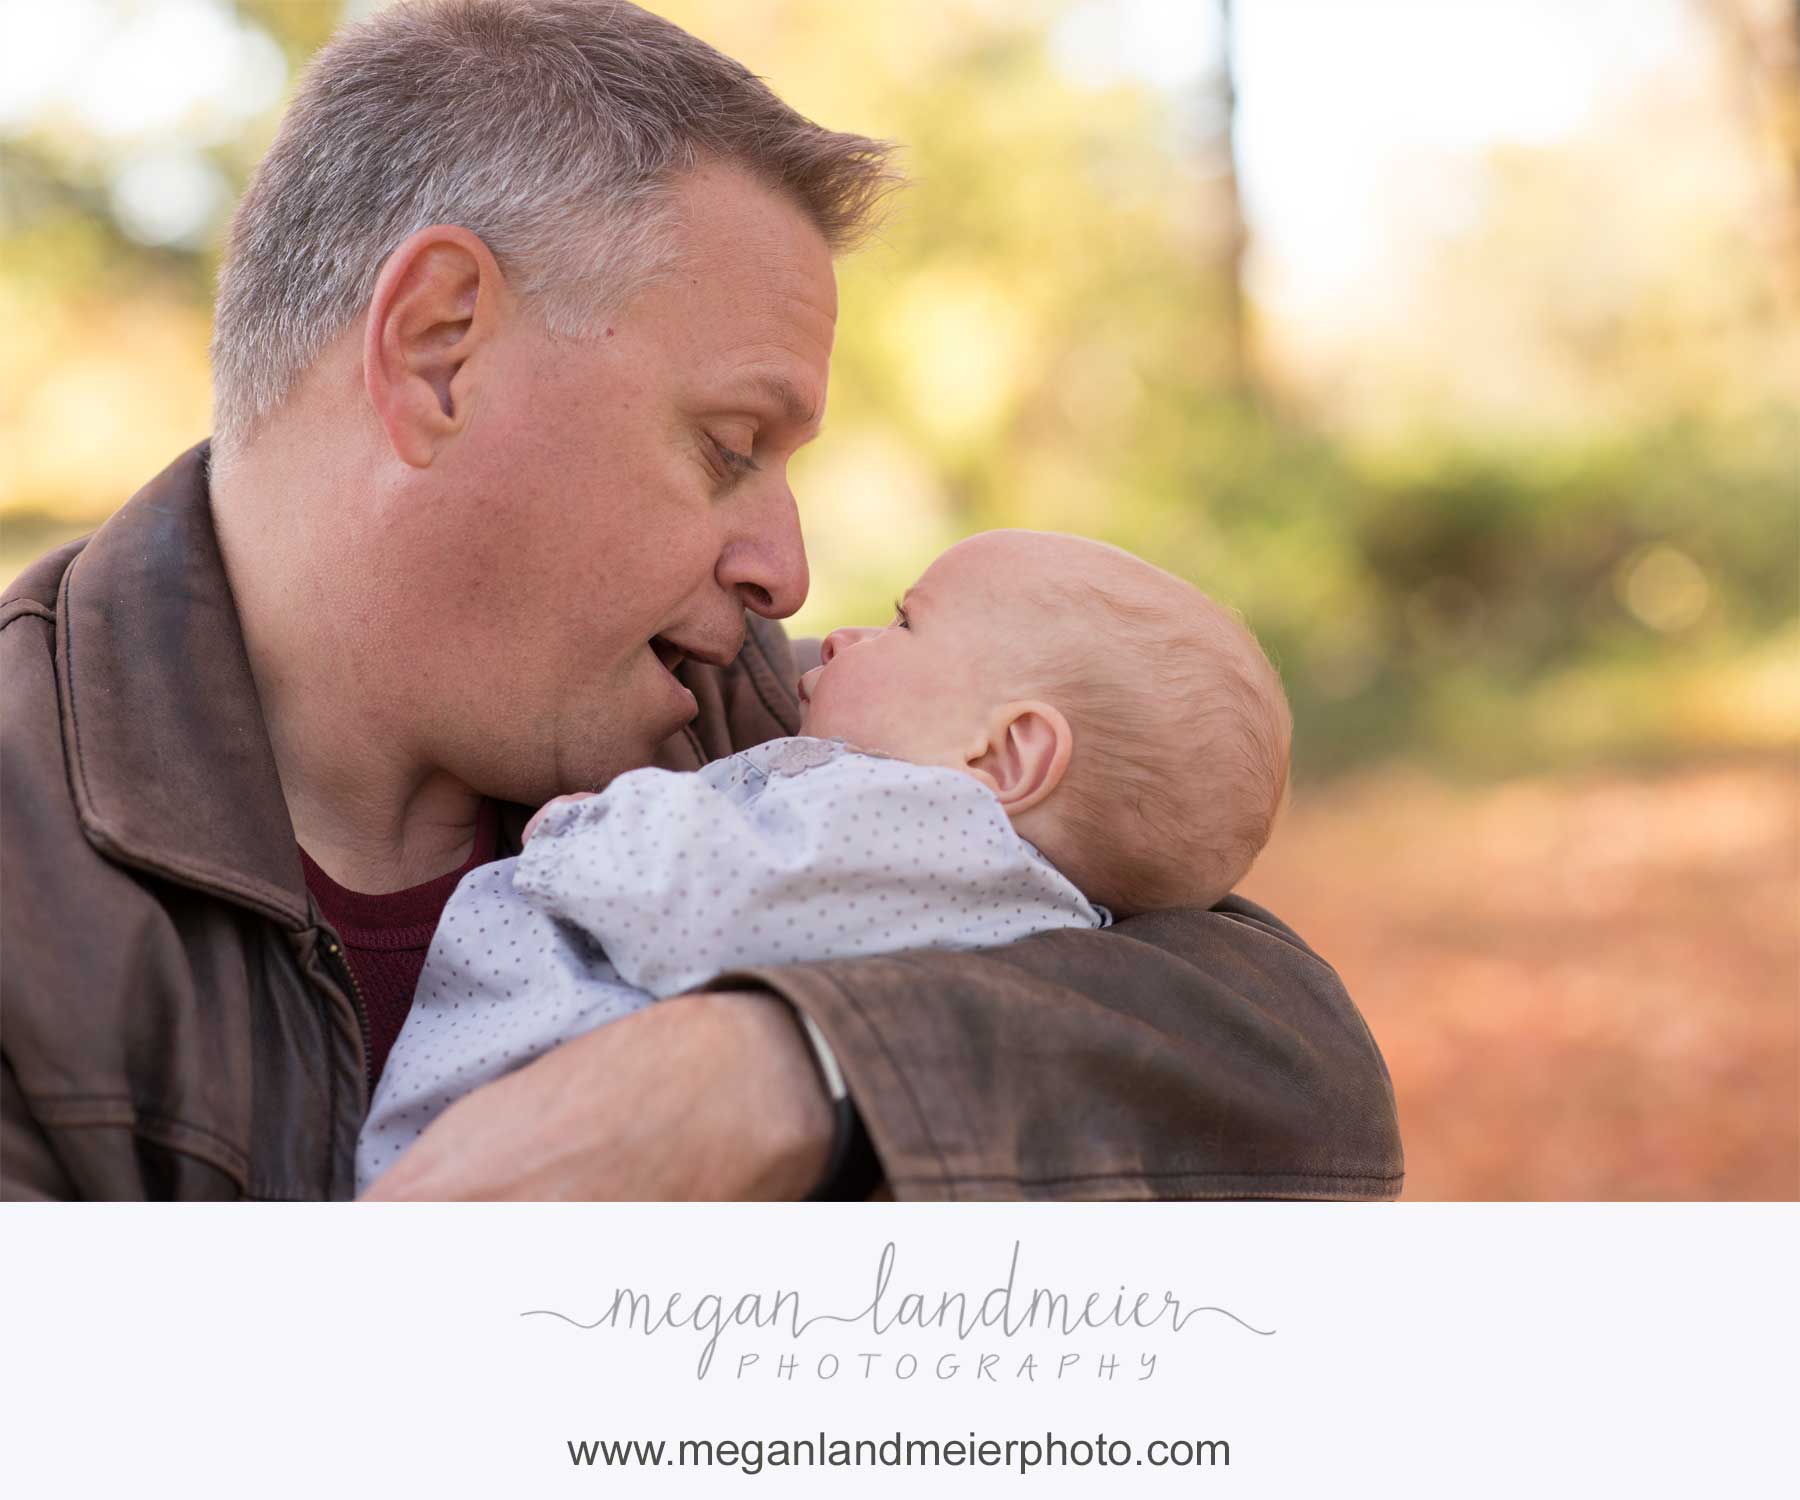
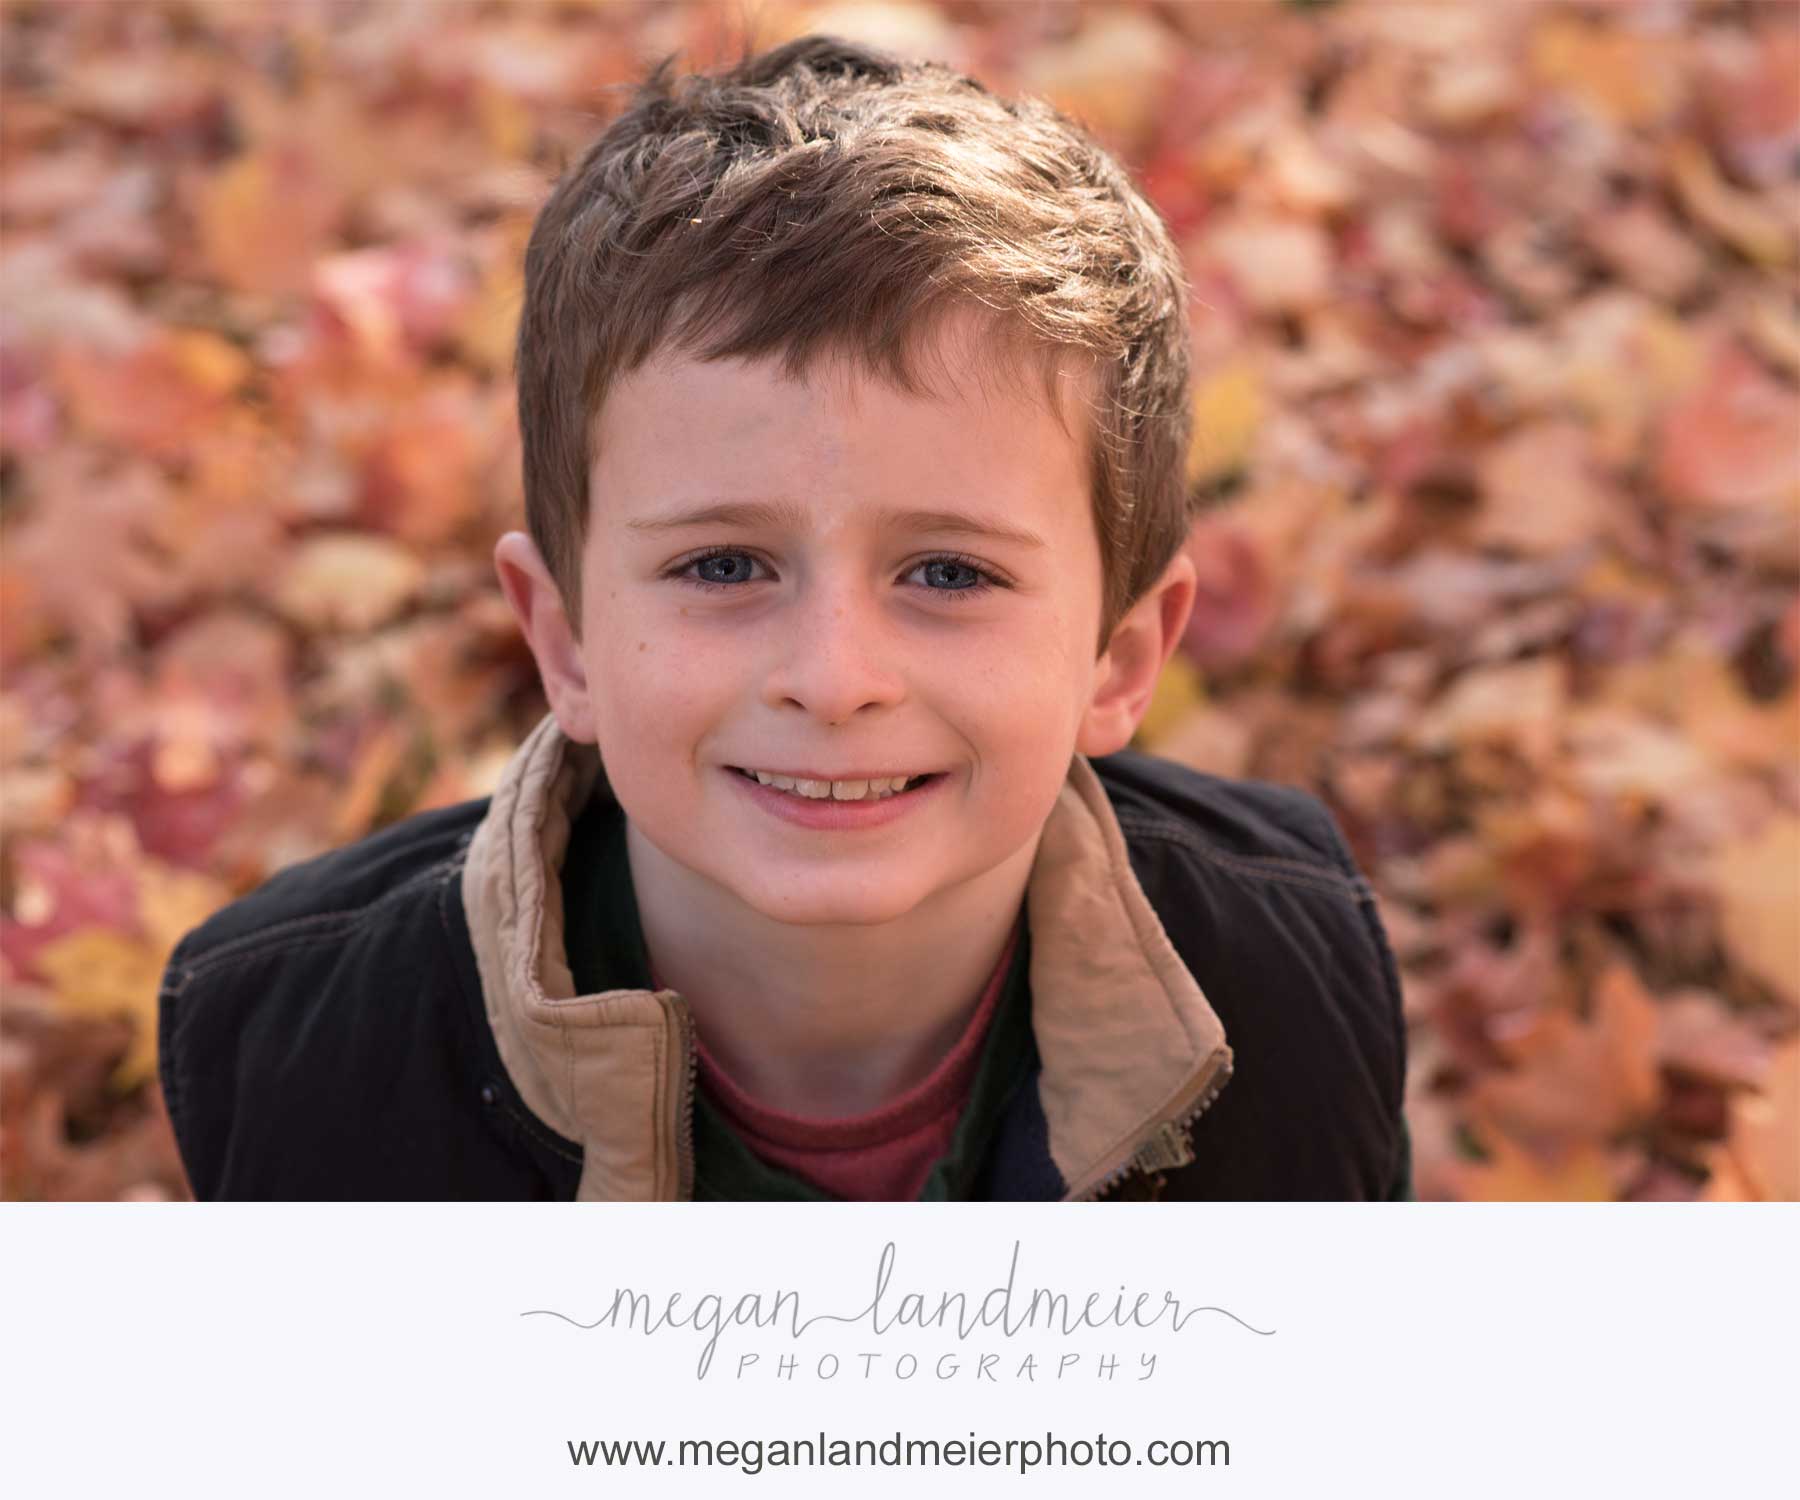
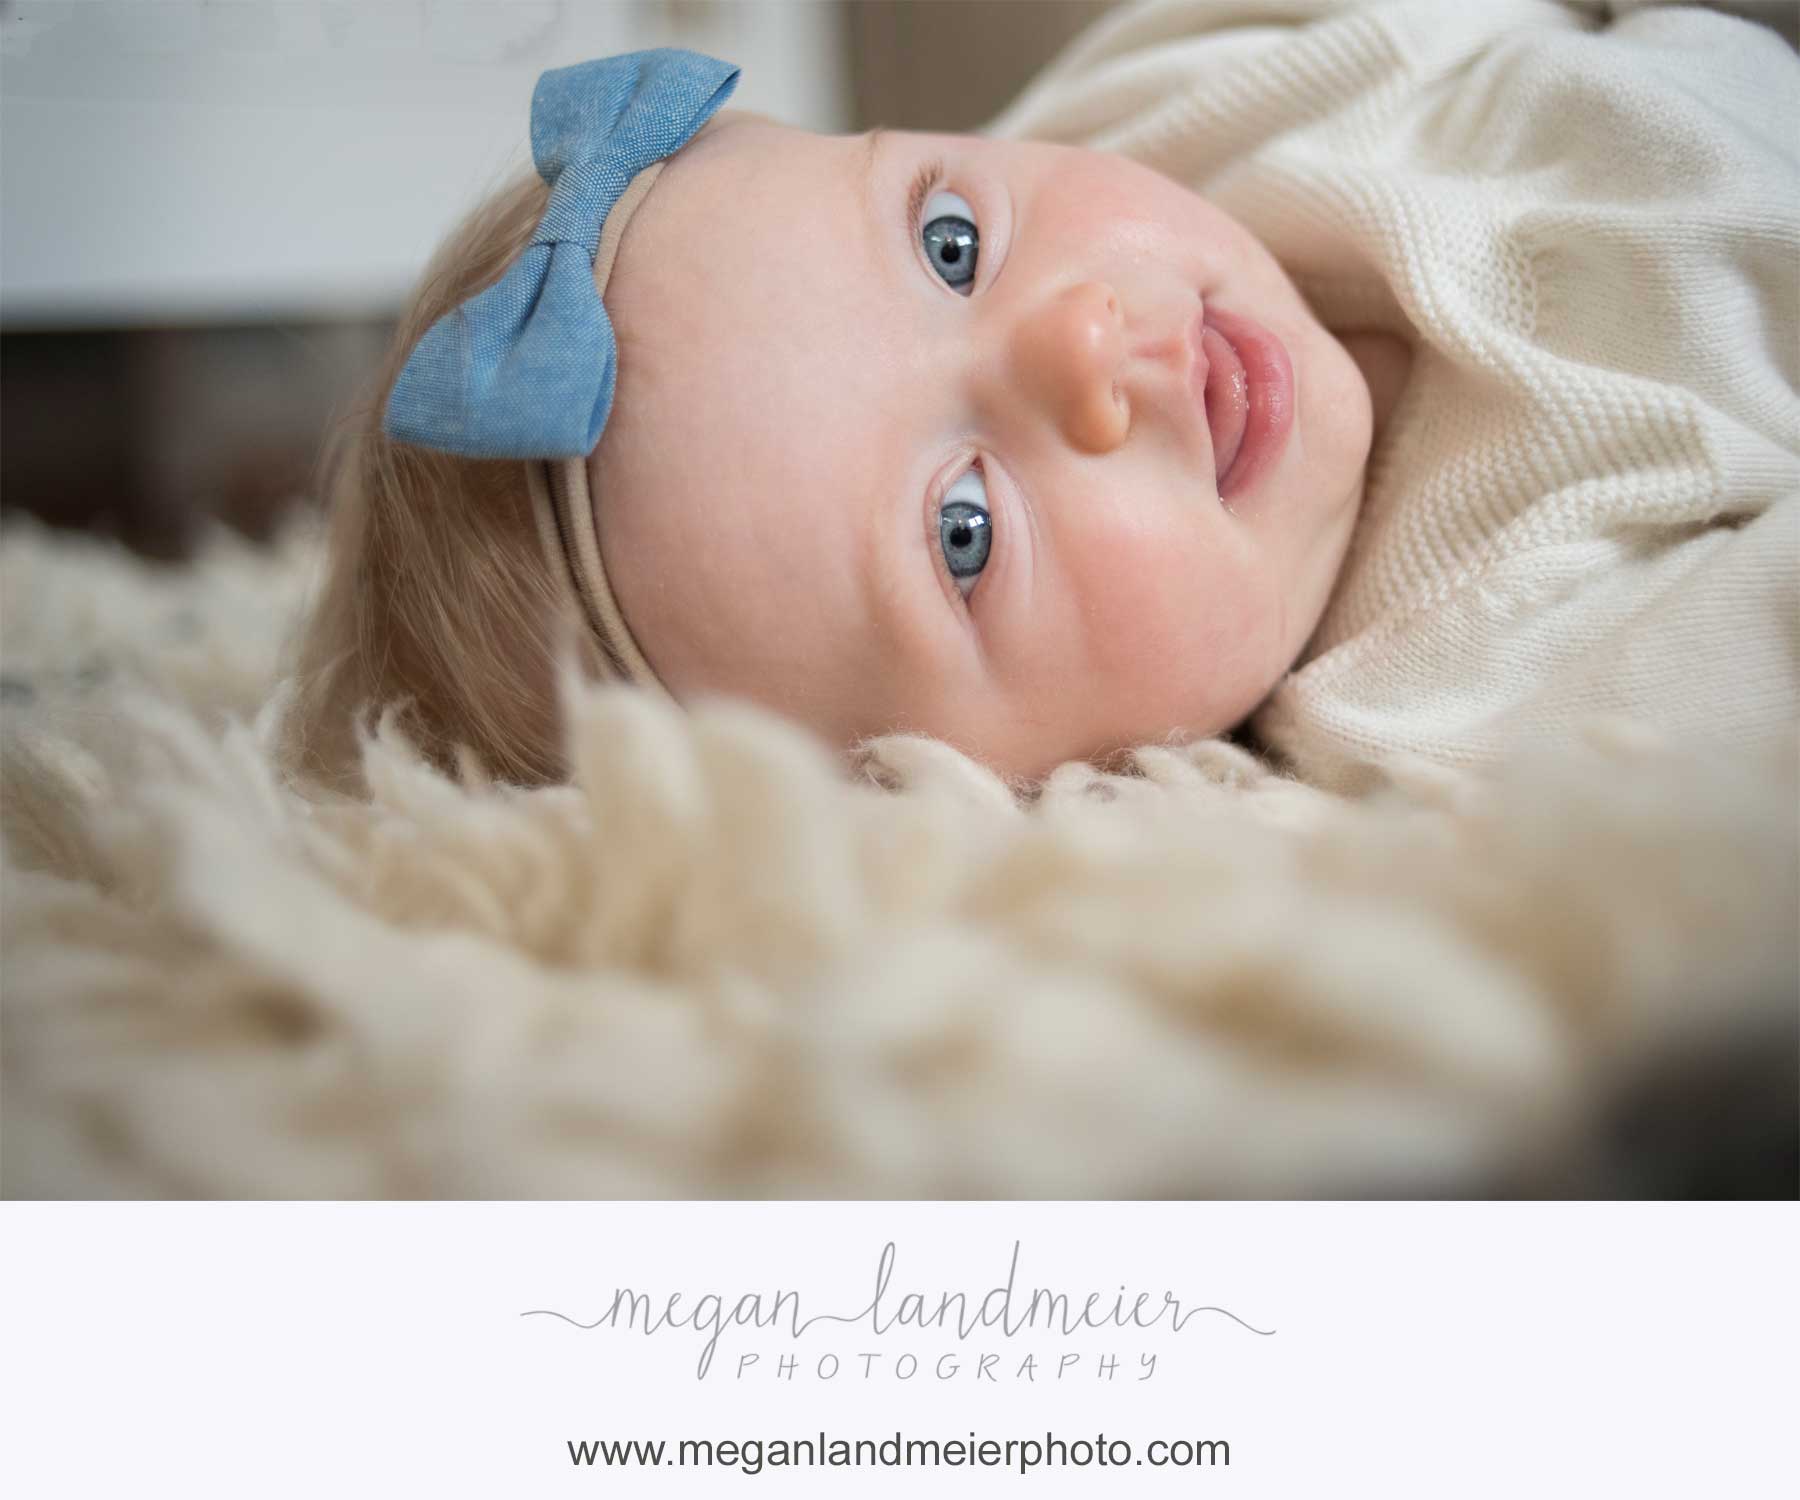
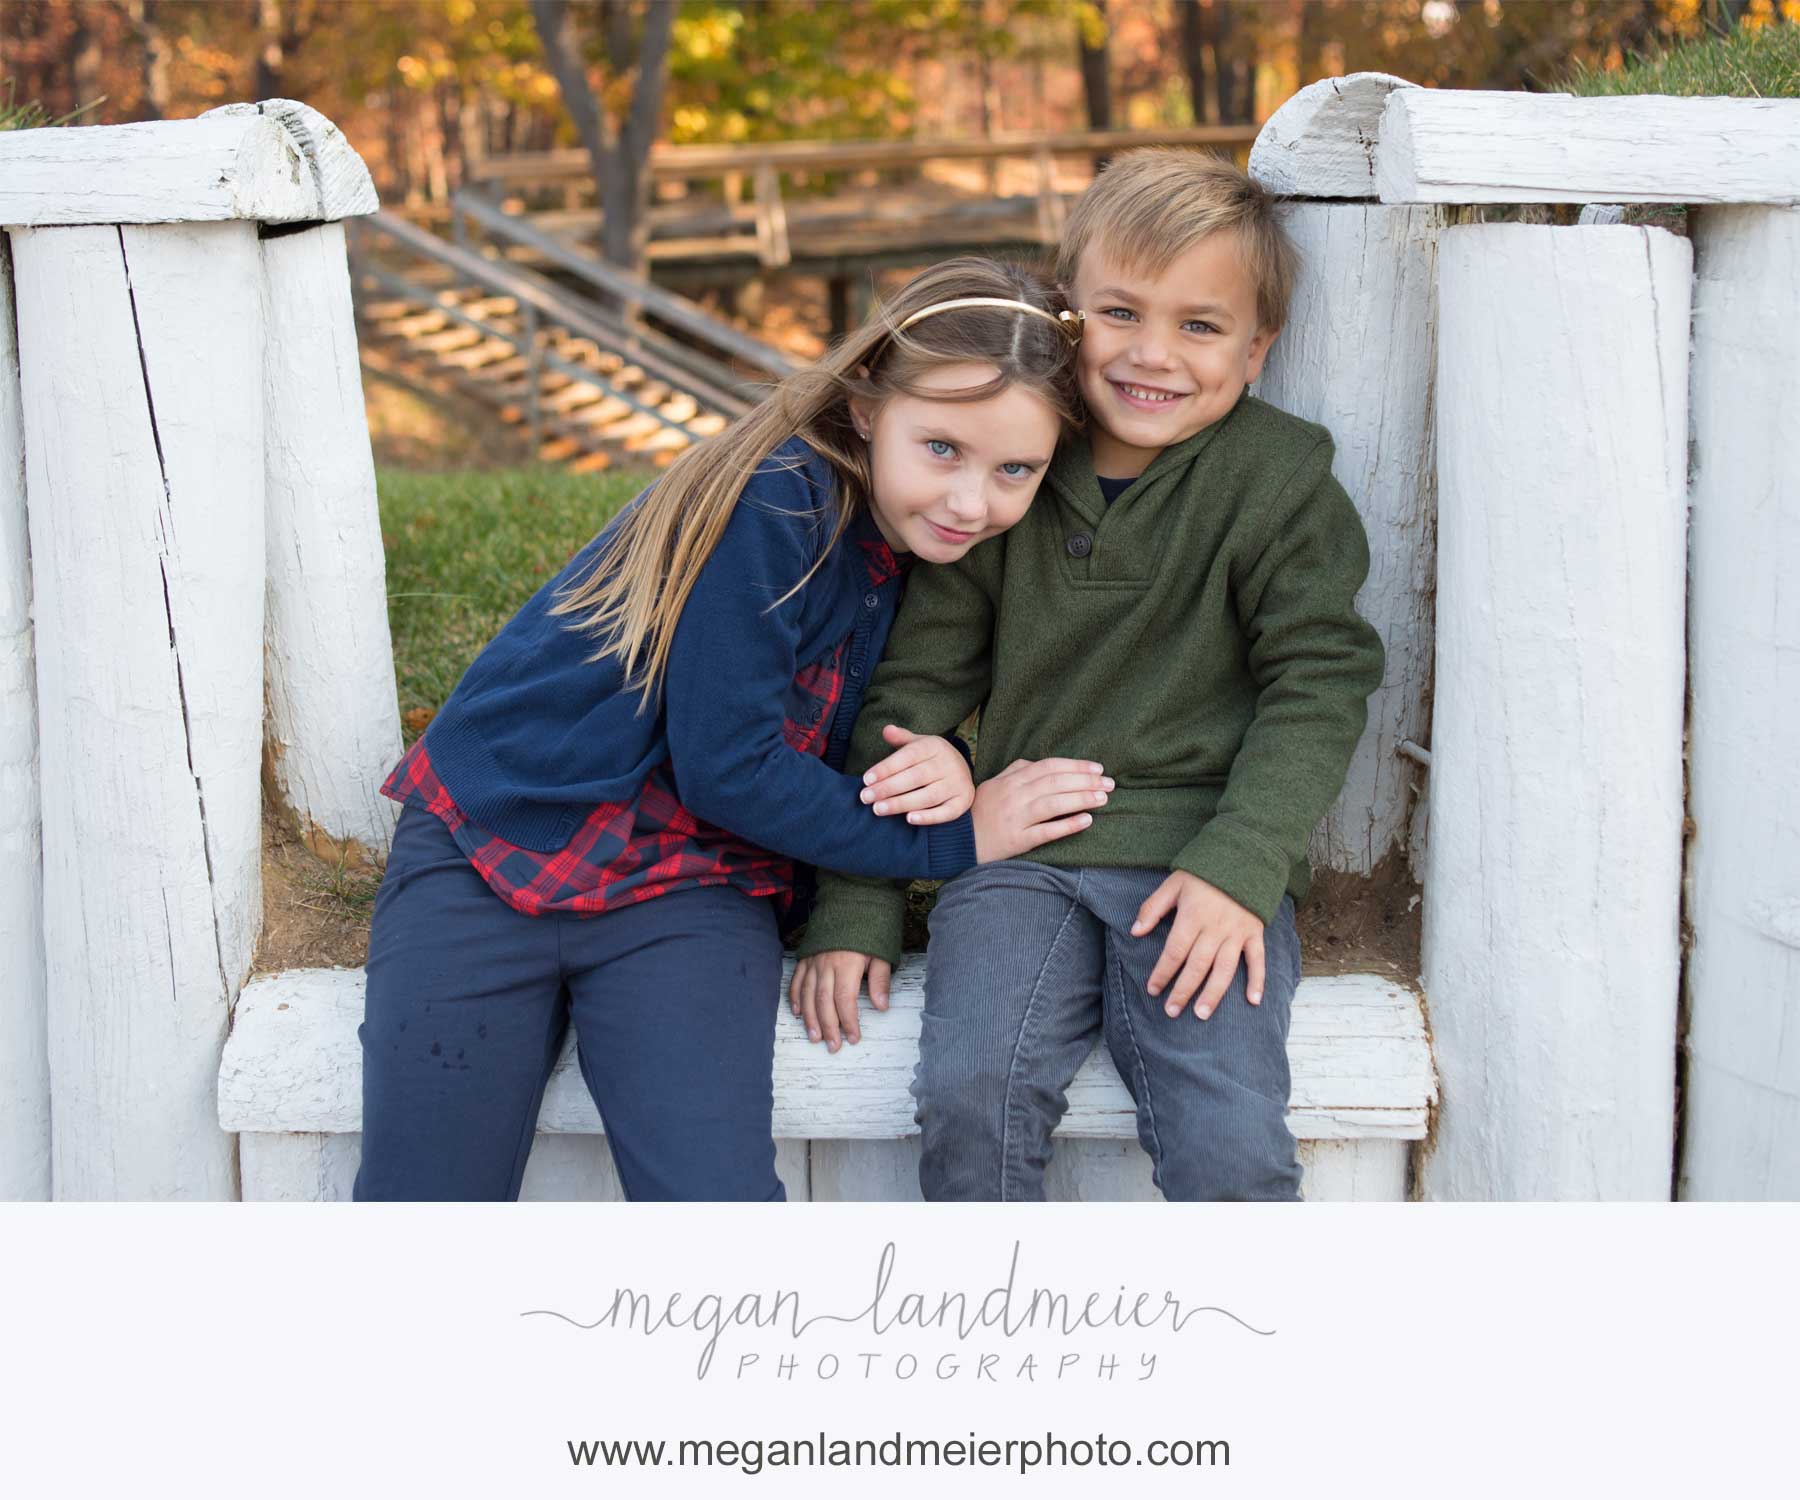
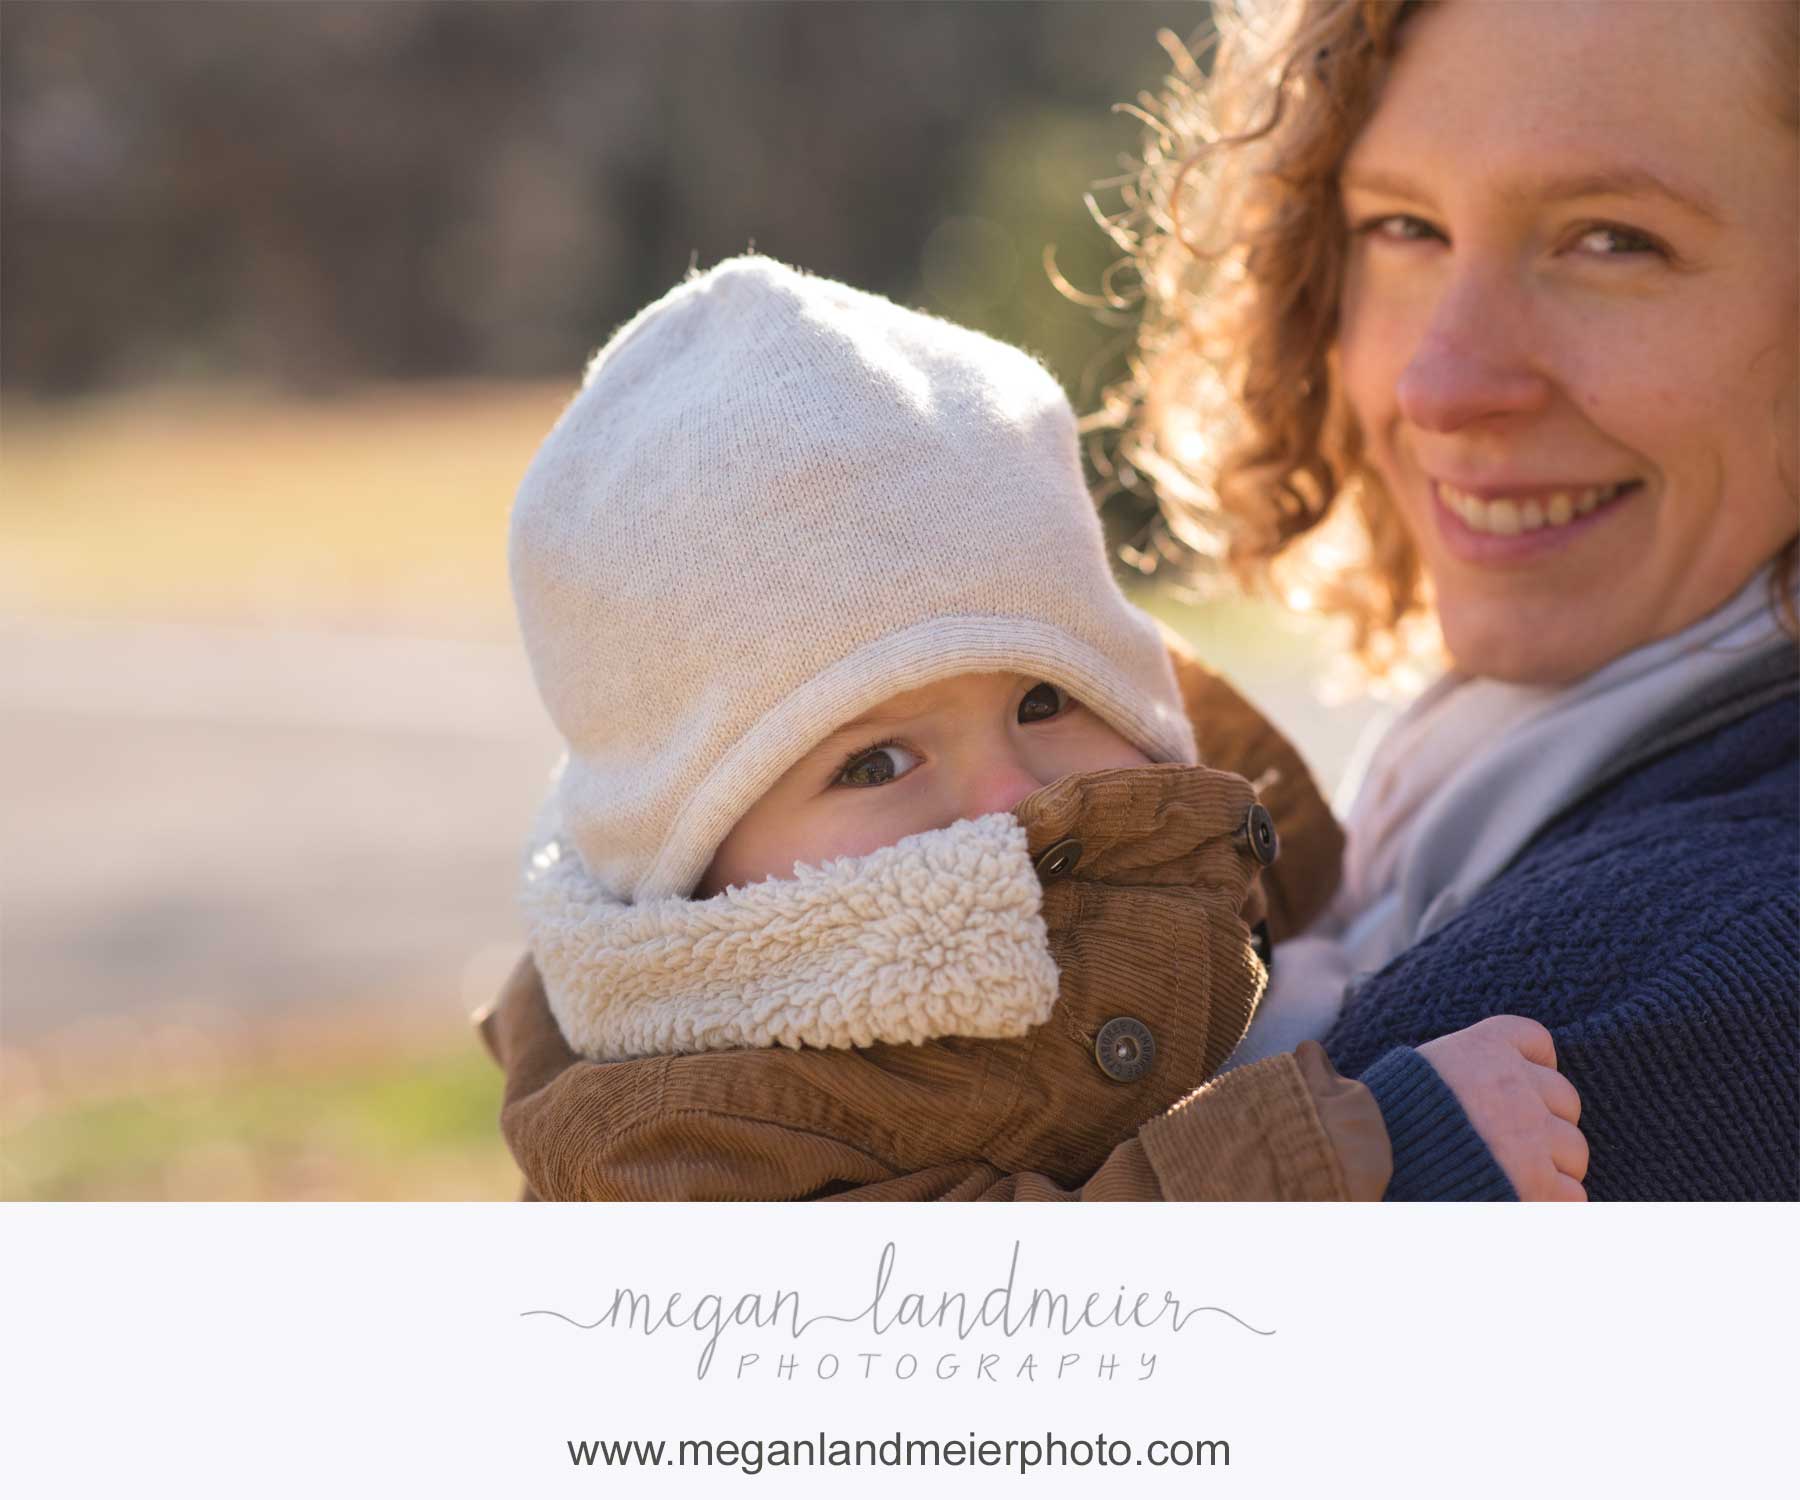
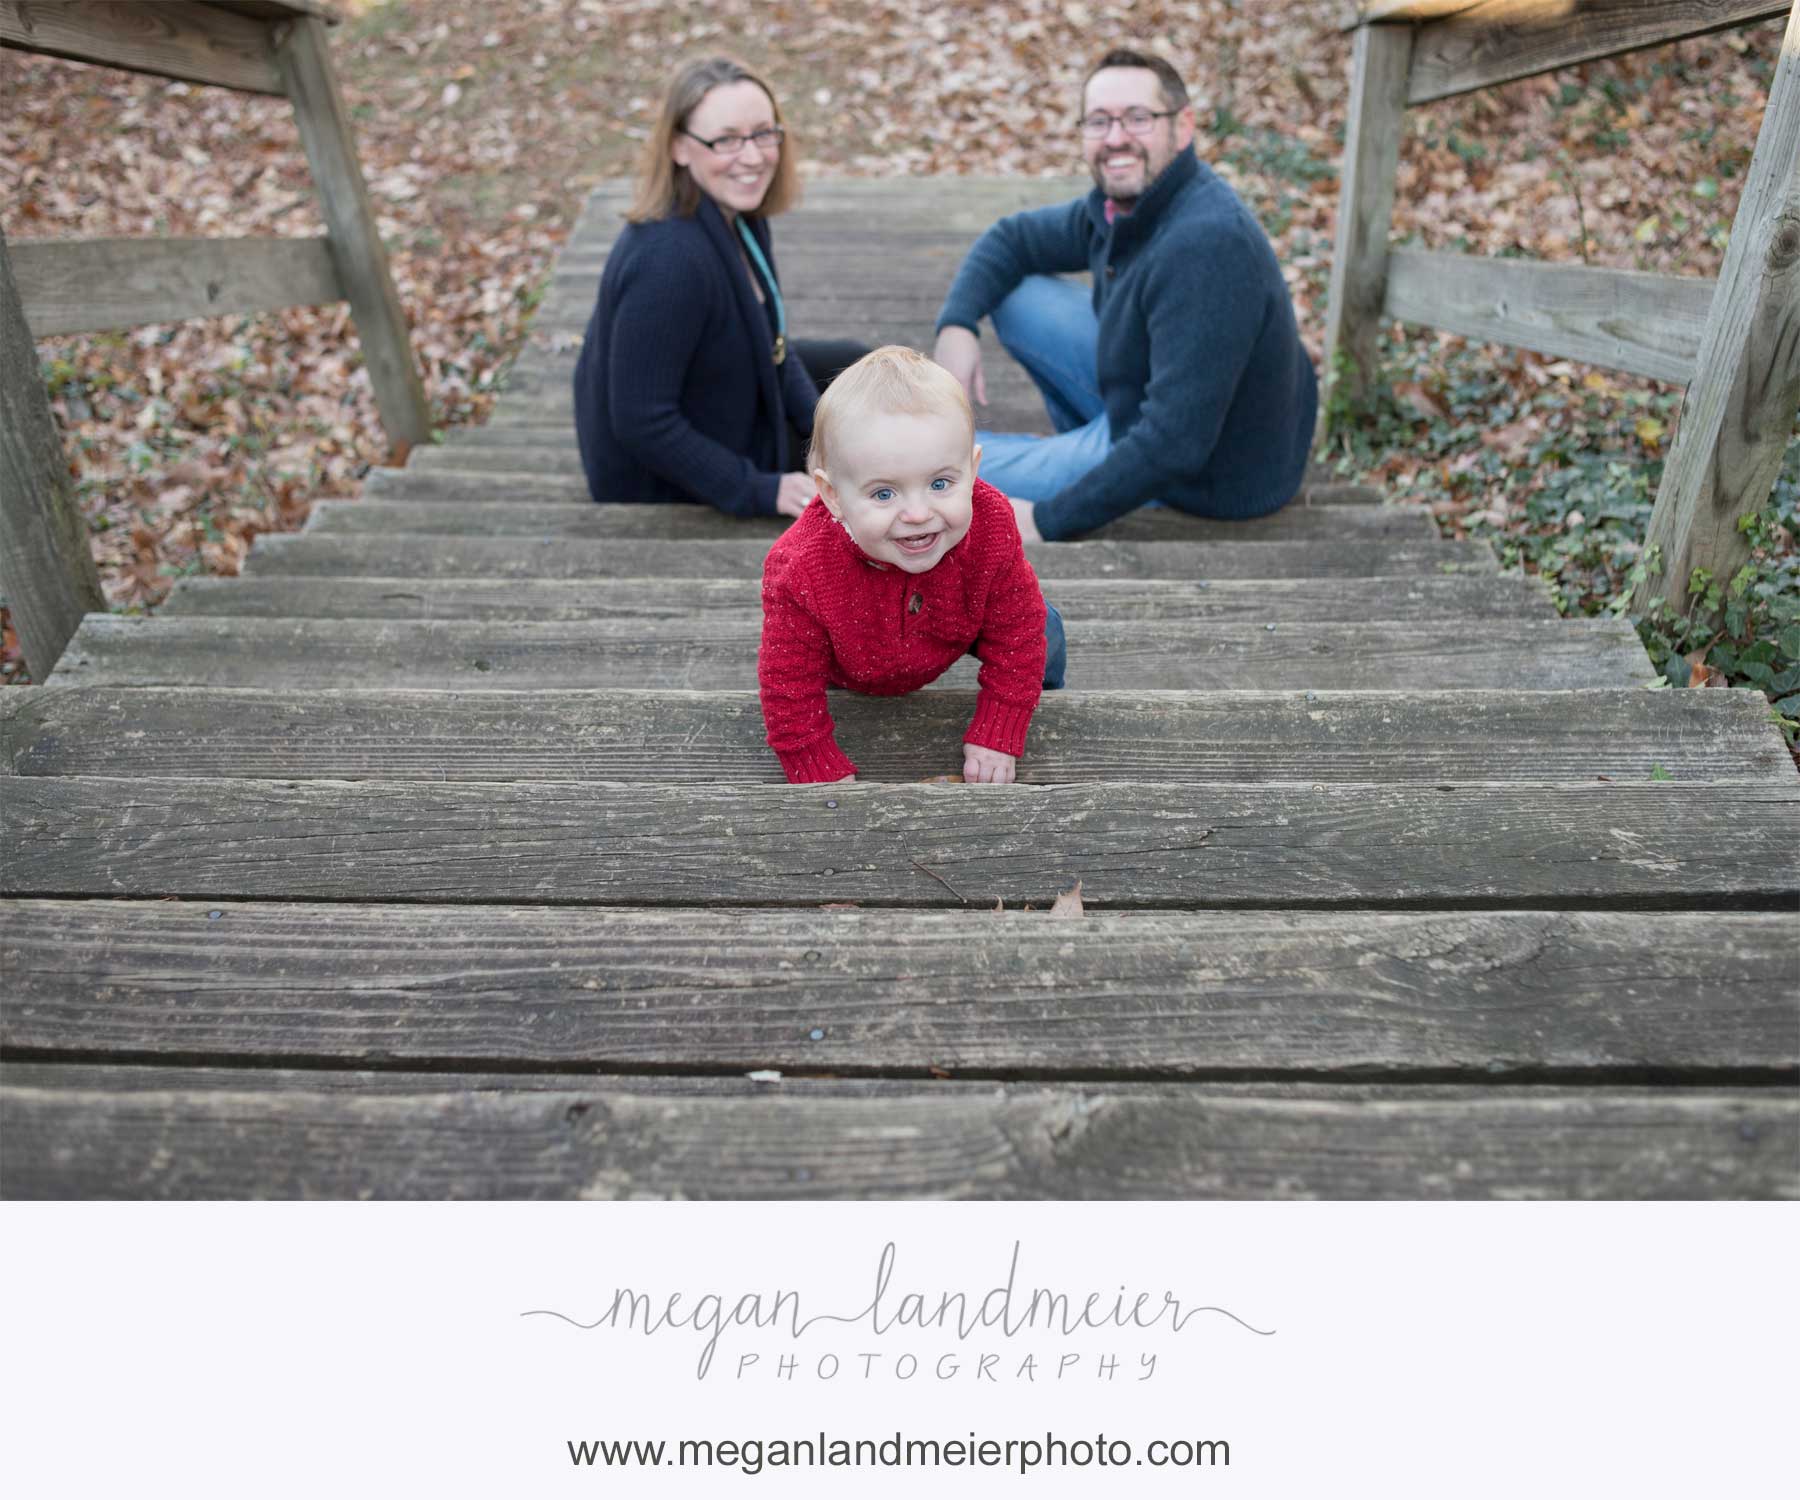
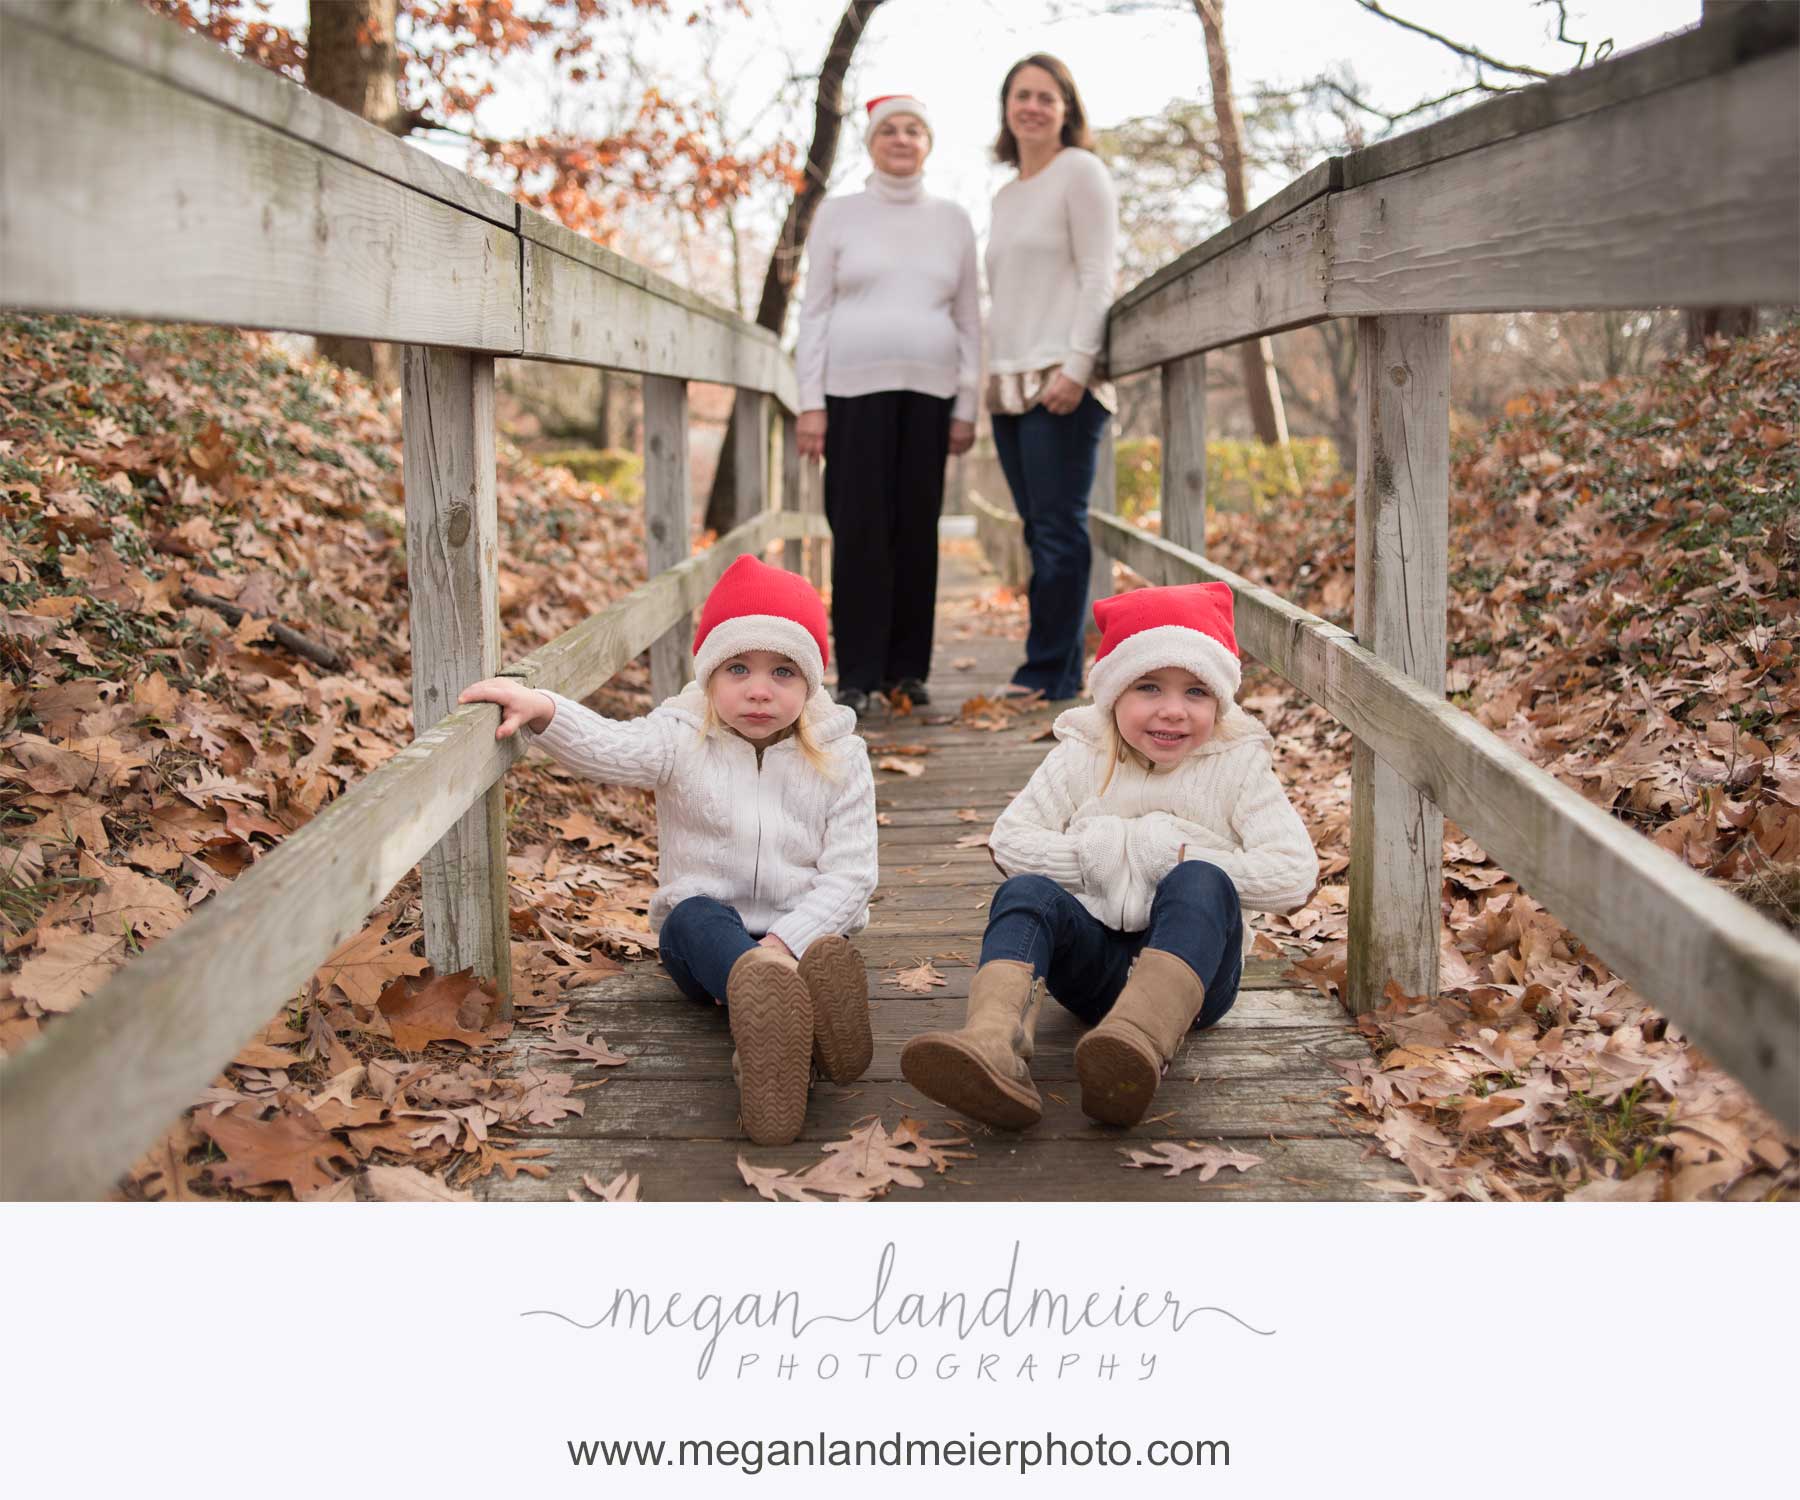
From a functional perspective, my easy way to think of aperture is "how wide of a plane are you focused on?"  A small f-stop number (i.e., f/1.8) means a LOT of light and more of that beautiful bokeh, or blurry background.  Bokeh is lovely, but if you're only focused on half the people in the picture and the rest are fuzzy, your f-stop number is too low.

I personally think AP/AV is a great place to start because aperture can dramatically change the look of a photo.   In this mode, you set the ISO and aperture, and the camera controls the shutter speed.

Uh oh!  f/2 was too low.  Poor Piggie is out of focus.

Photographing two kids on the same plane, I start around f/3.2.  Sometimes if the lighting is too dark, I'll go lower, although I risk an out of focus child.

One kid when I want a lot of bokeh, I go as low as f/1.8.

But here's the catch.

When you control the aperture and your camera controls the shutter speed, keep an eye out to make sure the shutter speed is fast enough to catch your subject - especially if your subject is a moving child!  1/250 or so is a good minimum for kids!

If the shutter speed gets too slow (you'll see blurry photos), move the aperture number lower or the ISO higher.

And that, my friends, is your VERY basic intro to aperture.  Happy shooting!

My 365 Project

A few days before 2017 began, I committed to a 365 project - a photo a day of my kids.  Here's a few favorites from the last week or two.  The added bonus is that by having my camera out more, I have more than a photo each day!  I return to family sessions in just over a week, but until then, I'll keep focusing photos of my girls.

Photography Basics #1: In the Frame

One of my new offerings as of late 2016 is a photo tutorial session.  The popularity of those sessions has been higher than I anticipated.  With entry level DSLRs more and more affordable and an iPhone in everyone's hand, knowing how to take great pictures is important.  While hiring a professional is obviously something I think is a priority, I'm not moving in with you to document your family's life.  What do you do on the days with no photographer around?

This year, I'm personally focusing on capturing the daily moments with my kids, in the form of a "365 Project" and by bringing my camera along on some daily activities.  I'm also focused on sharing some tips and tricks with YOU, so you can capture your own daily lives in a beautiful and authentic manner.


To start, here's my favorite tip:

LOOK AT THE BACKGROUND.

You are telling a story.  Does the background help or hurt your storytelling?  You may be thinking, "But Megan, I have young kids and there's not an uncluttered spot in my house!"

I have small kids, too, one of whom we call "Destructo."  But I have walls, most of which the Caroline hasn't drawn on too much, couches, and a window - all of which make great backgrounds.

And sometimes, the story is about the chaos.

Like if the baby got into the toilet paper, go ahead and leave that in the frame.

Also, consider where your subject is in the frame.  Some shots, a centered subject makes sense, especially a little kid looking straight at the camera, like my kindergartener doing a push up.

In other situations, thinking in thirds helps.

The rule of thirds helped me compose this image from a busy scene.  Ellie (5) was serving herself.  Caroline (1) was in her dad's chair stealing fruit.  My husband and I were standing in the kitchen, looking out and I wanted to capture our weekend morning tradition.

And finally, look through whatever is in front of you.  If this is always your view at the playground, preserve it!

Enjoy these tips, and contact me to schedule a 1:1 session to learn your camera!